


How to Tie the Adachi Clouser
Simple Materials, Smart Techniques, and a Flashy Finish
If you’ve fished for predatory fish—whether in-shore in saltwater or deep in fast-moving rivers—you know how critical the correct baitfish pattern can be. You want something that swims like the real thing, holds up to hard hits and sharp teeth, and gets noticed without being over the top. Enter the Adachi Clouser:
This fly is a refined version of the original Clouser Minnow, tailored through years of on-the-water experience by Steve Adachi, a Northern California-based tier, angler, and innovator. It's flash-heavy without being gaudy. It's durable without looking bulky. And most importantly—it gets eats.
We’ve thrown this fly at everything from striped bass in the San Francisco Bay to tigerfish in the Zambezi River. It has fooled halibut on the flats in Alameda and coaxed rockfish from kelp forests from Monterey to the Sonoma Coast. It even holds up in freshwater against largemouth, smallies, and delta bucketmouths.
What makes this pattern so effective? It’s a combination of thoughtful tapering, clever flash placement, and a rock-solid profile that mimics the silhouette of real baitfish while maintaining durability through epoxy layering.
Let’s take a deep dive into how it’s built—and more importantly, why it works.
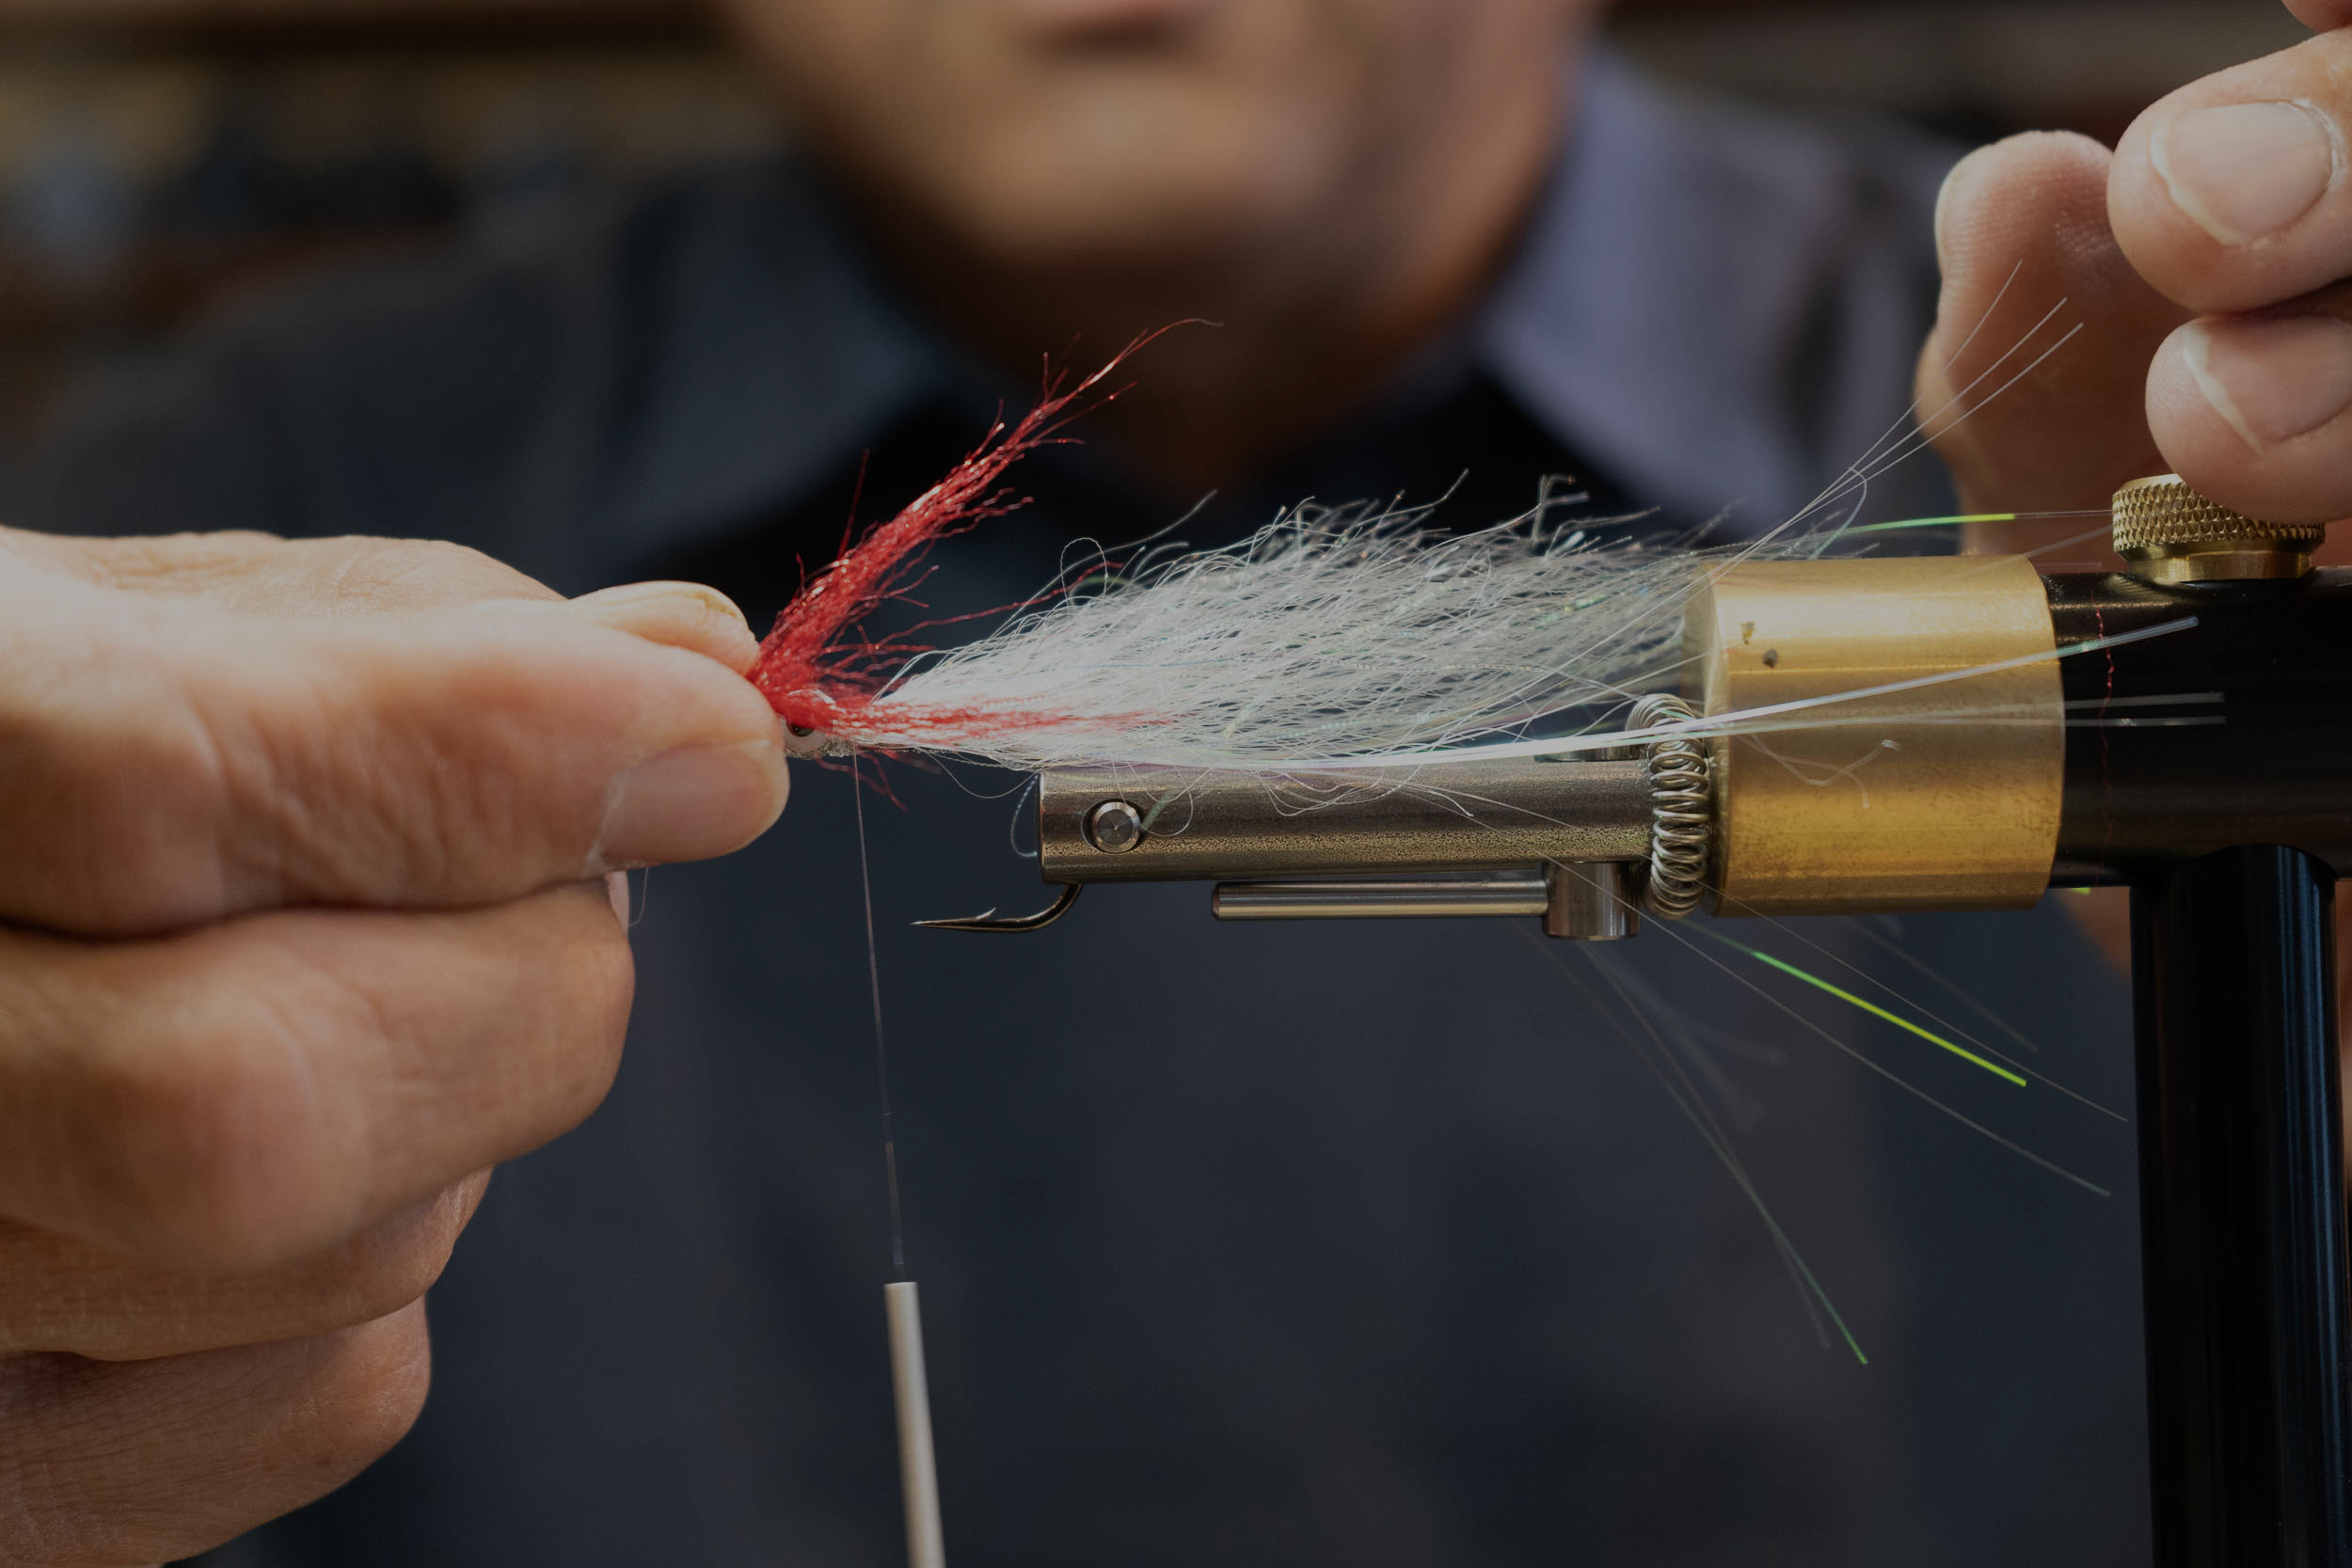
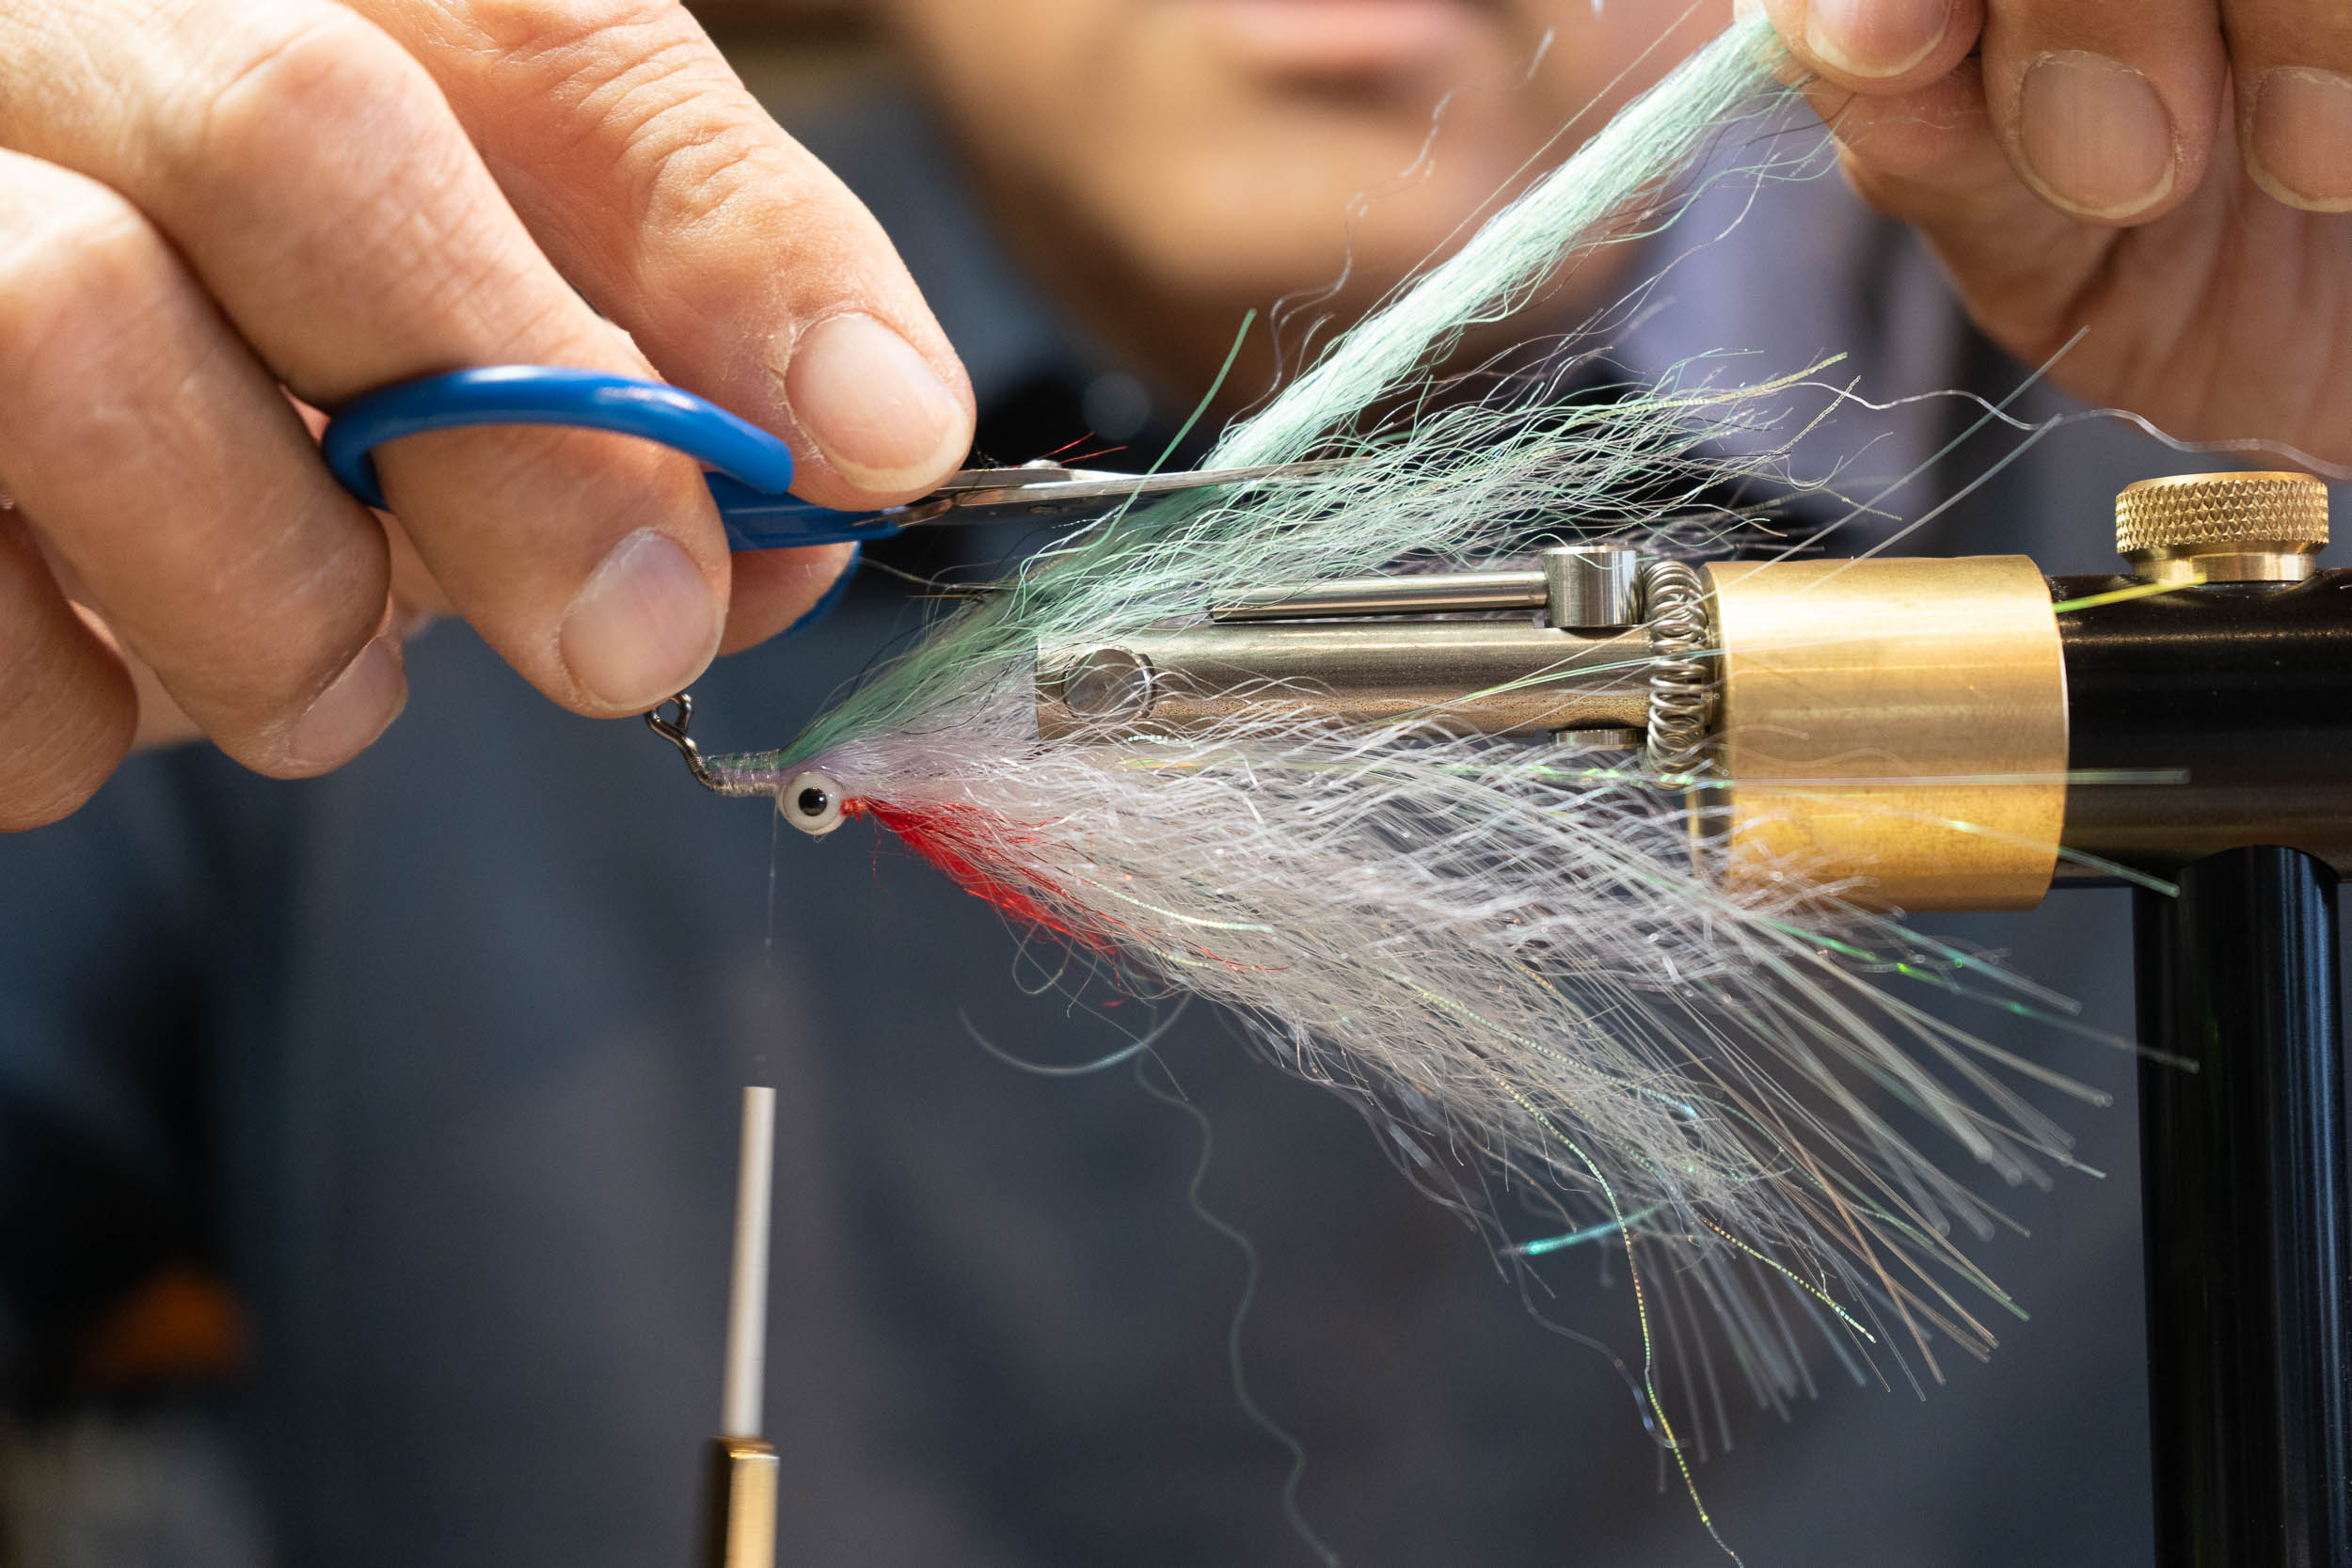
How to Tie the Adachi Clouser
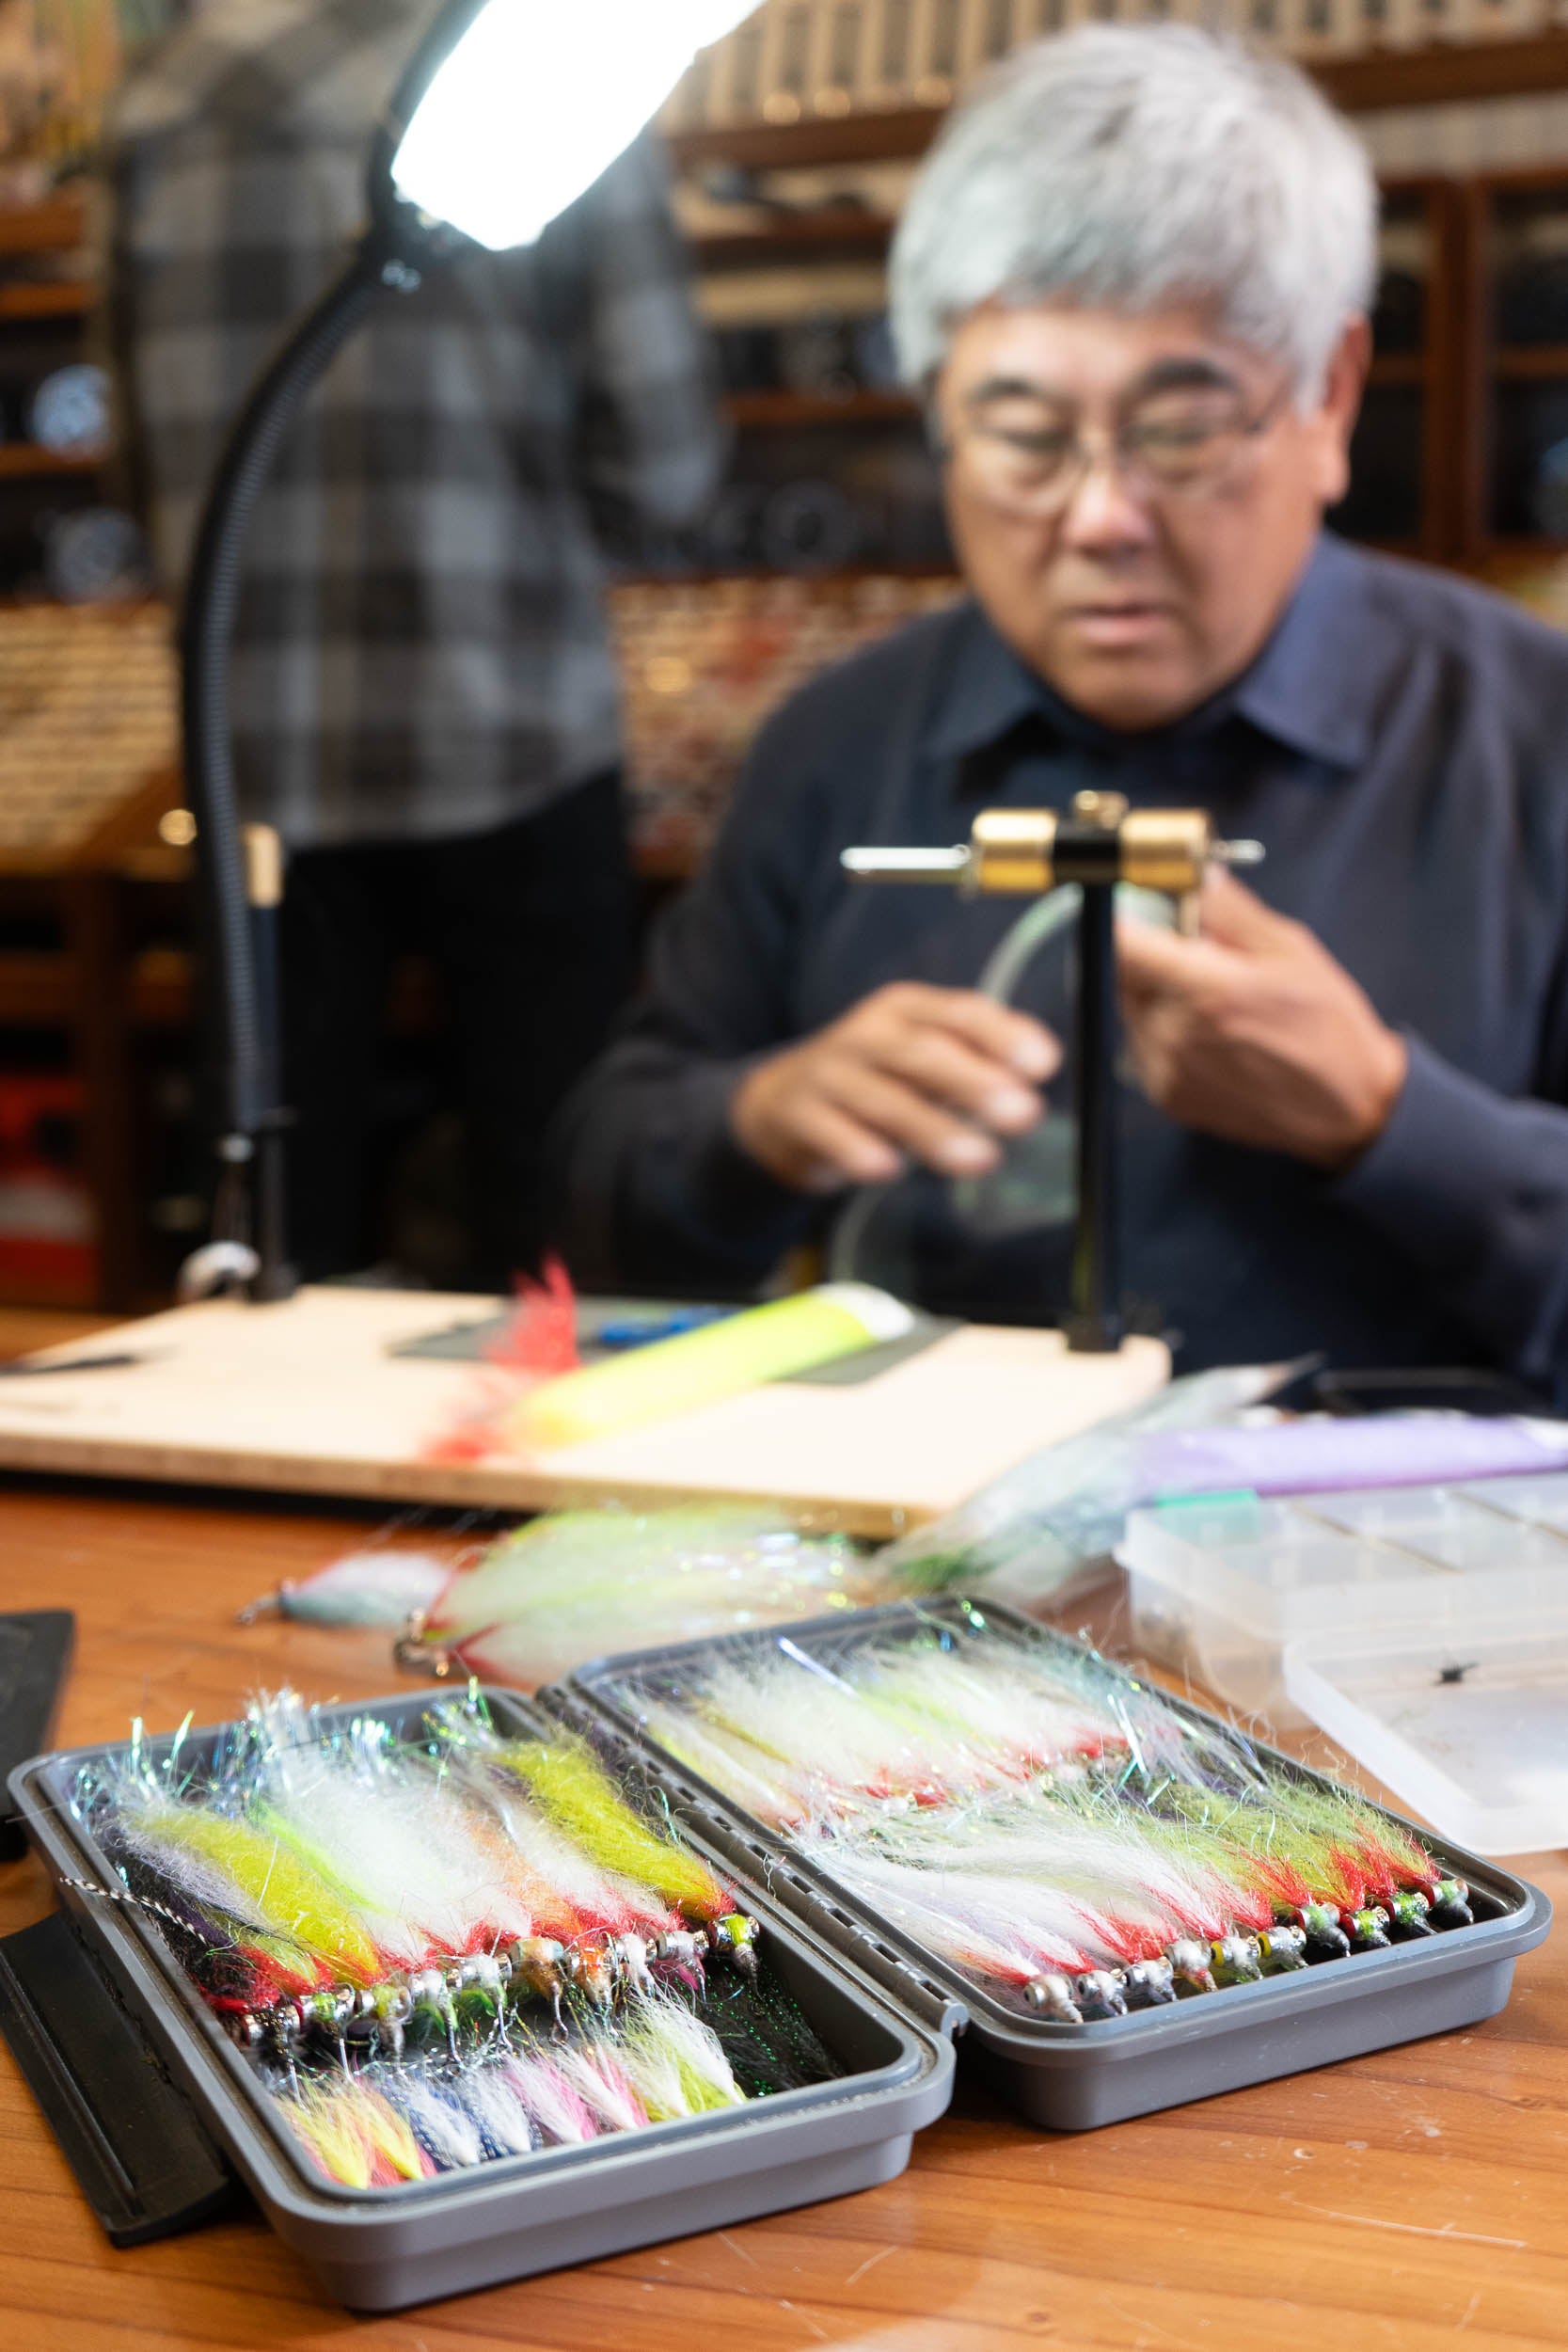
At the Vise with Steve Adachi
Why the Adachi Clouser?
Let’s start with the name. If you’re familiar with Bob Clouser’s original pattern—a bucktail-and-dumbbell classic—you already know the bones of this design. But like many great flies, this one evolved through a lineage of thoughtful tweaks and field-proven refinements.
Captain Mike Costello, a legendary guide and fly tier based in Northern California, was one of the first to adapt the Clouser Minnow to better suit the local forage and conditions of the San Francisco Bay and Delta systems. His version introduced important changes—especially in material selection and flash placement—that made the fly more effective in salt and brackish water for species like striped bass and halibut.
We took Mike’s iteration and continued refining it—adjusting the silhouette, layering flash more intentionally, and using epoxy in stages to lock in the taper and boost durability. What you get in the Adachi Clouser is a fly that’s part homage, part evolution. It’s a nod to both Bob Clouser’s original genius and Captain Costello’s smart modifications.
Where the classic Clouser excels in simplicity, the Adachi Clouser adds just the right amount of nuance: flash that flows, a tapered body that moves naturally, and layered epoxy coats for bombproof construction.
And unlike some modern streamers that rely on complex blends of synthetic materials, this pattern uses just a few—but uses them well. Think of it as a minimalist design with maximum impact.


Material List
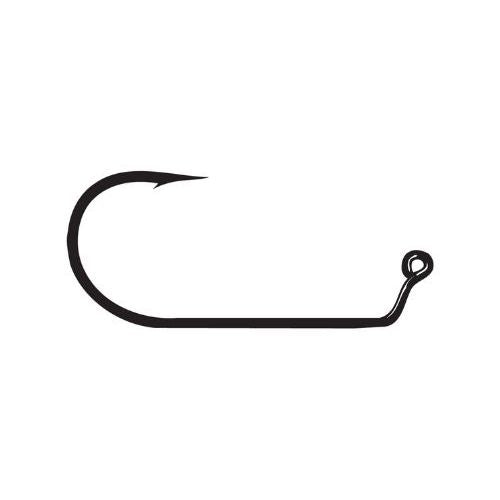
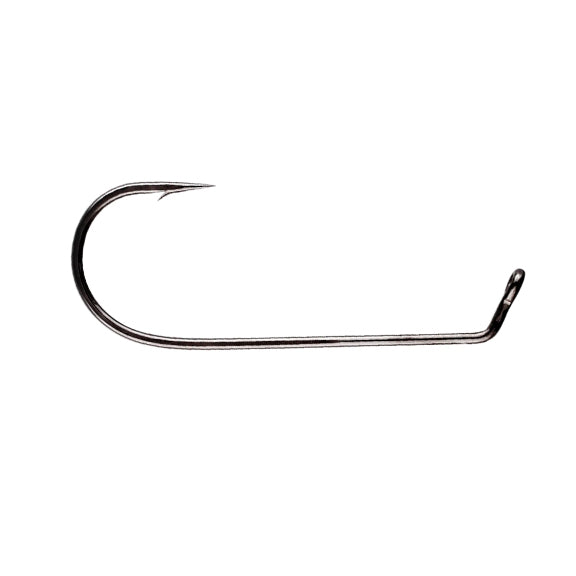
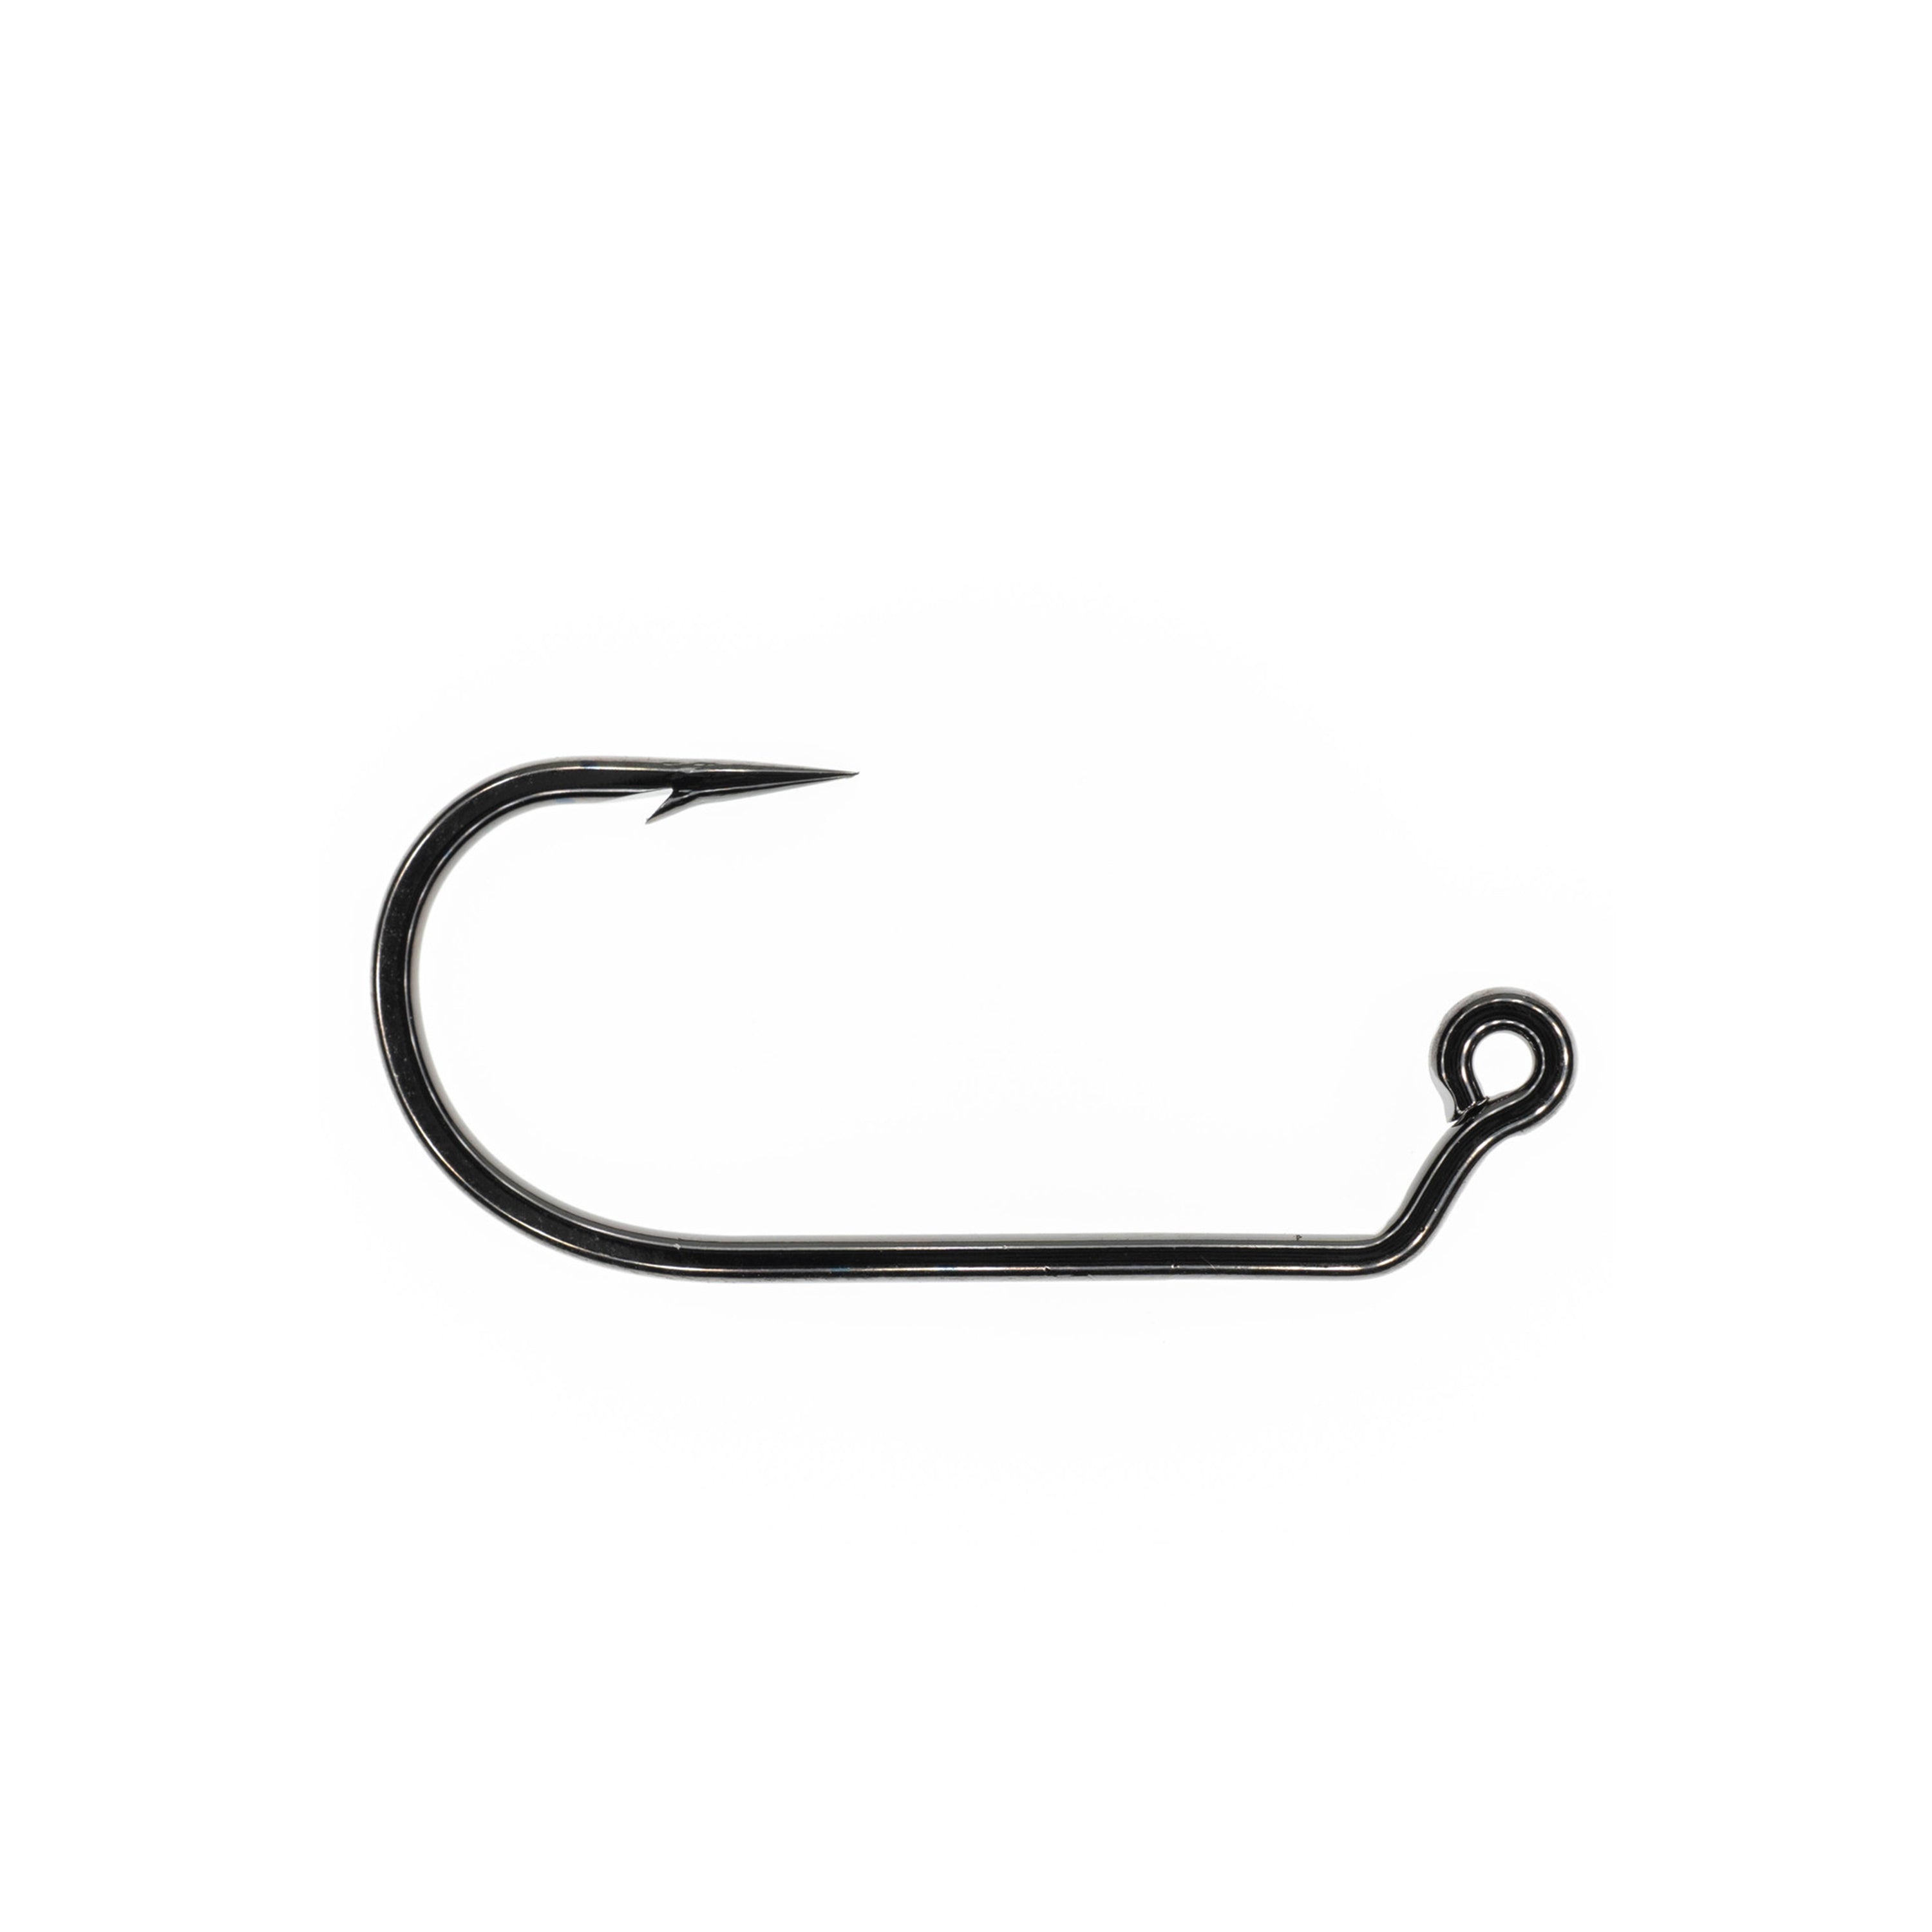
Tiemco 811S, Gamakatsu SC15, or Ahrex SA280 — Sizes 1/0–4 depending on target species |
|
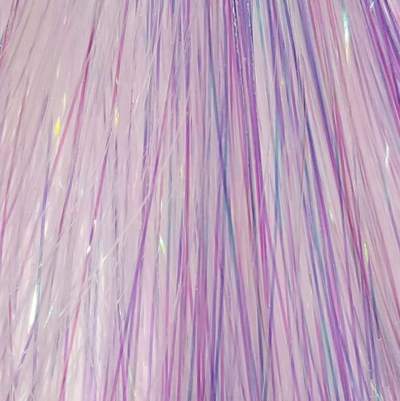
Pearl Flashabou (cut square, doubled over) — acts as both tail and internal flash core |
|
Pearl Flashabou #6905 (primary) — optional accents of silver, chartreuse, or pink for variation |
|
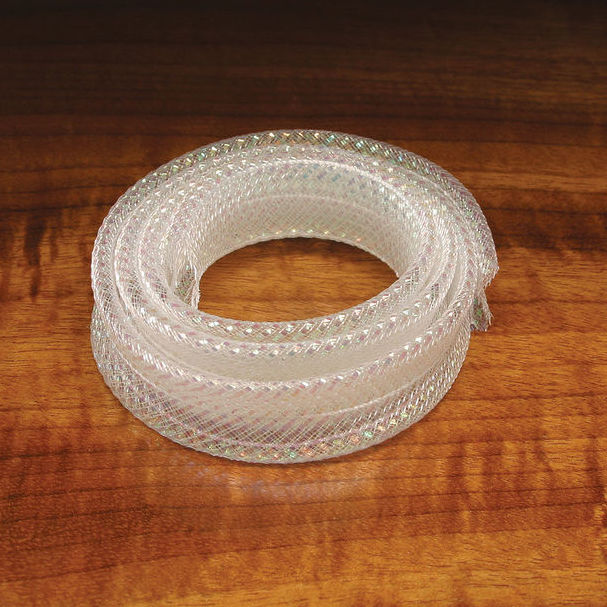
White EP Fibers or Steve Farrar SF Blend, hand-tapered and folded for durability |
|
Small tuft of red or pink EP Brush or SF Blend to imitate gills |
|
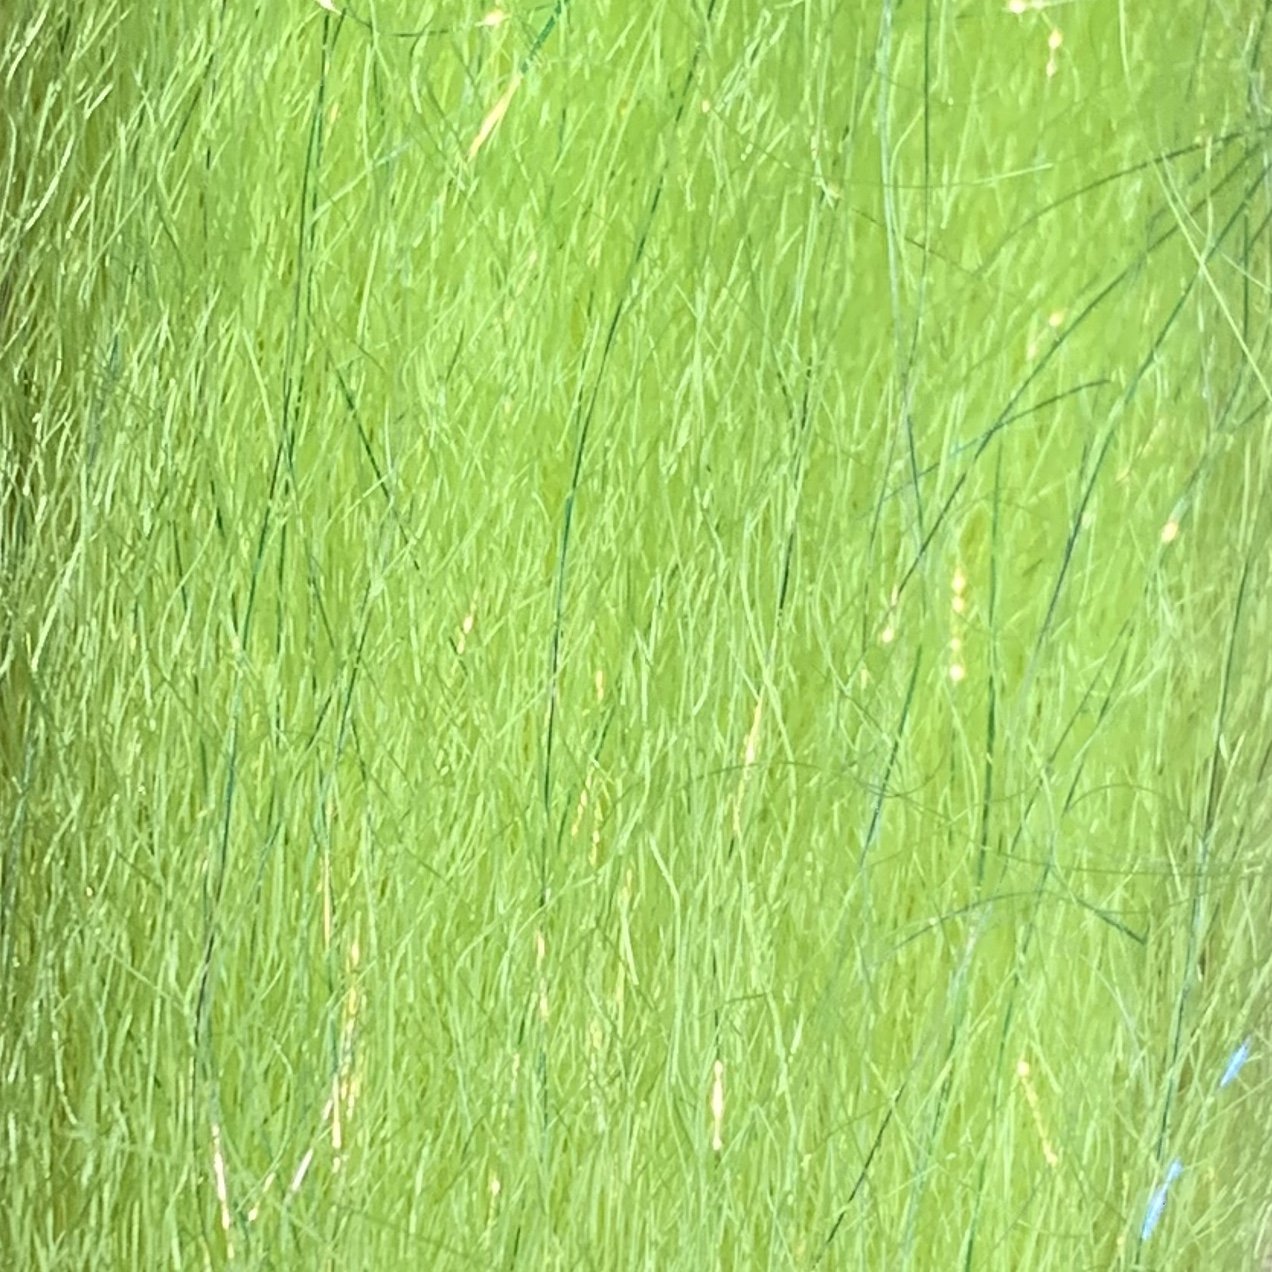
Olive, gray, tan, or chartreuse EP Fibers or SF Blend, tied and folded for shape and contrast |
|
Two-stage UV epoxy finish — first coat with Loon UV Flow (for thread lock), second coat with Loon UV Thick or Solarez Bone Dry for gloss and durability |
|
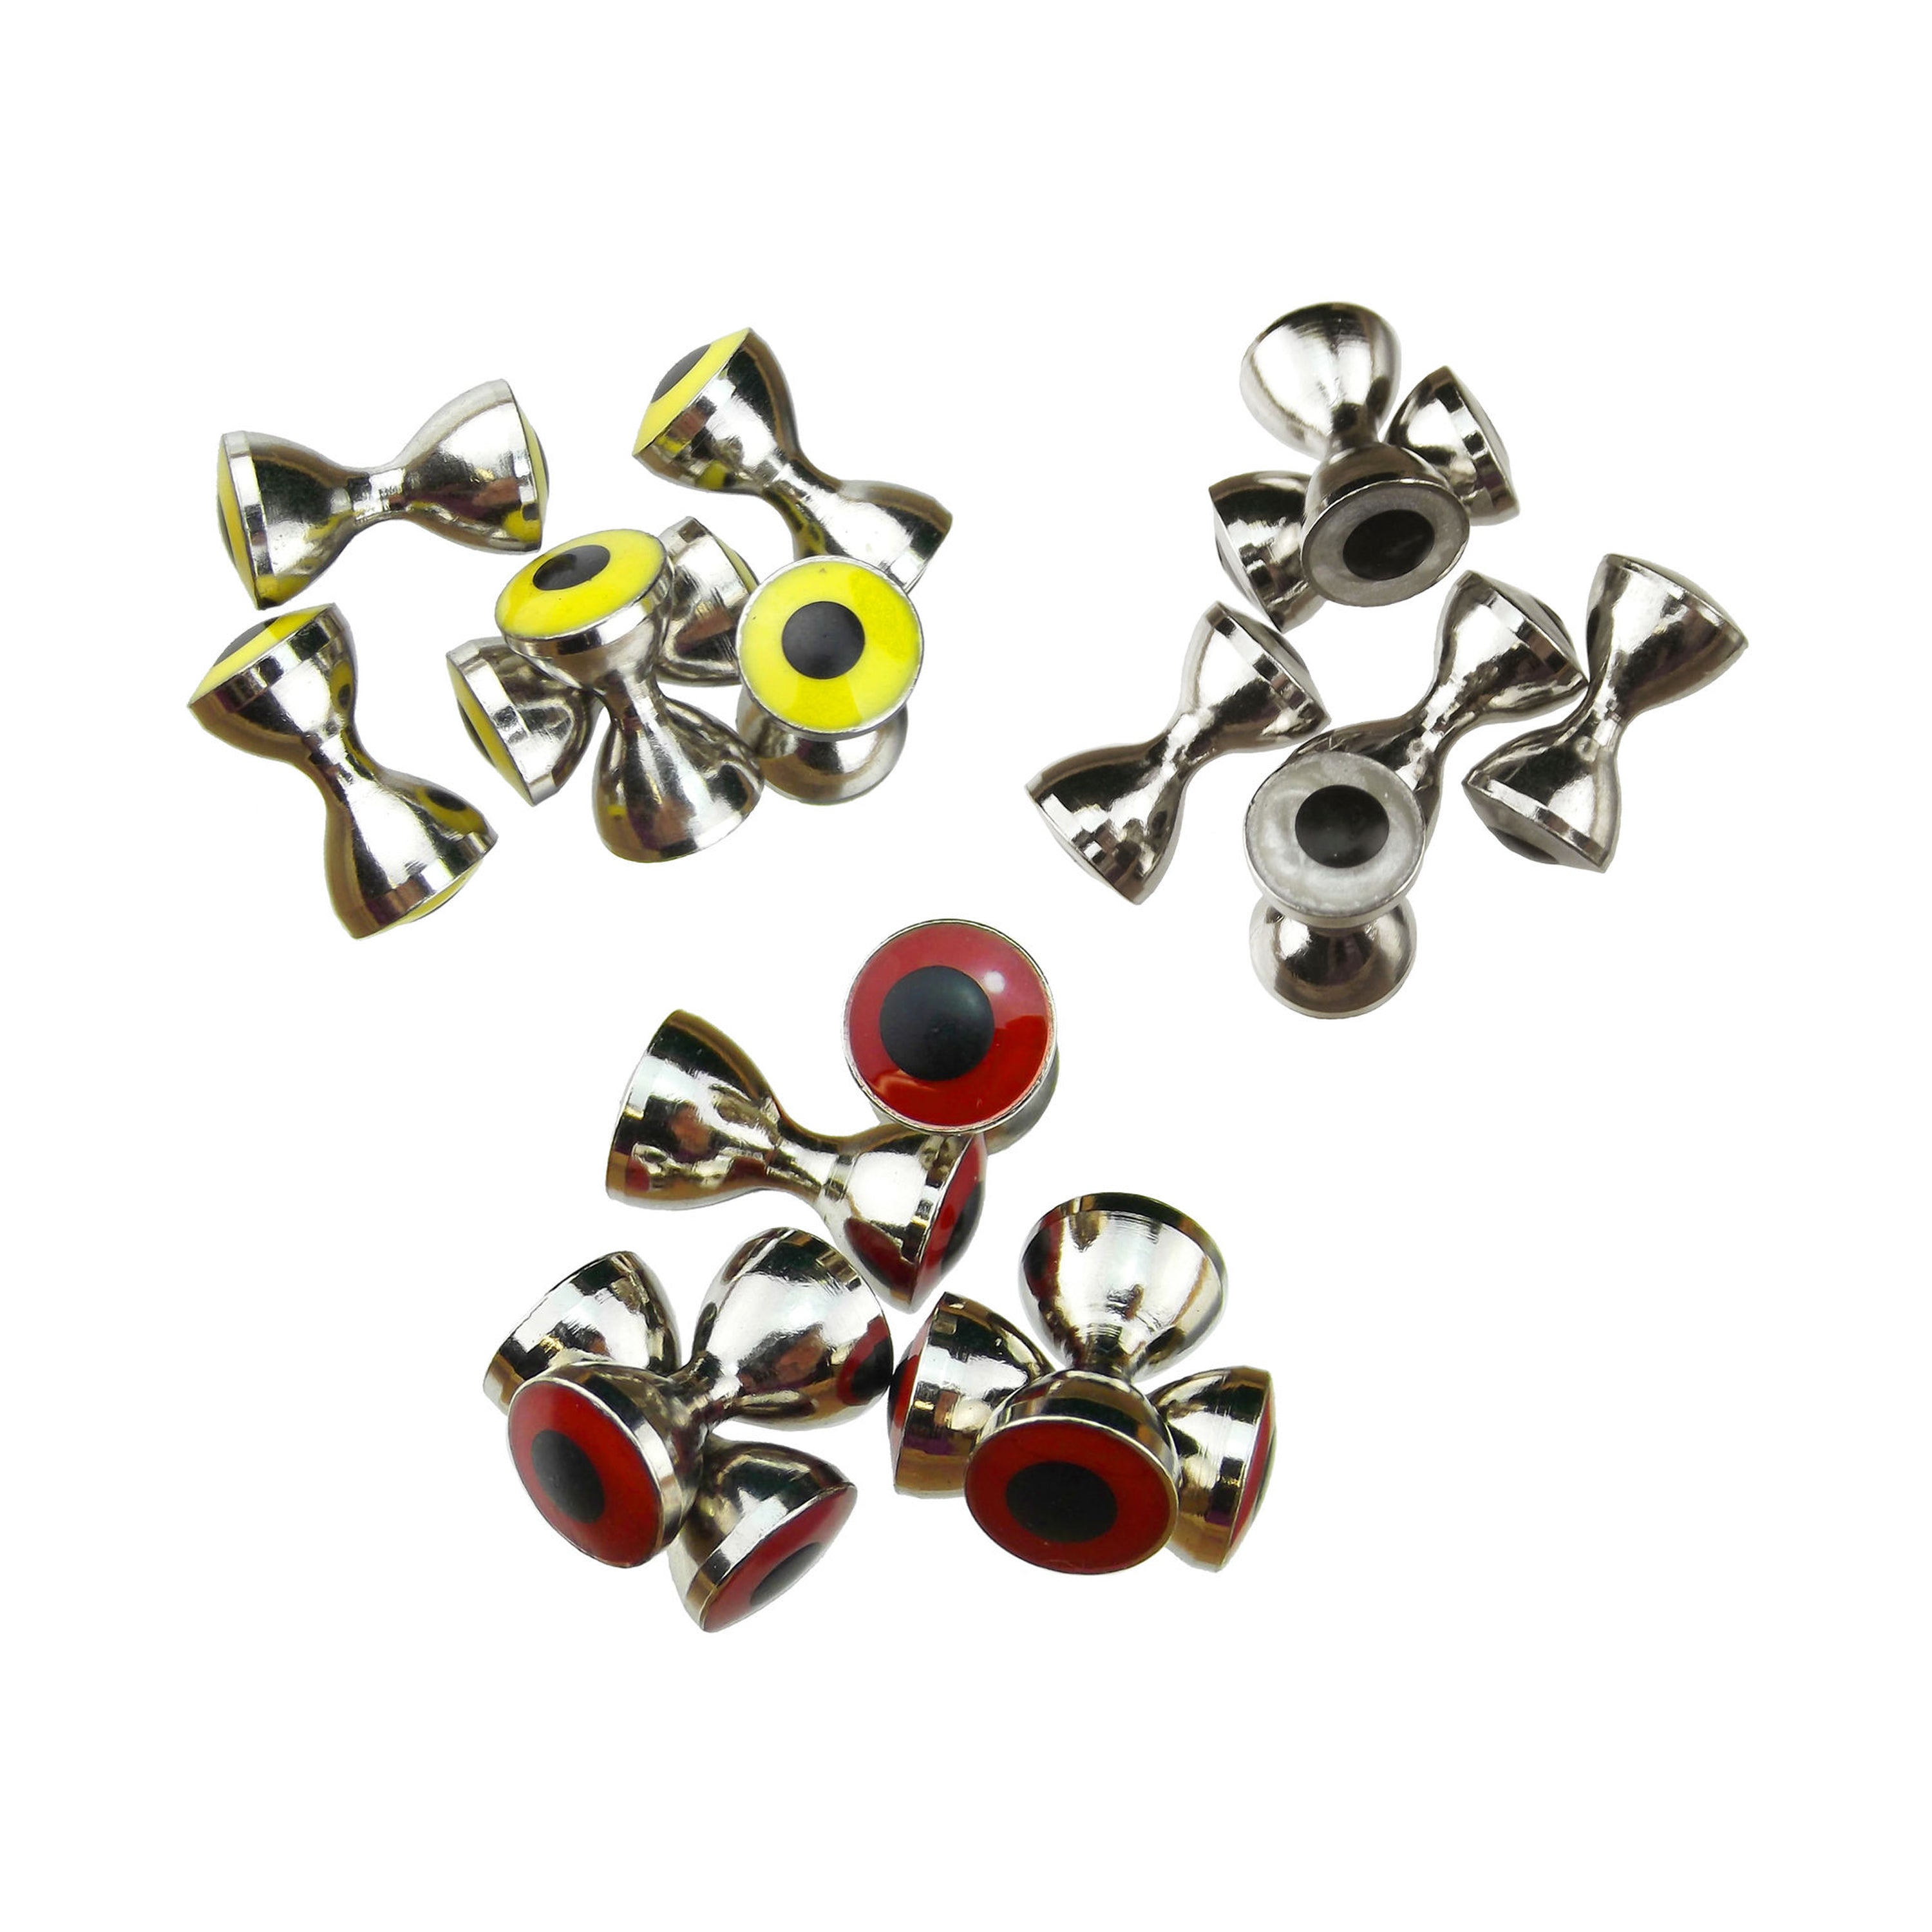
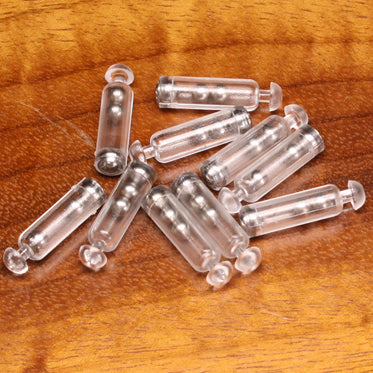
Medium or large Lead Dumbbell Eyes (black, nickel, or red) — sized to balance hook and control sink rate |
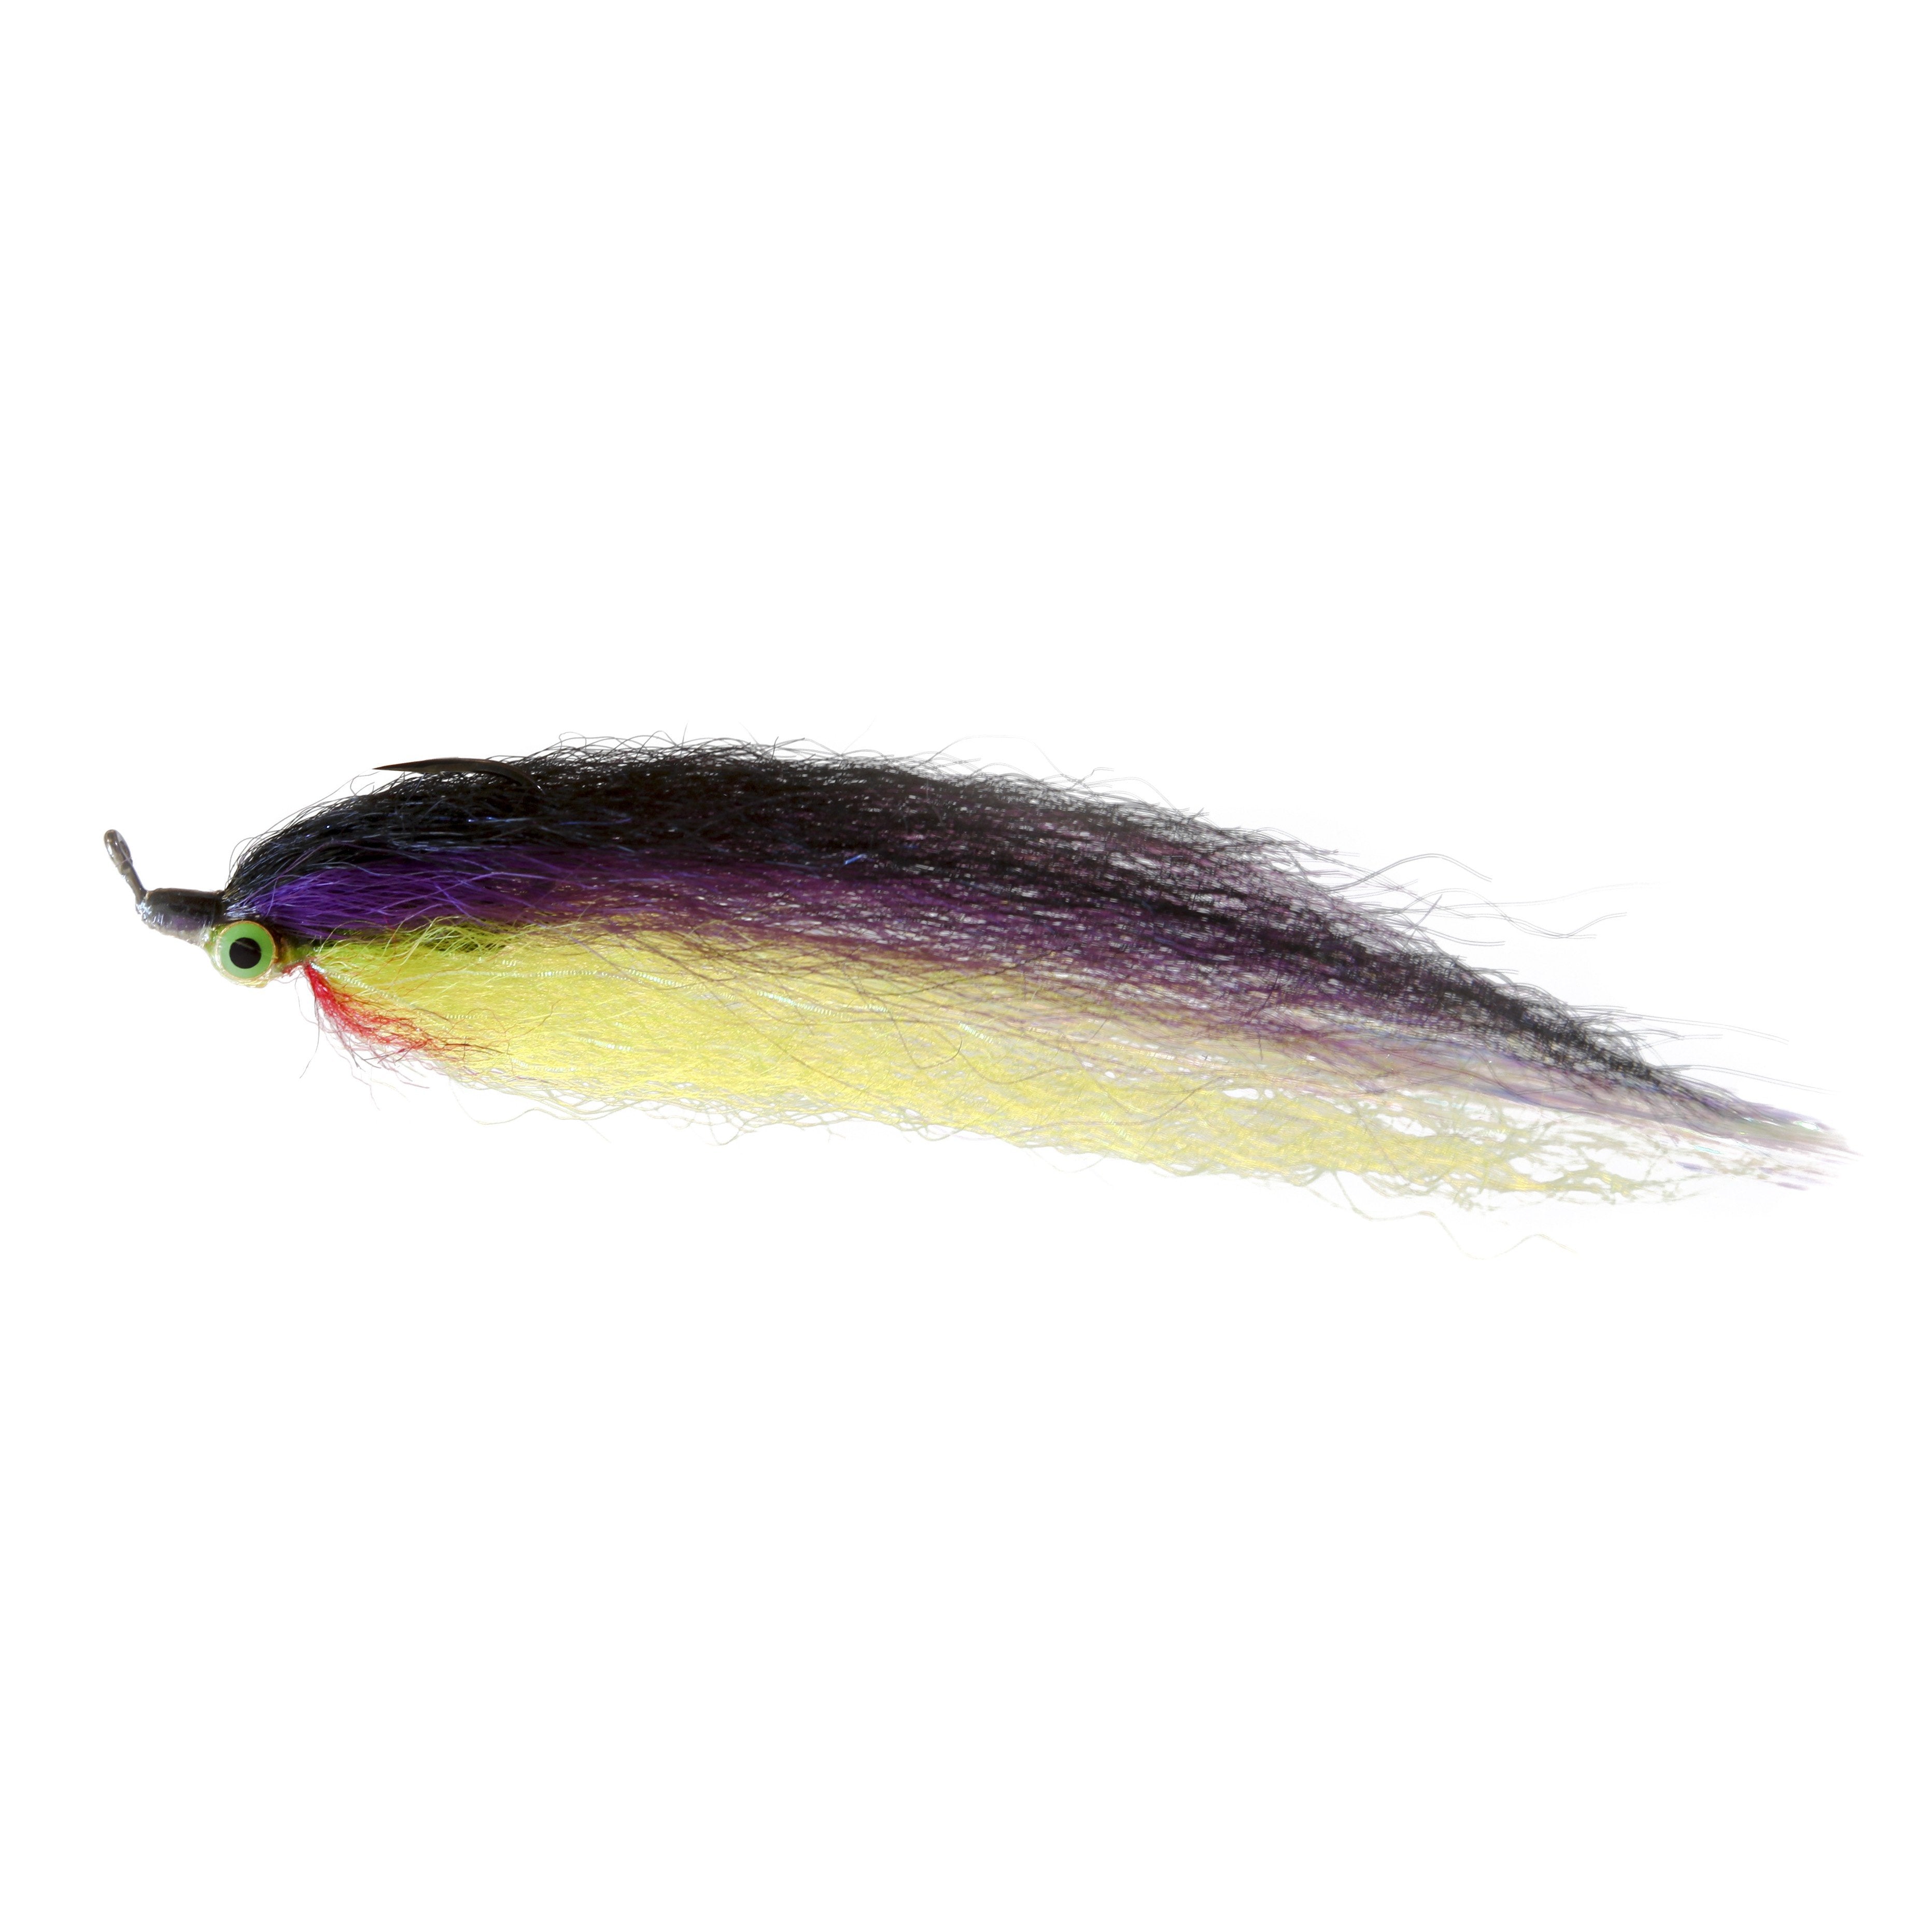
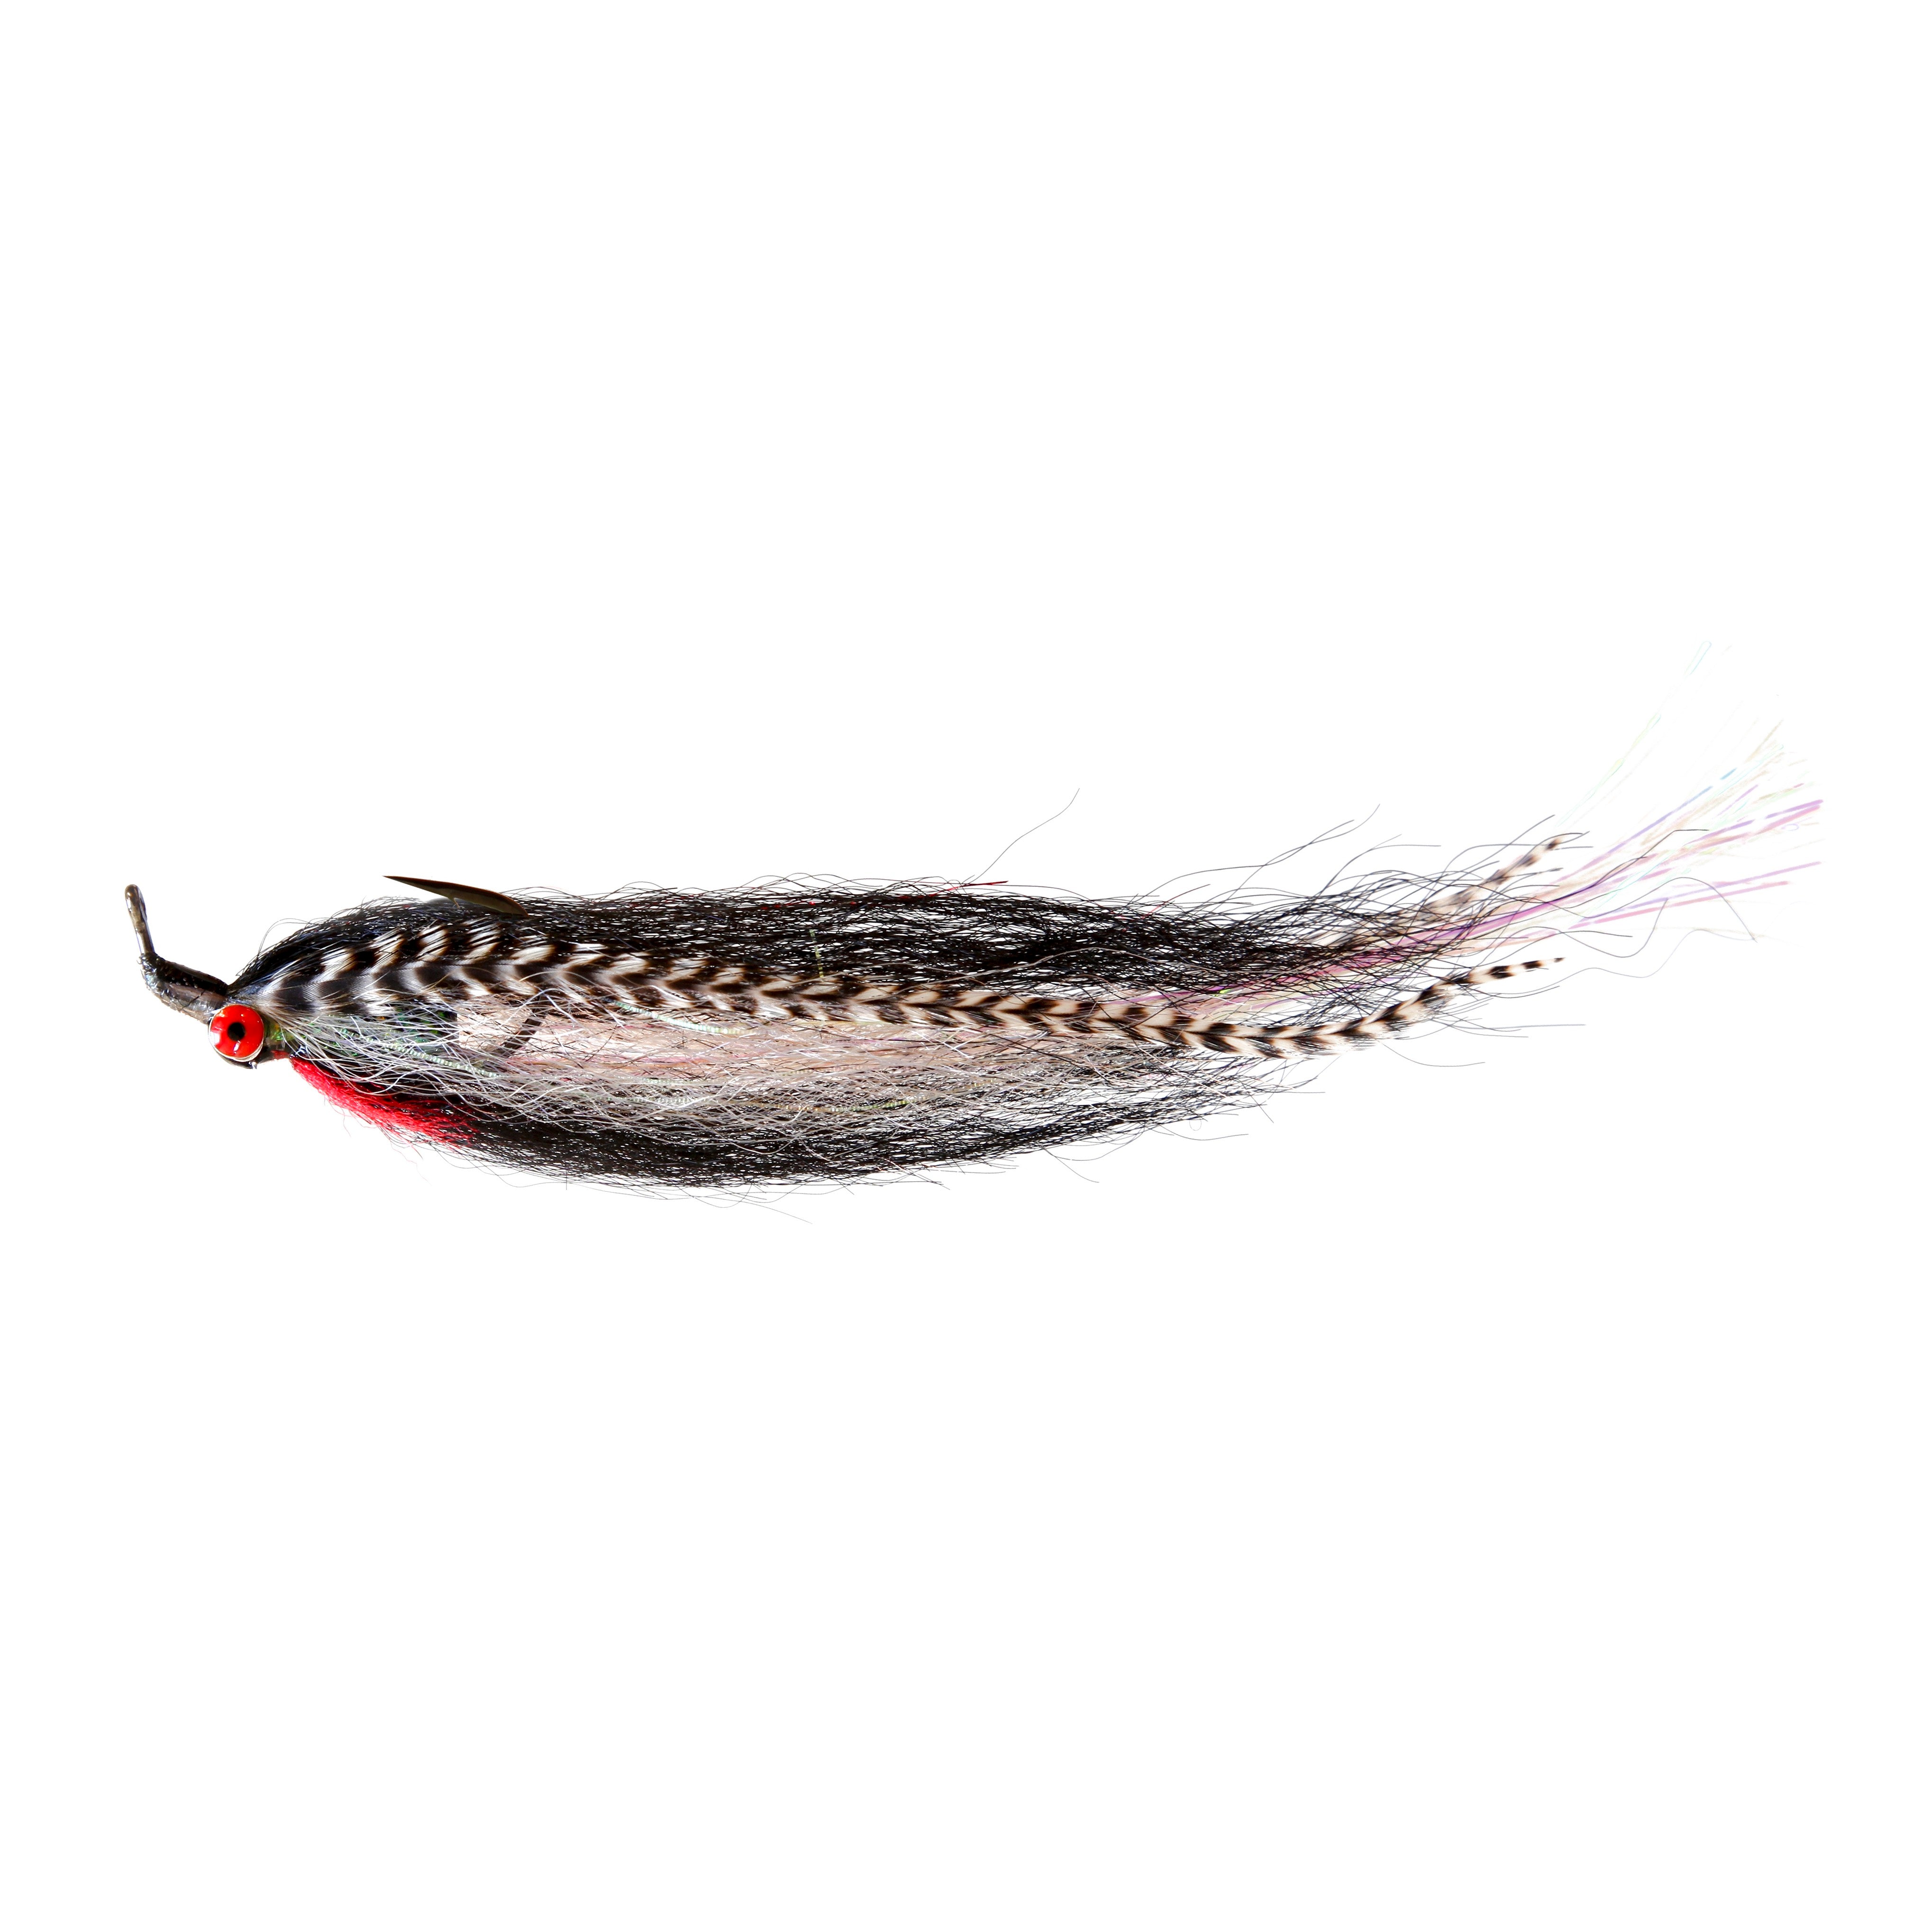
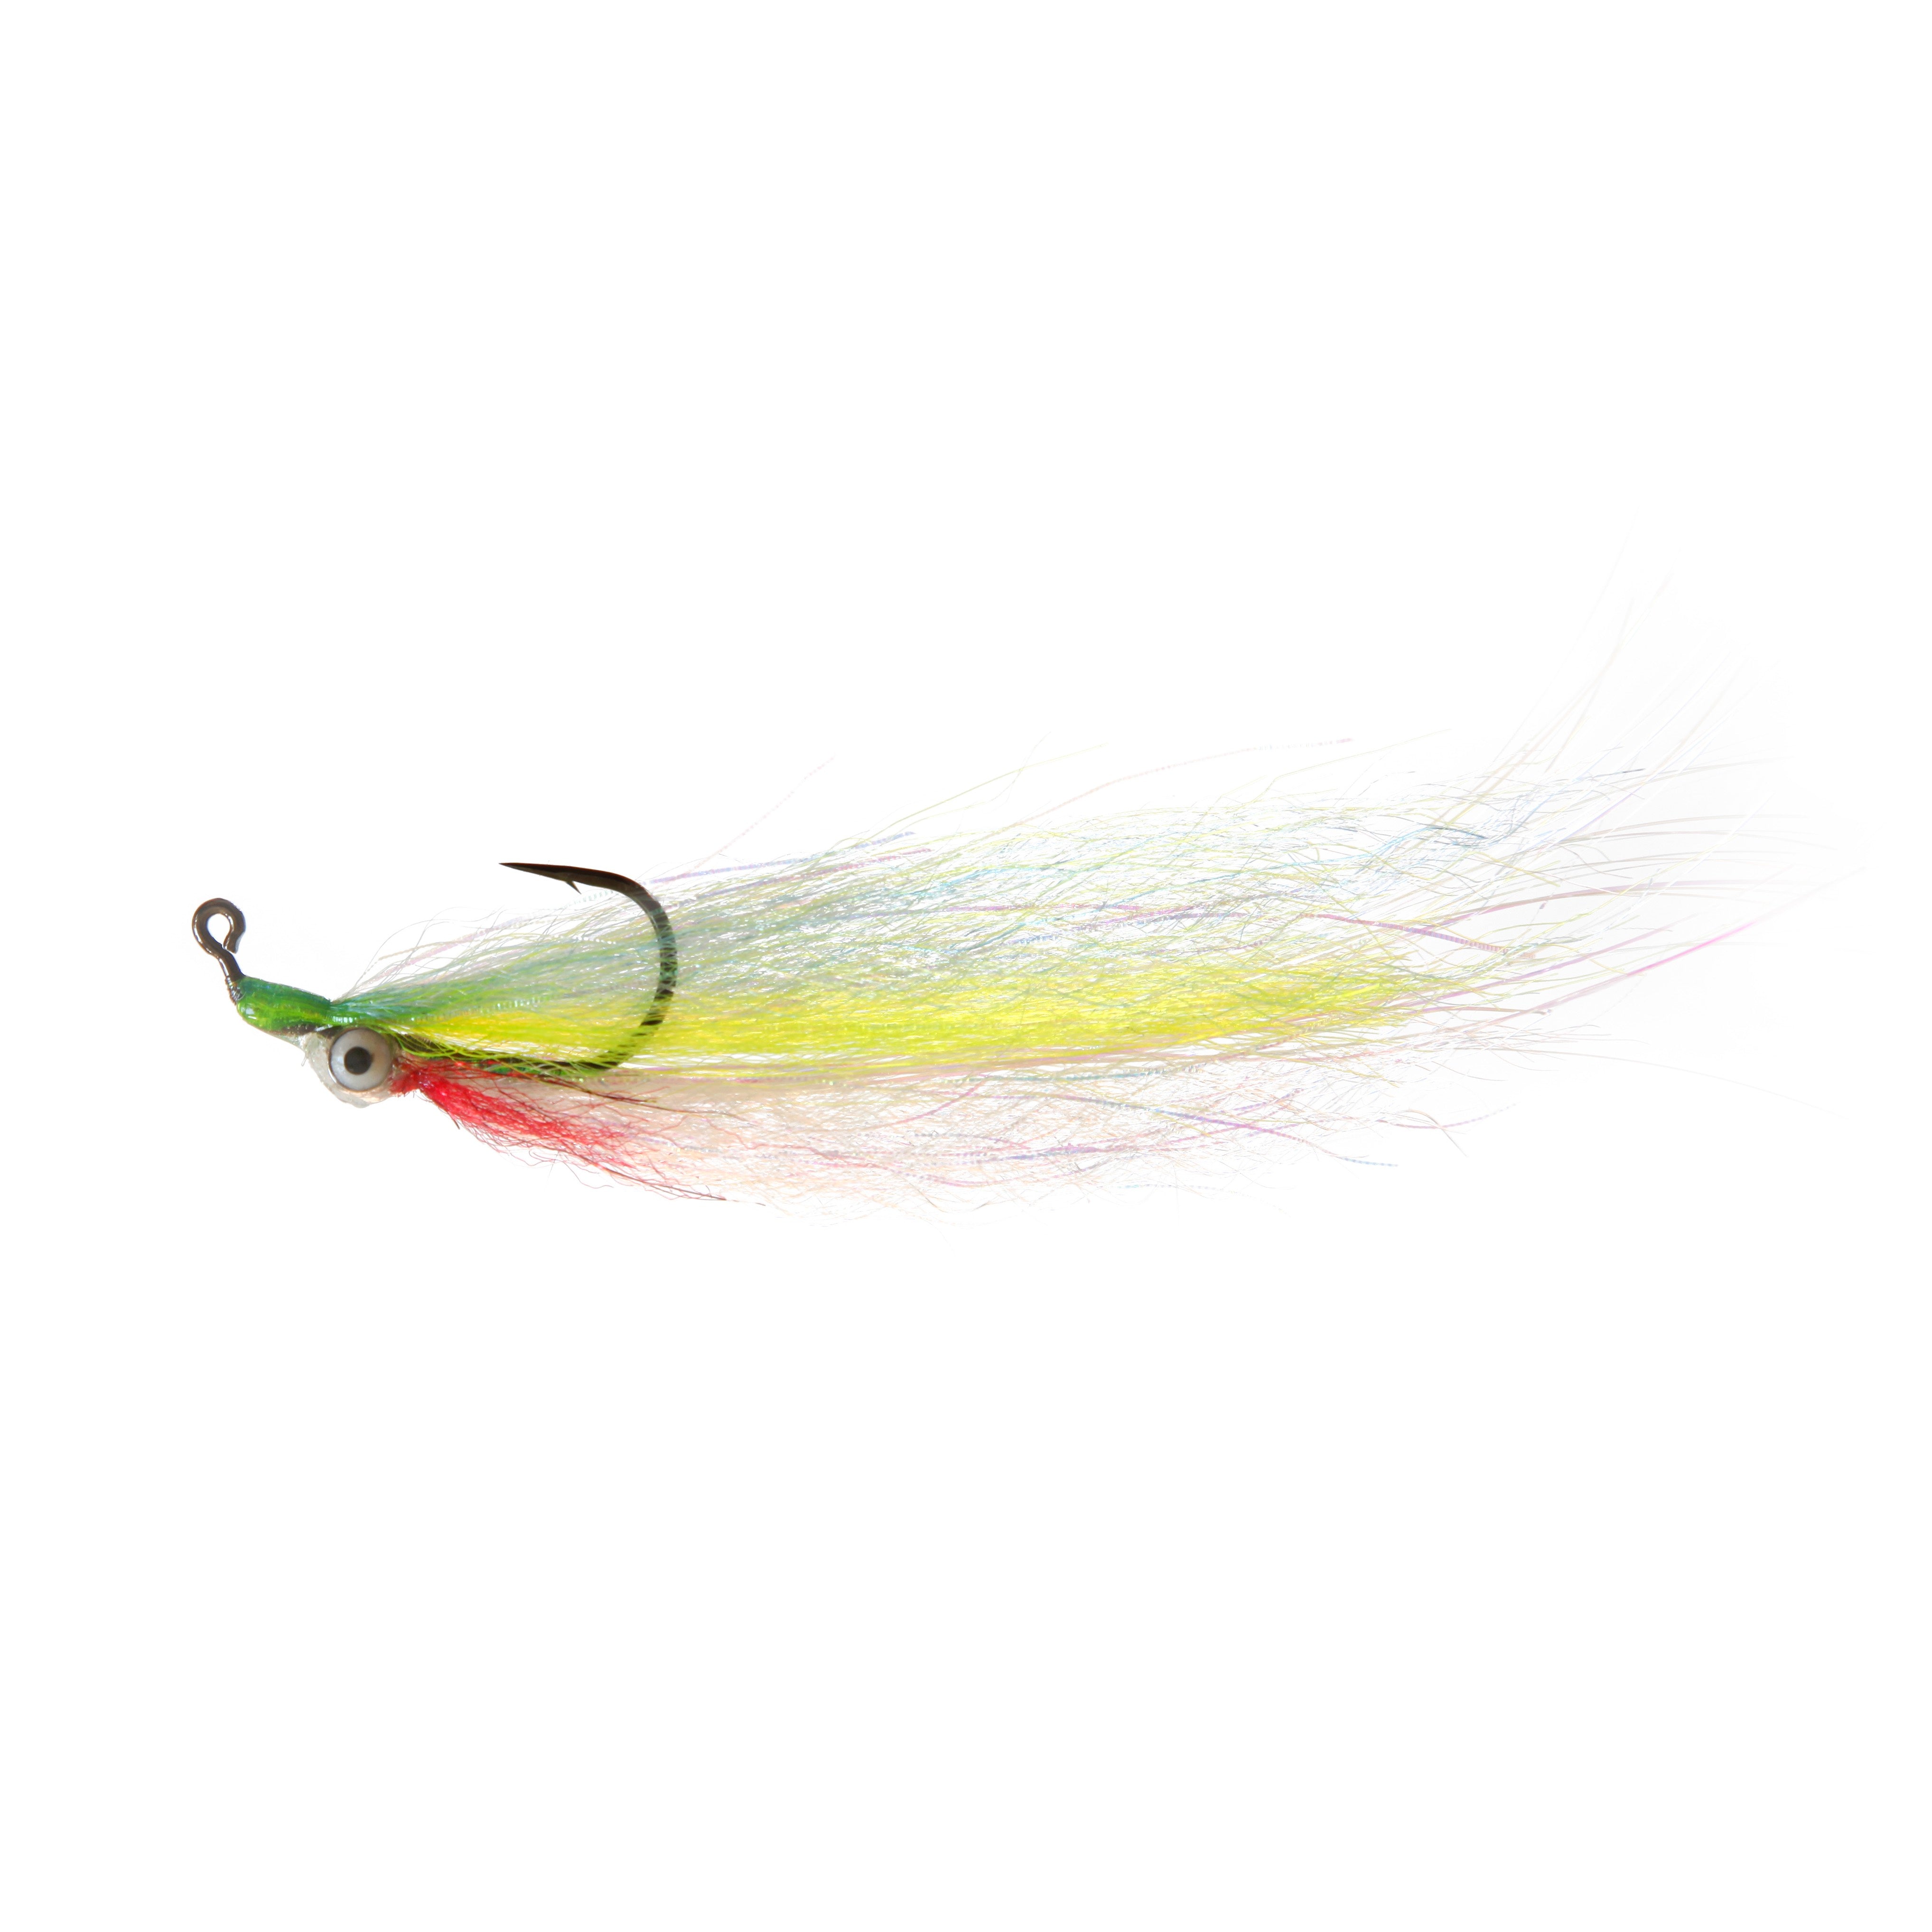
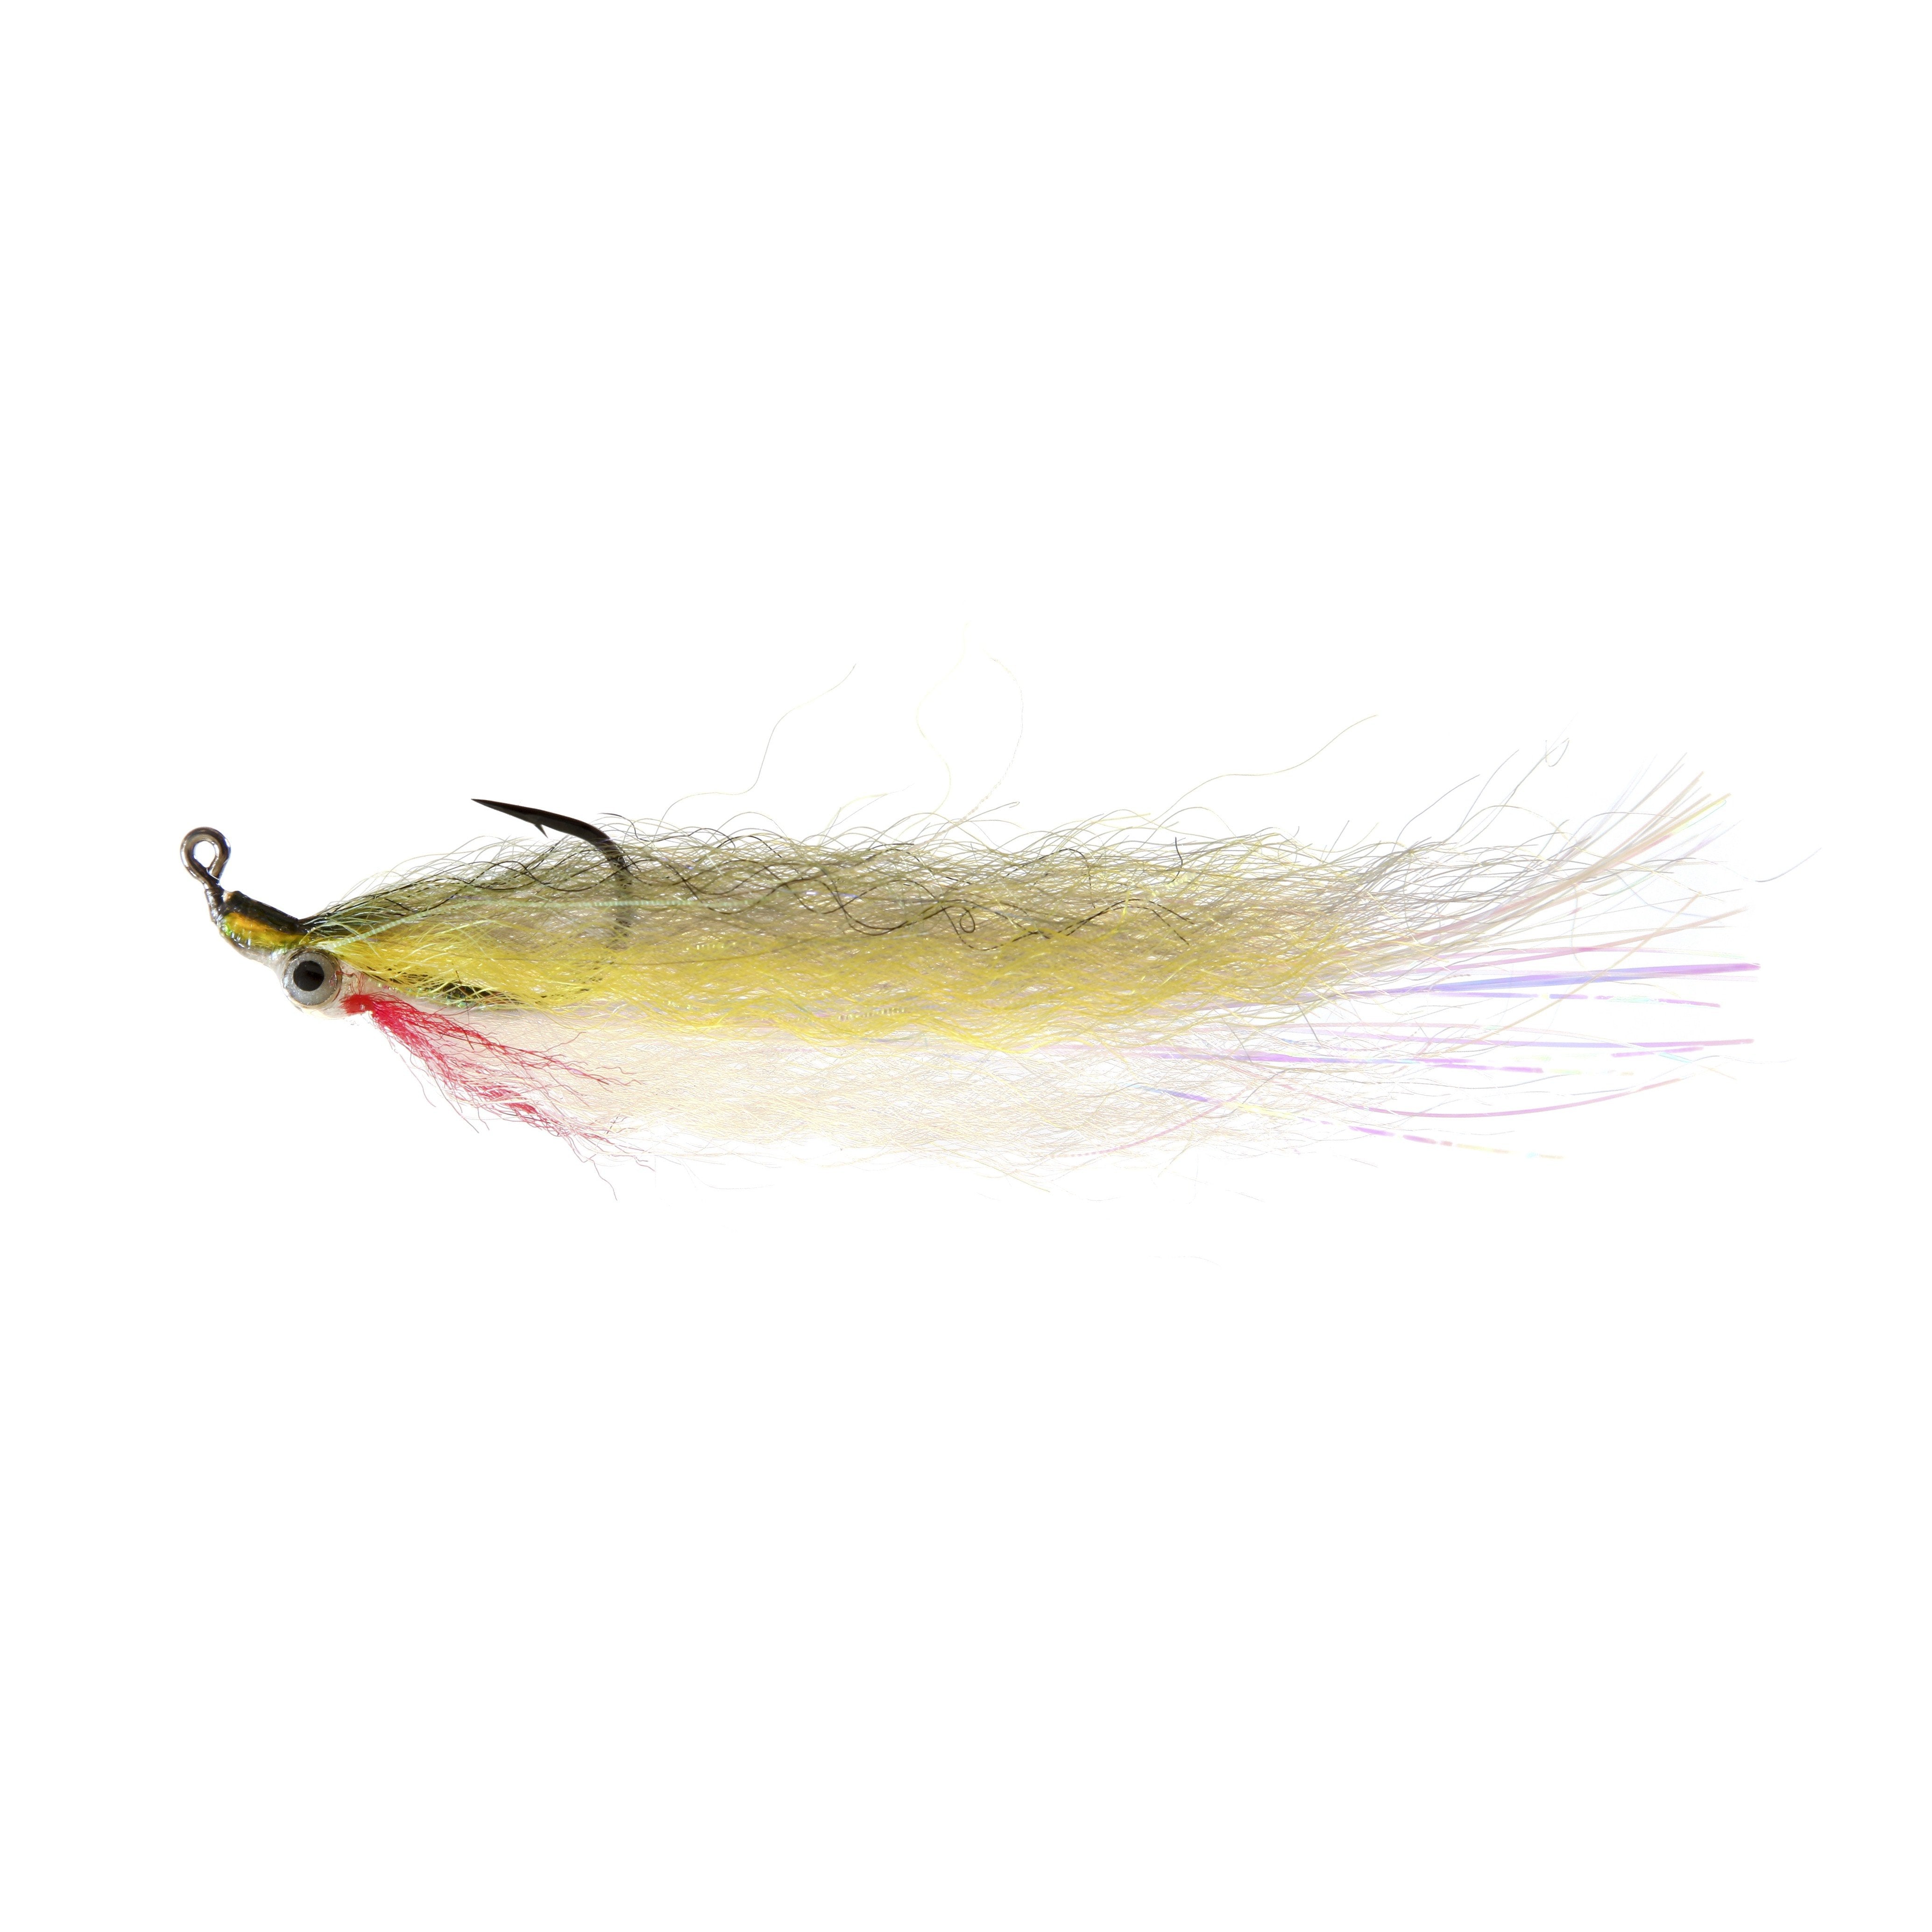
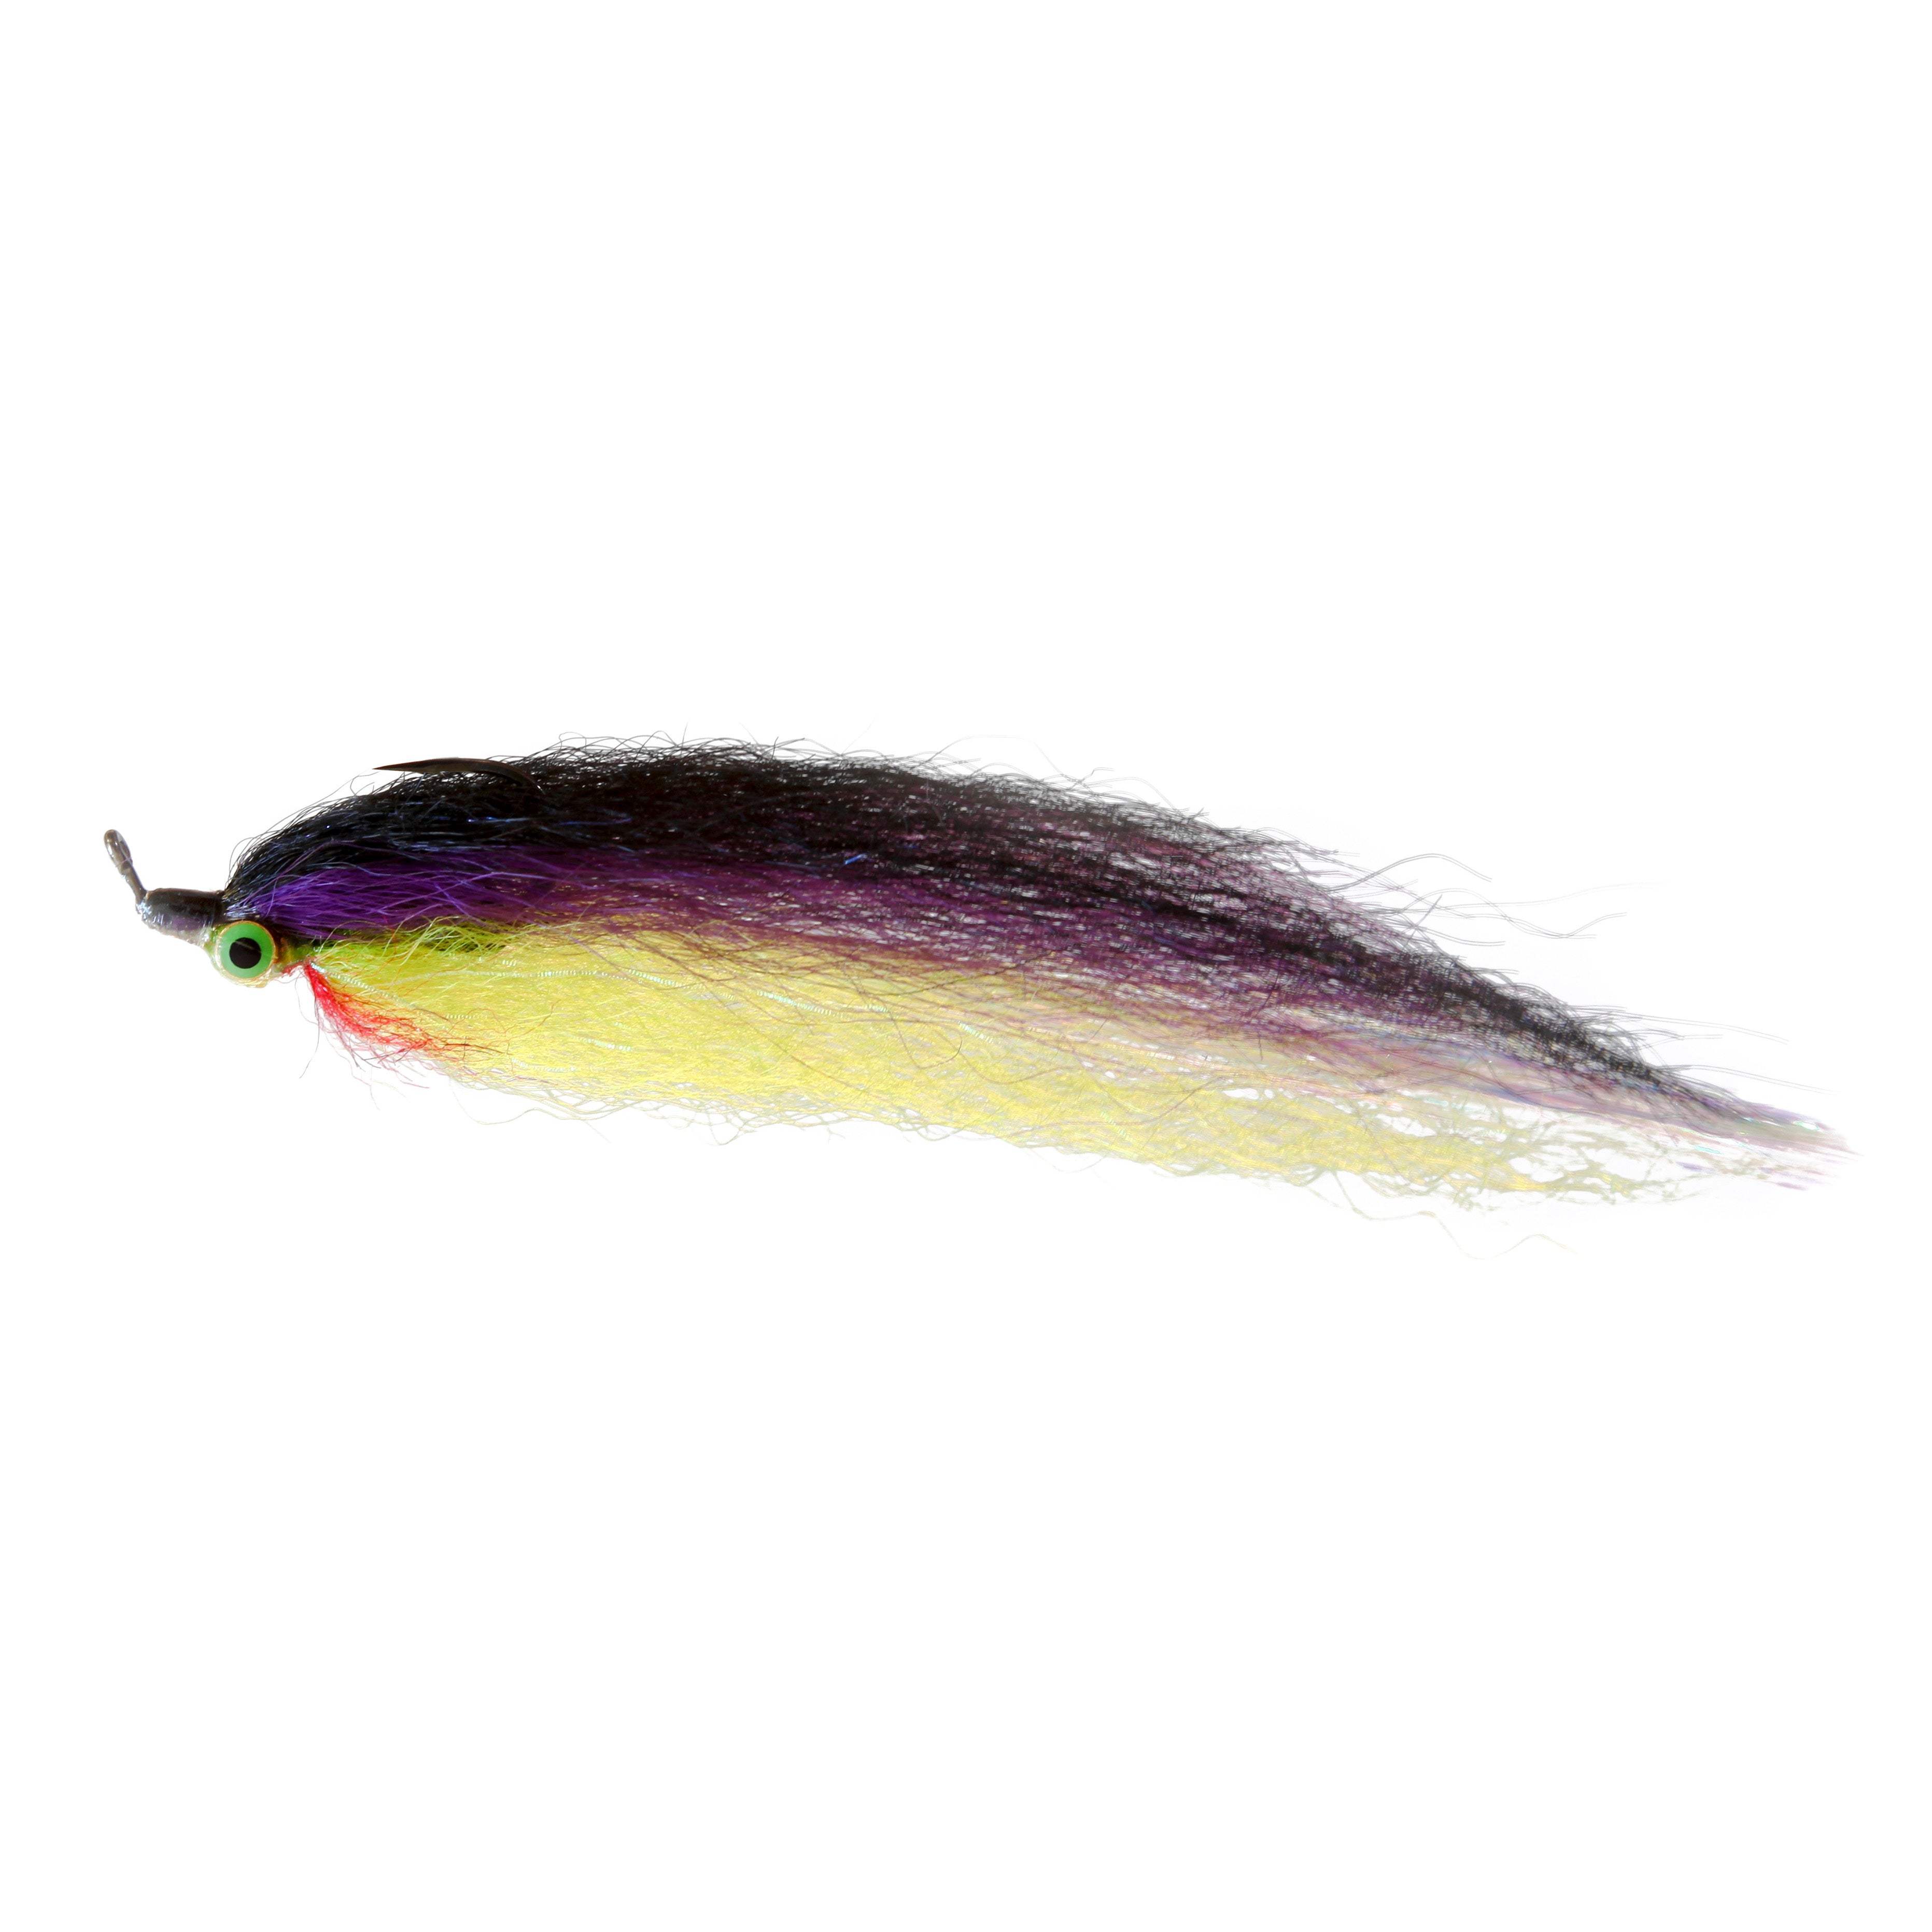
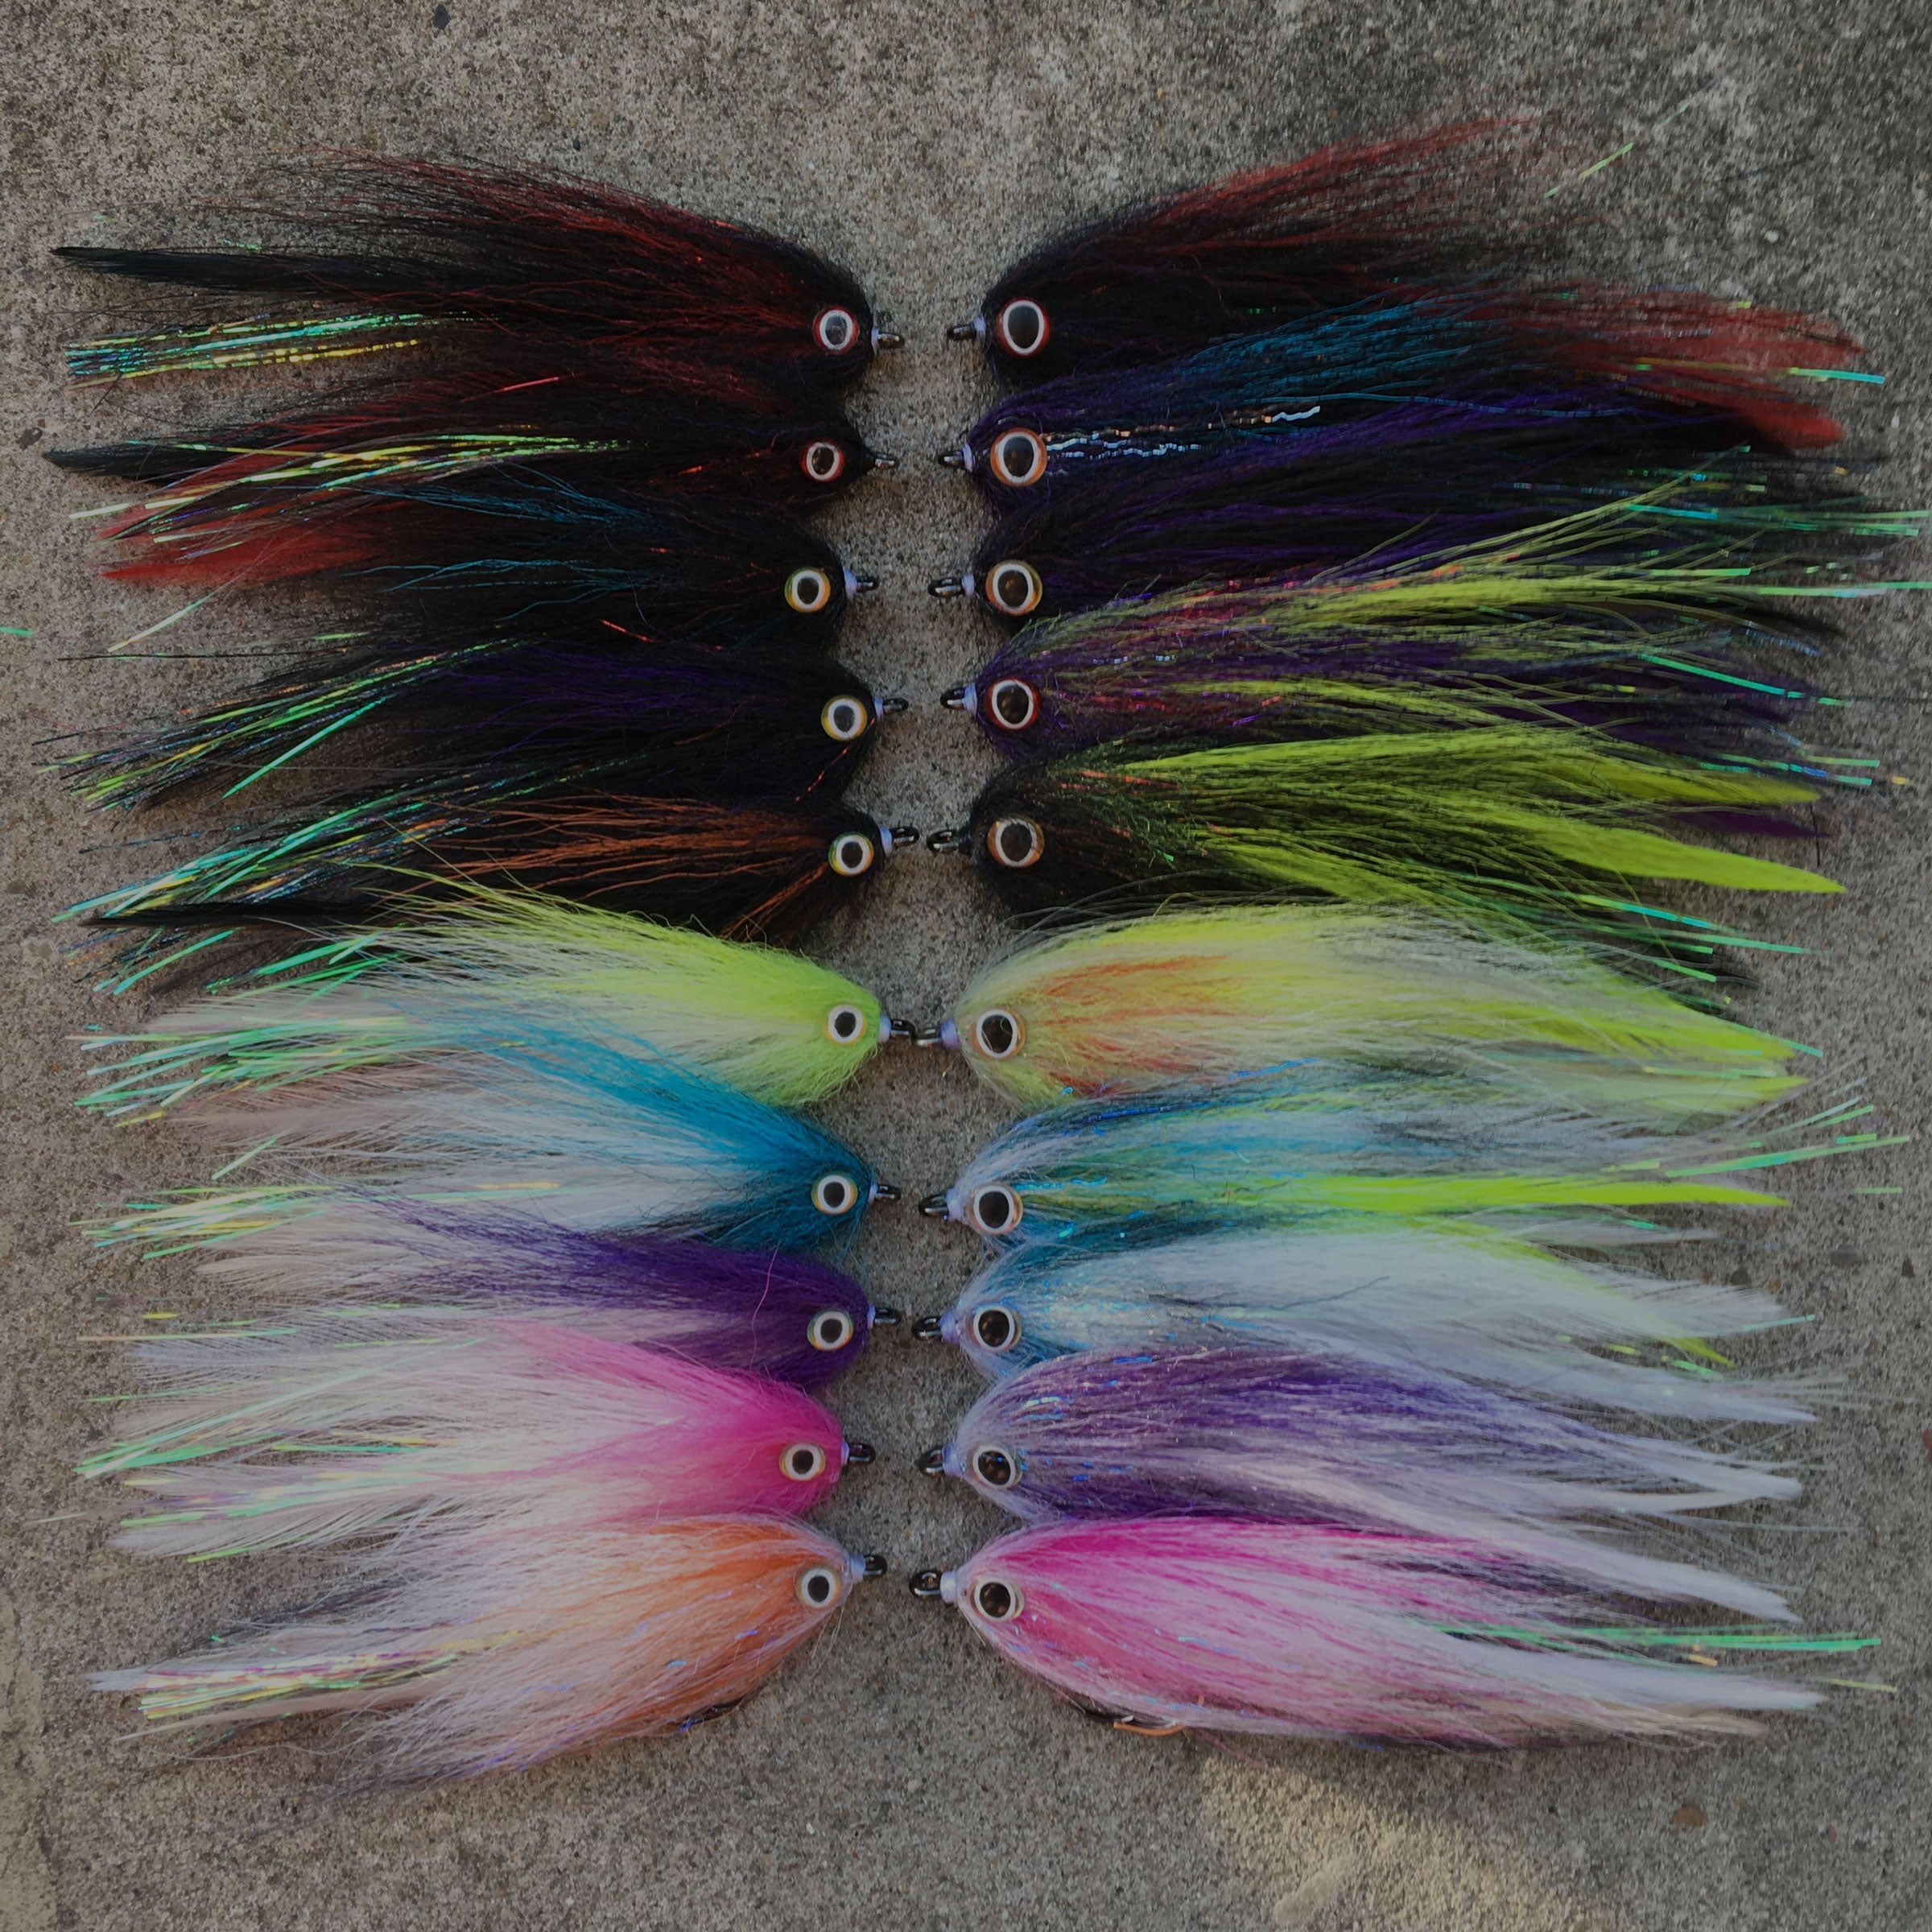
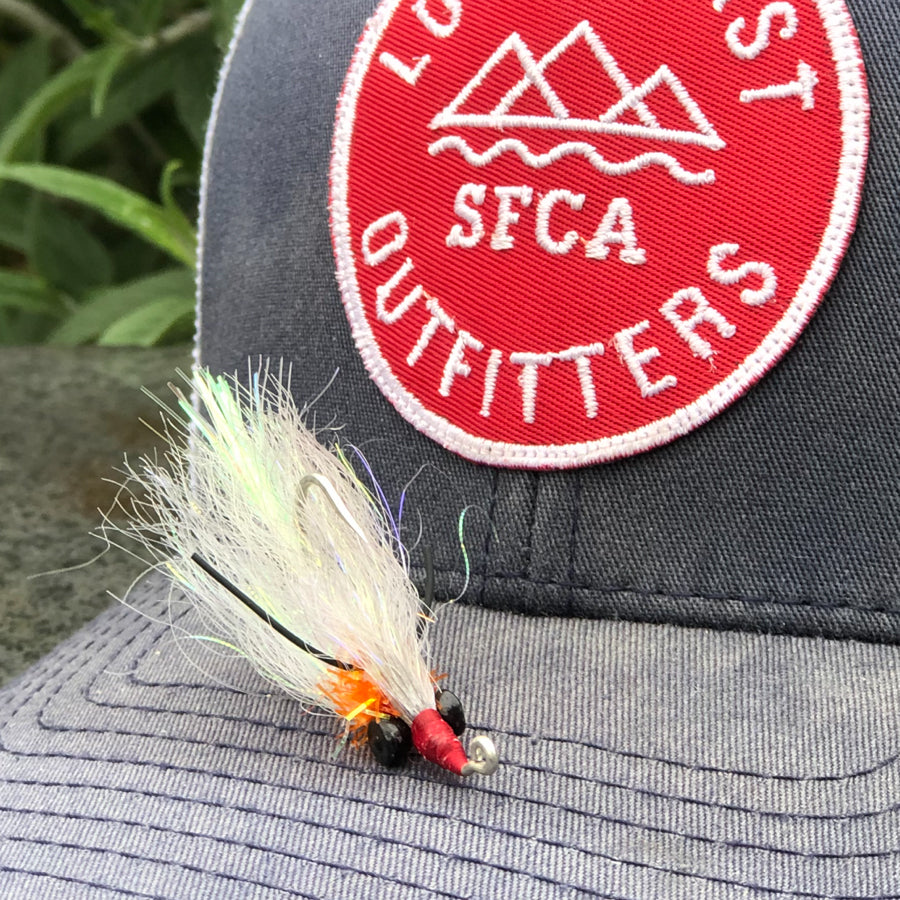
The Adachi Clouser
Tired of tying your own? Need a reference? Shop the Adachi Clouser.