


What Fly Lines to Use for Fly Fishing the Surf
From Crissy Field to Ocean Beach, here’s how to match your fly line to local water conditions—and stay connected to the fish.
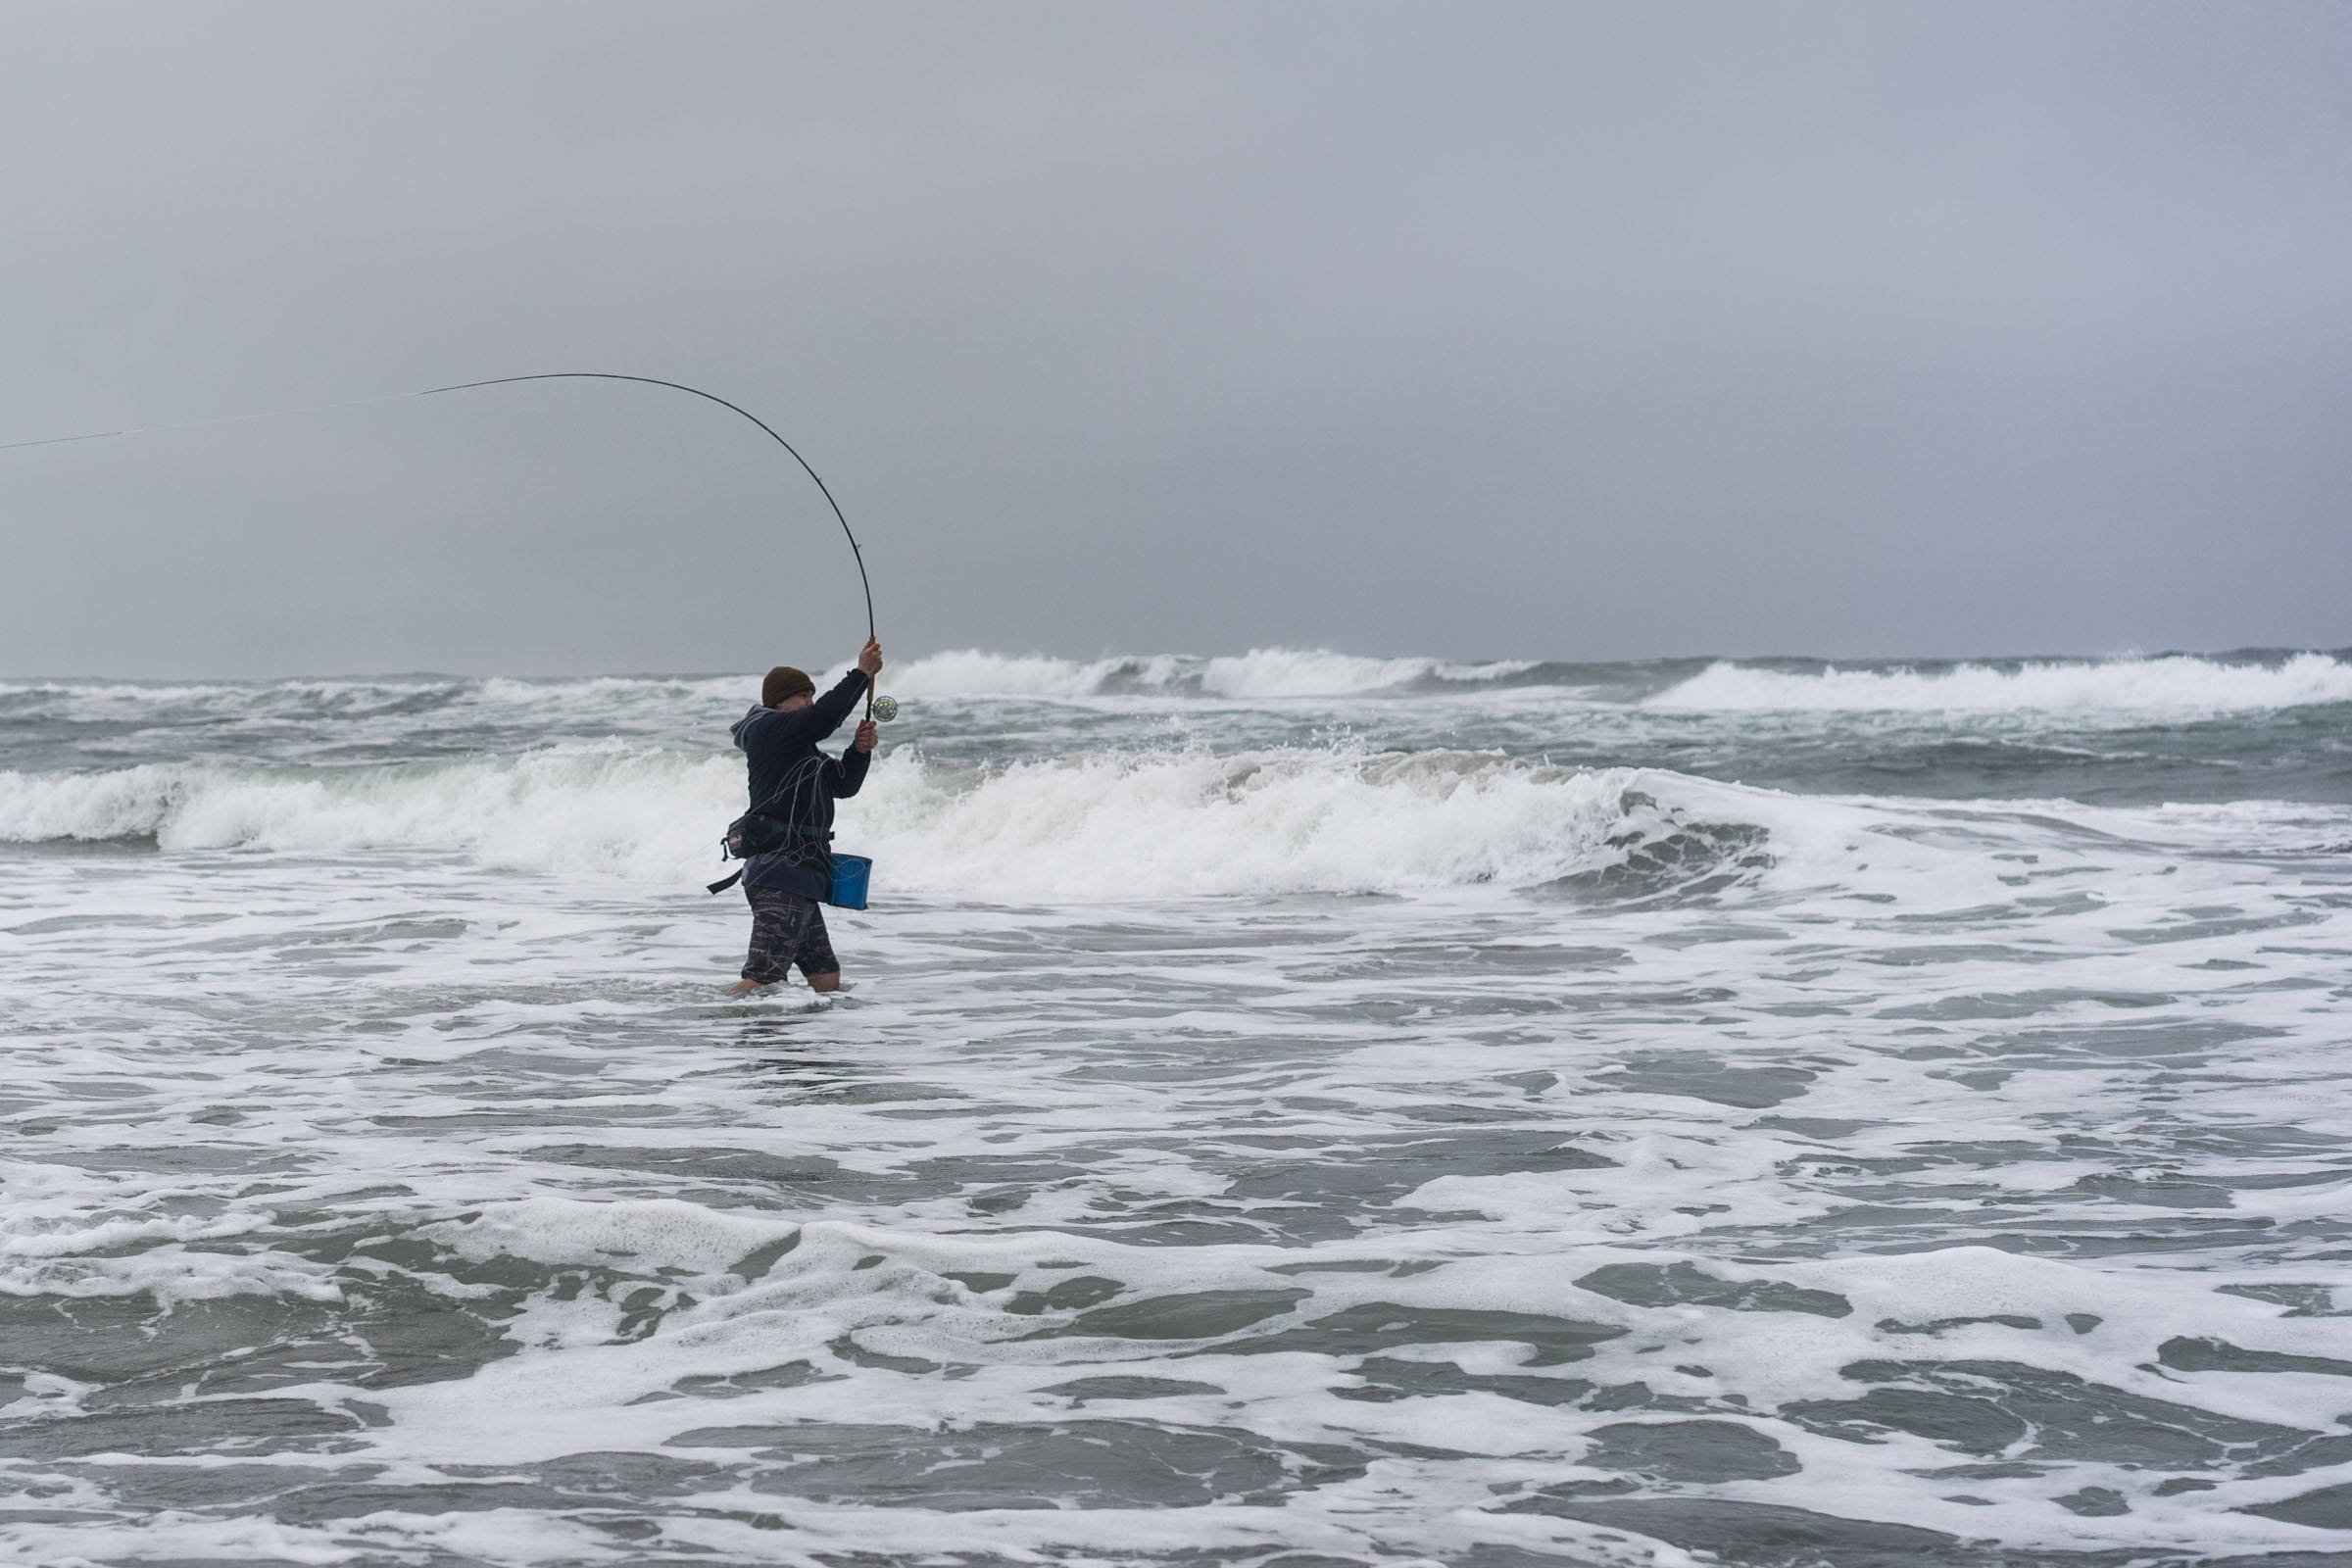
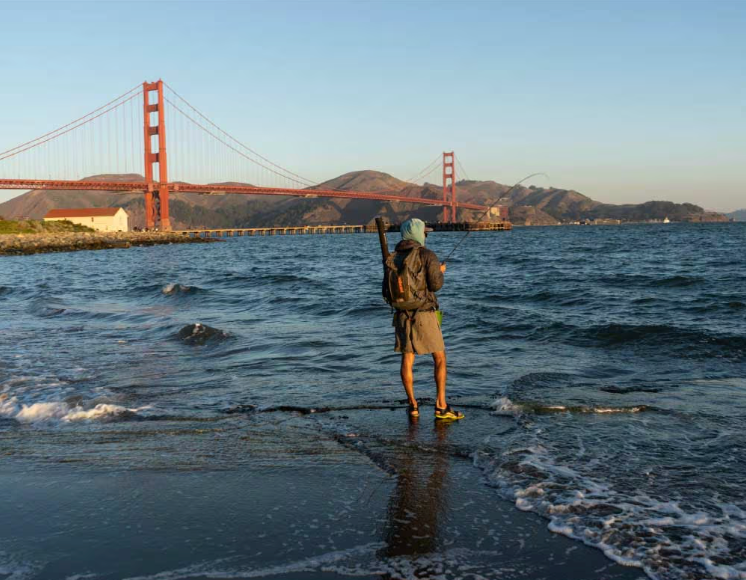
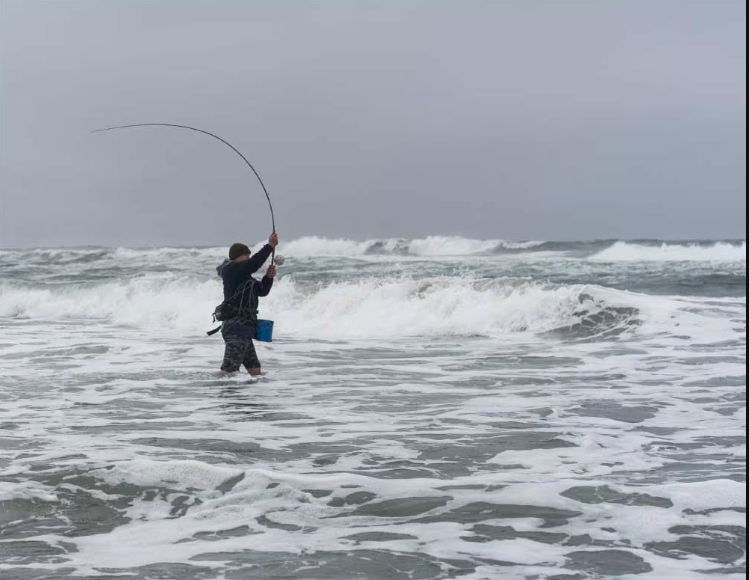
Fly fishing the beaches and bays around San Francisco is one of the most rewarding ways to get your fishing fix without leaving the coast. The challenge? Finding the right fly line setup for the ever-changing surf.
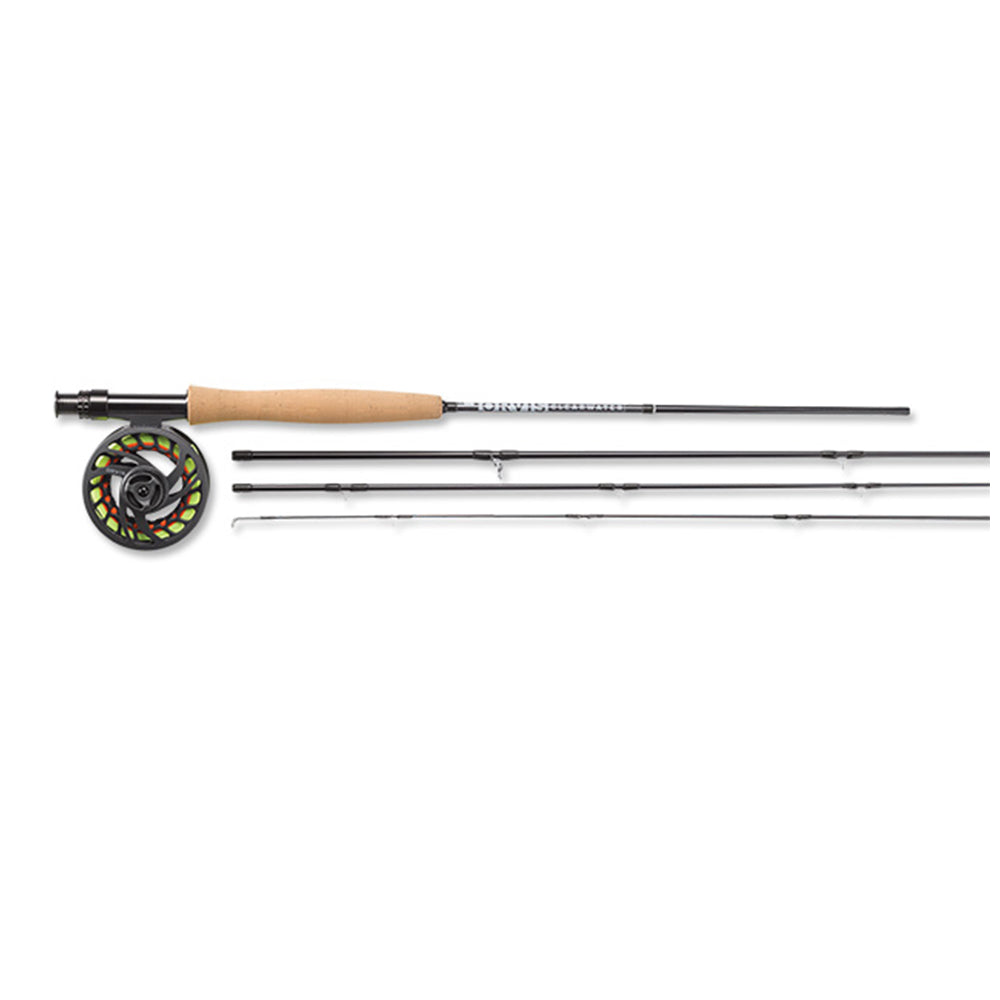
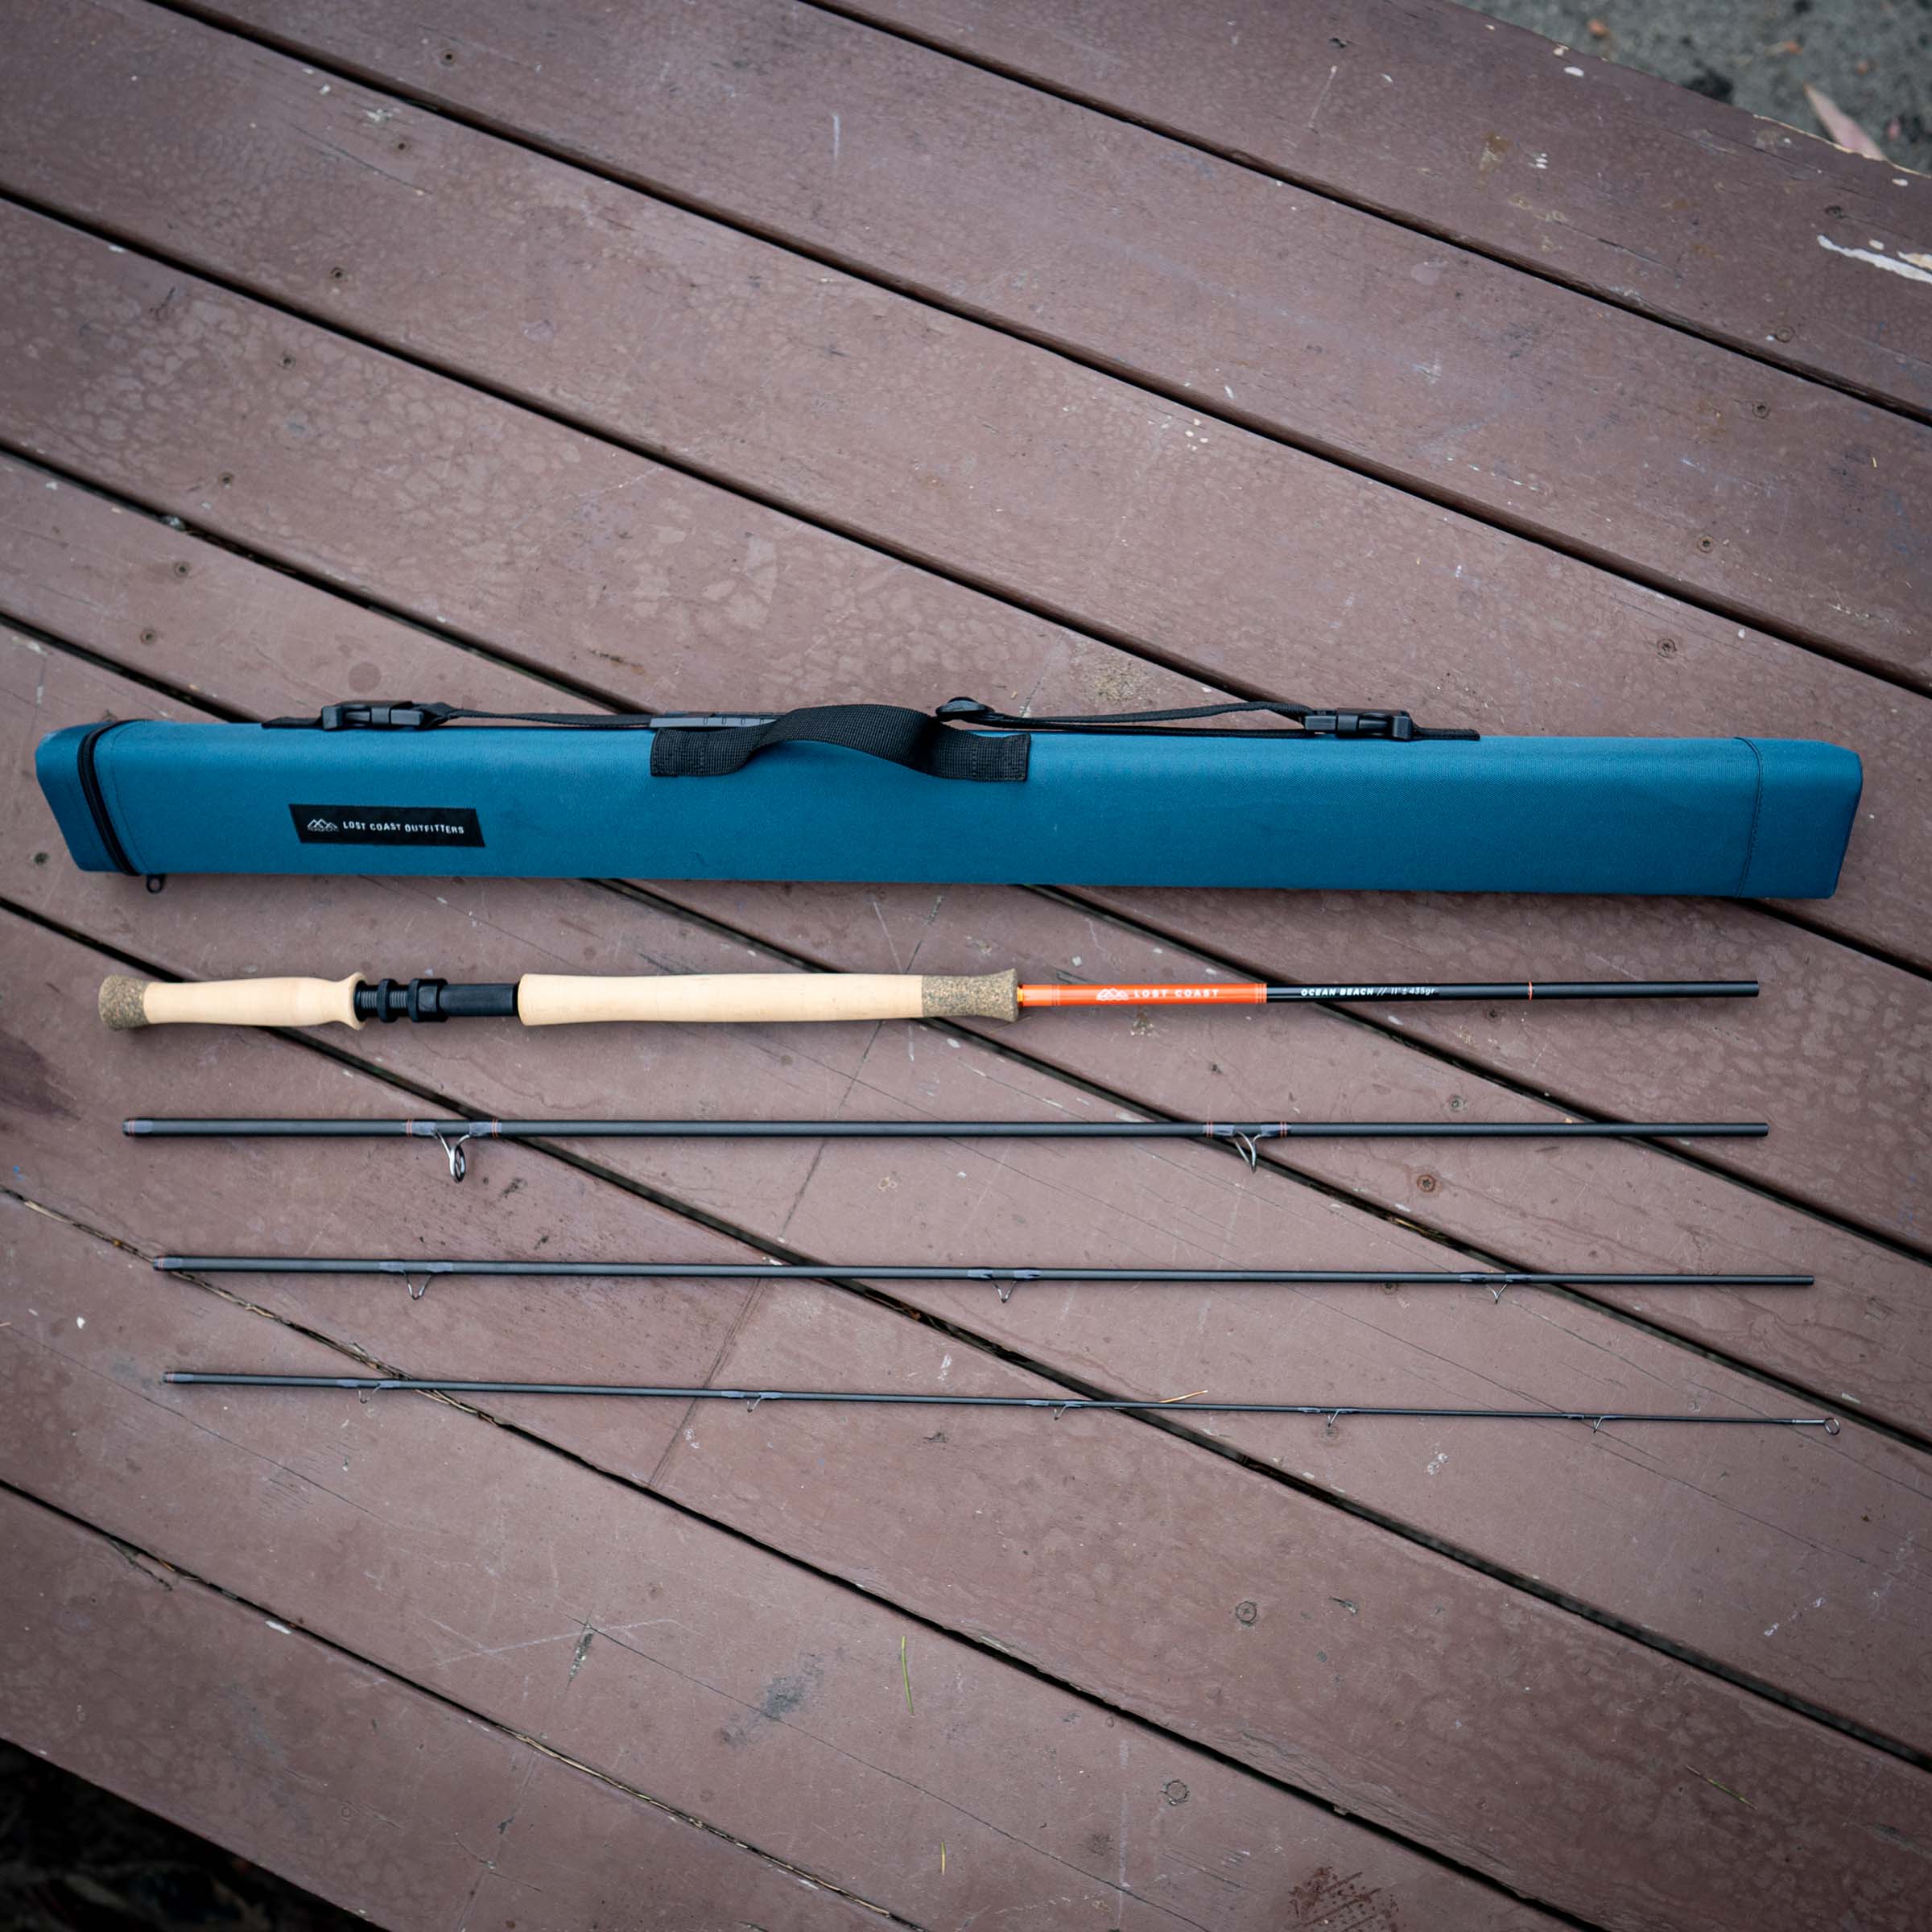
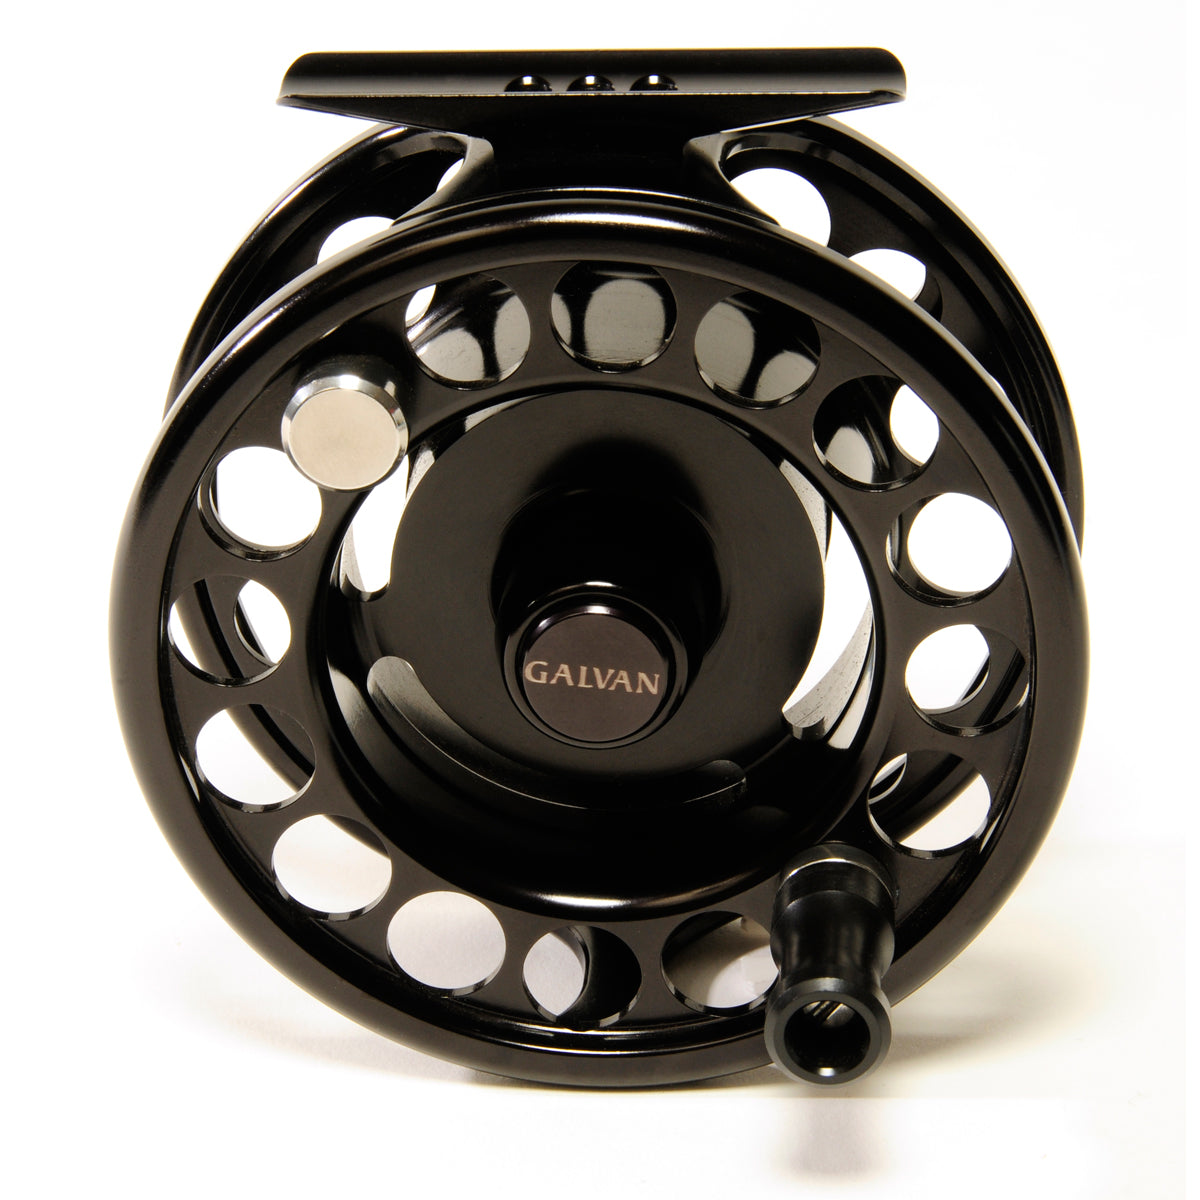
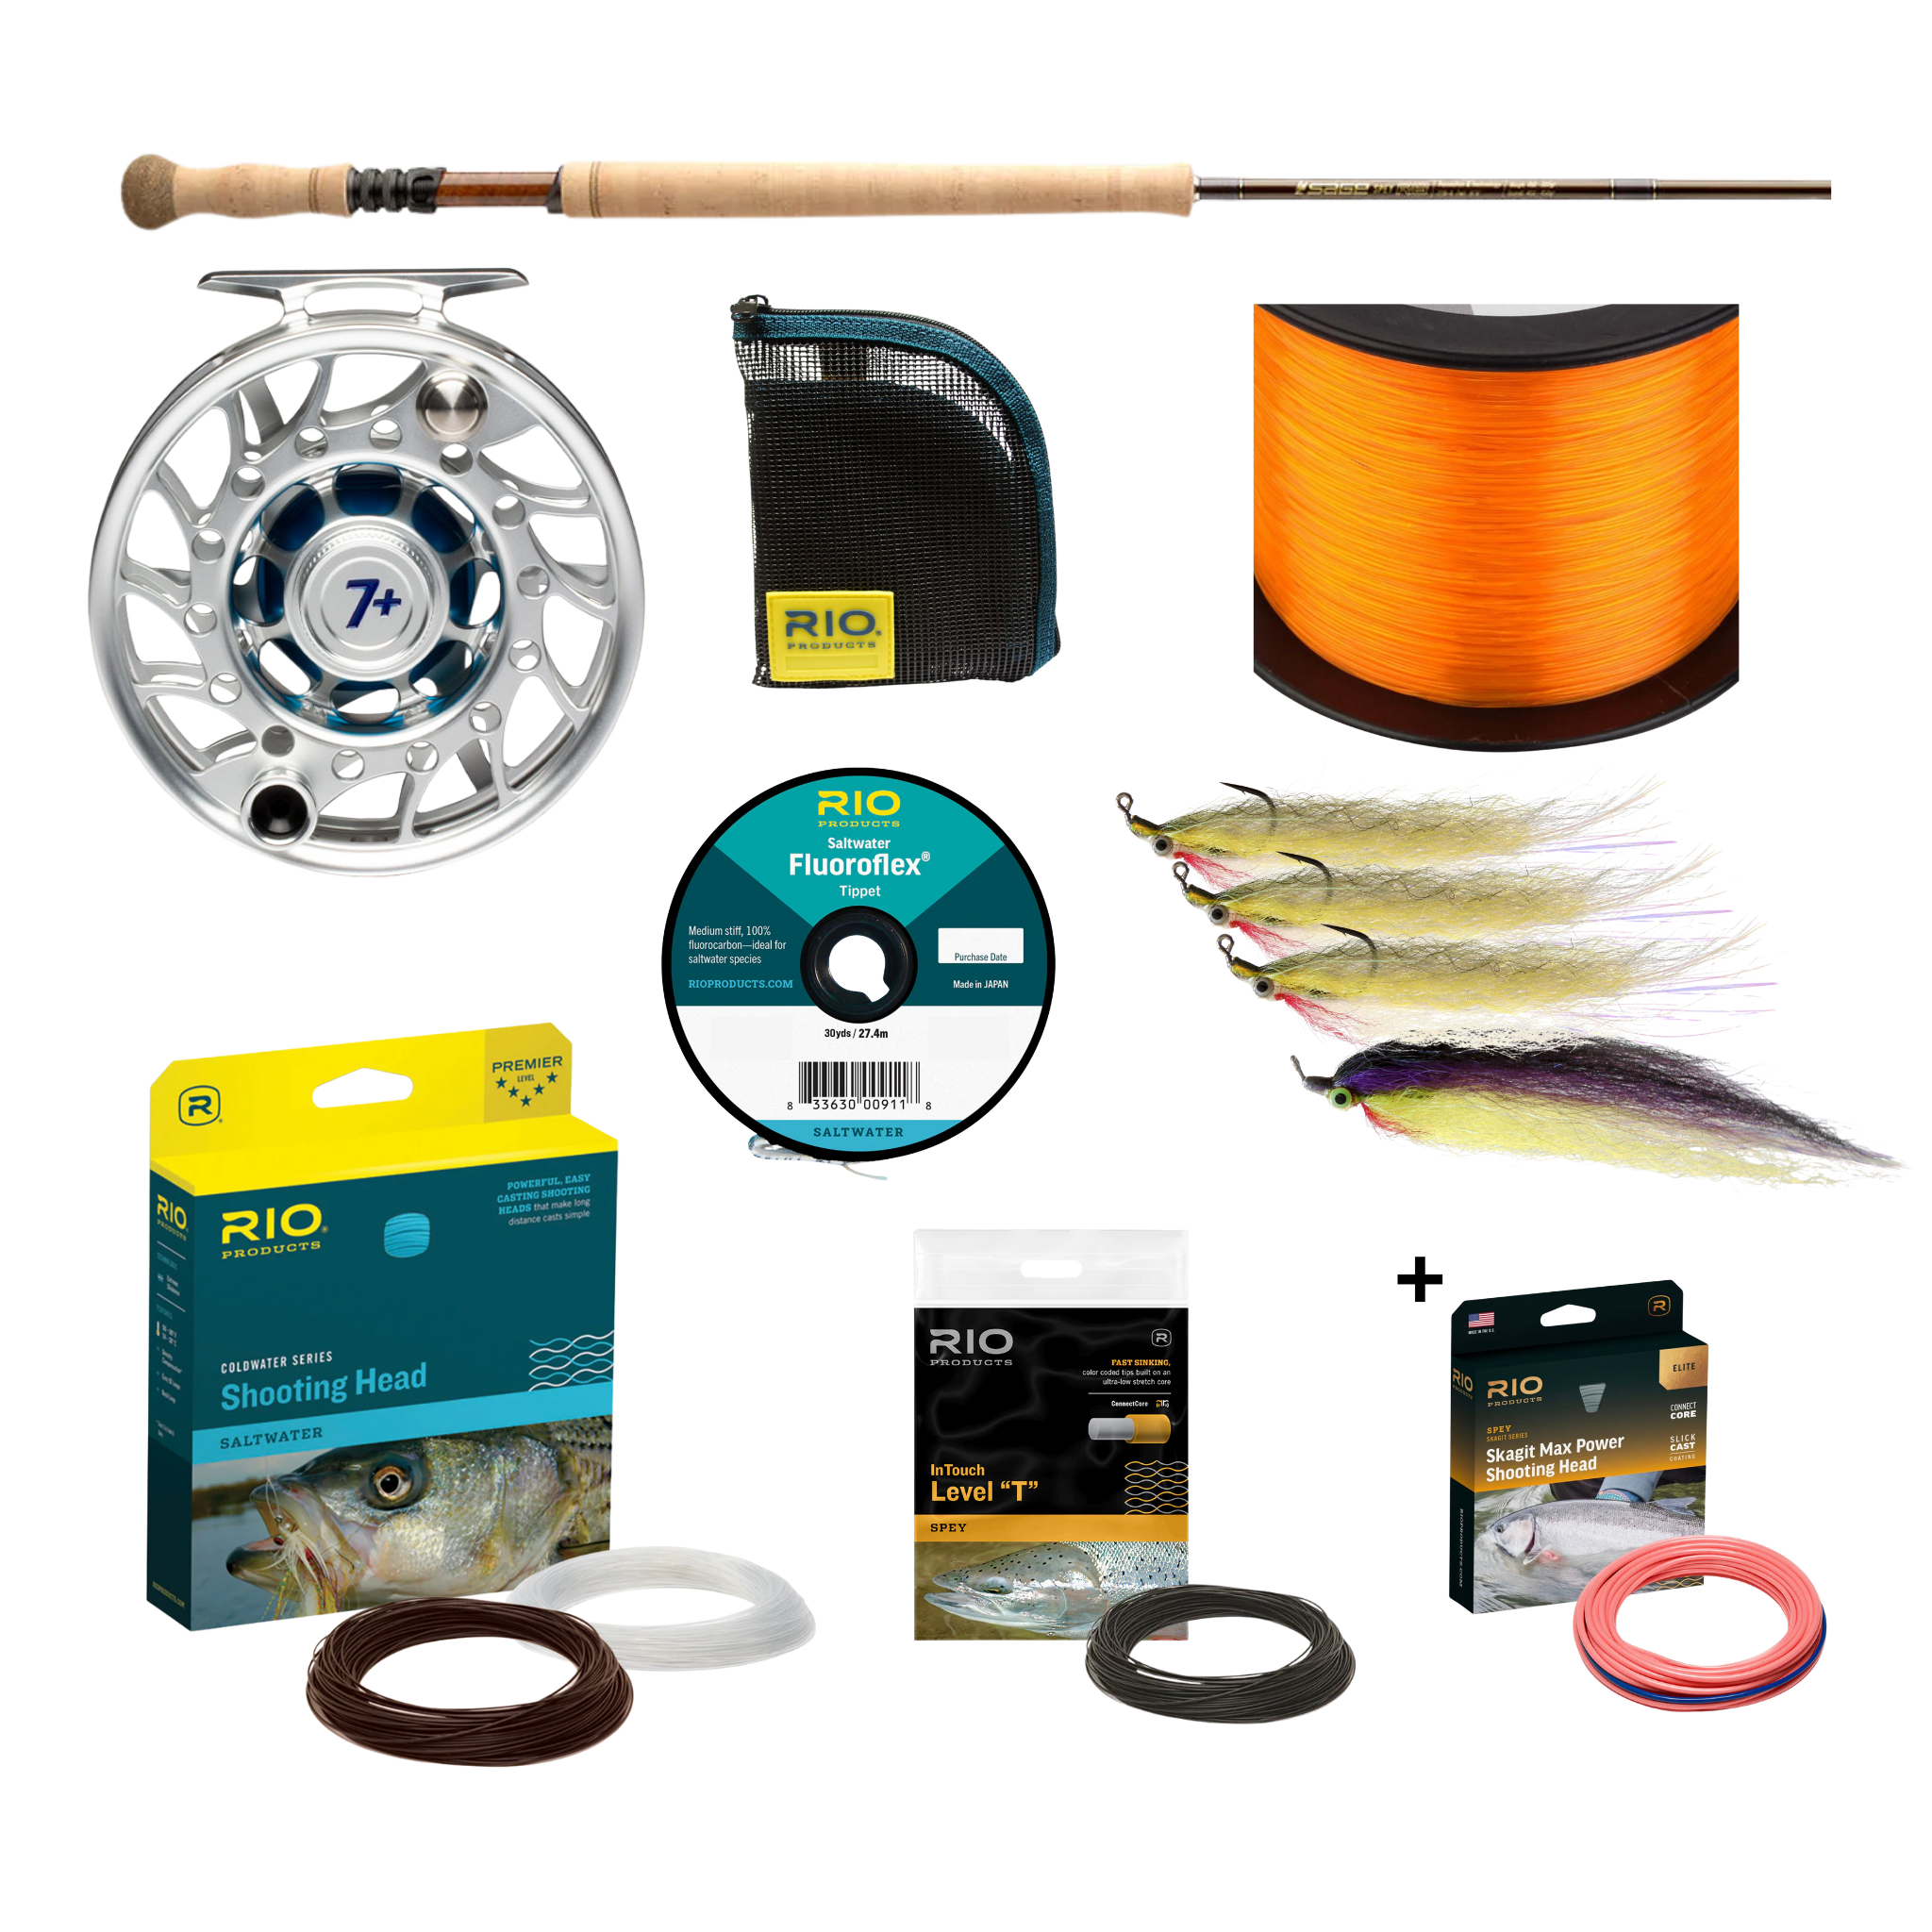
At Lost Coast Outfitters, our go-to system is an interchangeable RIO OutBound Short shooting head setup. It’s flexible, compact, and lets us fish multiple beaches and conditions without constantly re-spooling. If you tend to fish one location—say, Crissy Field or Stinson Beach—you can easily get away with a single integrated OutBound Short line. But for those of us who roam between the Bay, Delta, and open coast, interchangeable heads make all the difference.
While there are plenty of fly lines on the market, few are built specifically for California’s surf and bays. This guide breaks down the system we trust—and how to build it right.
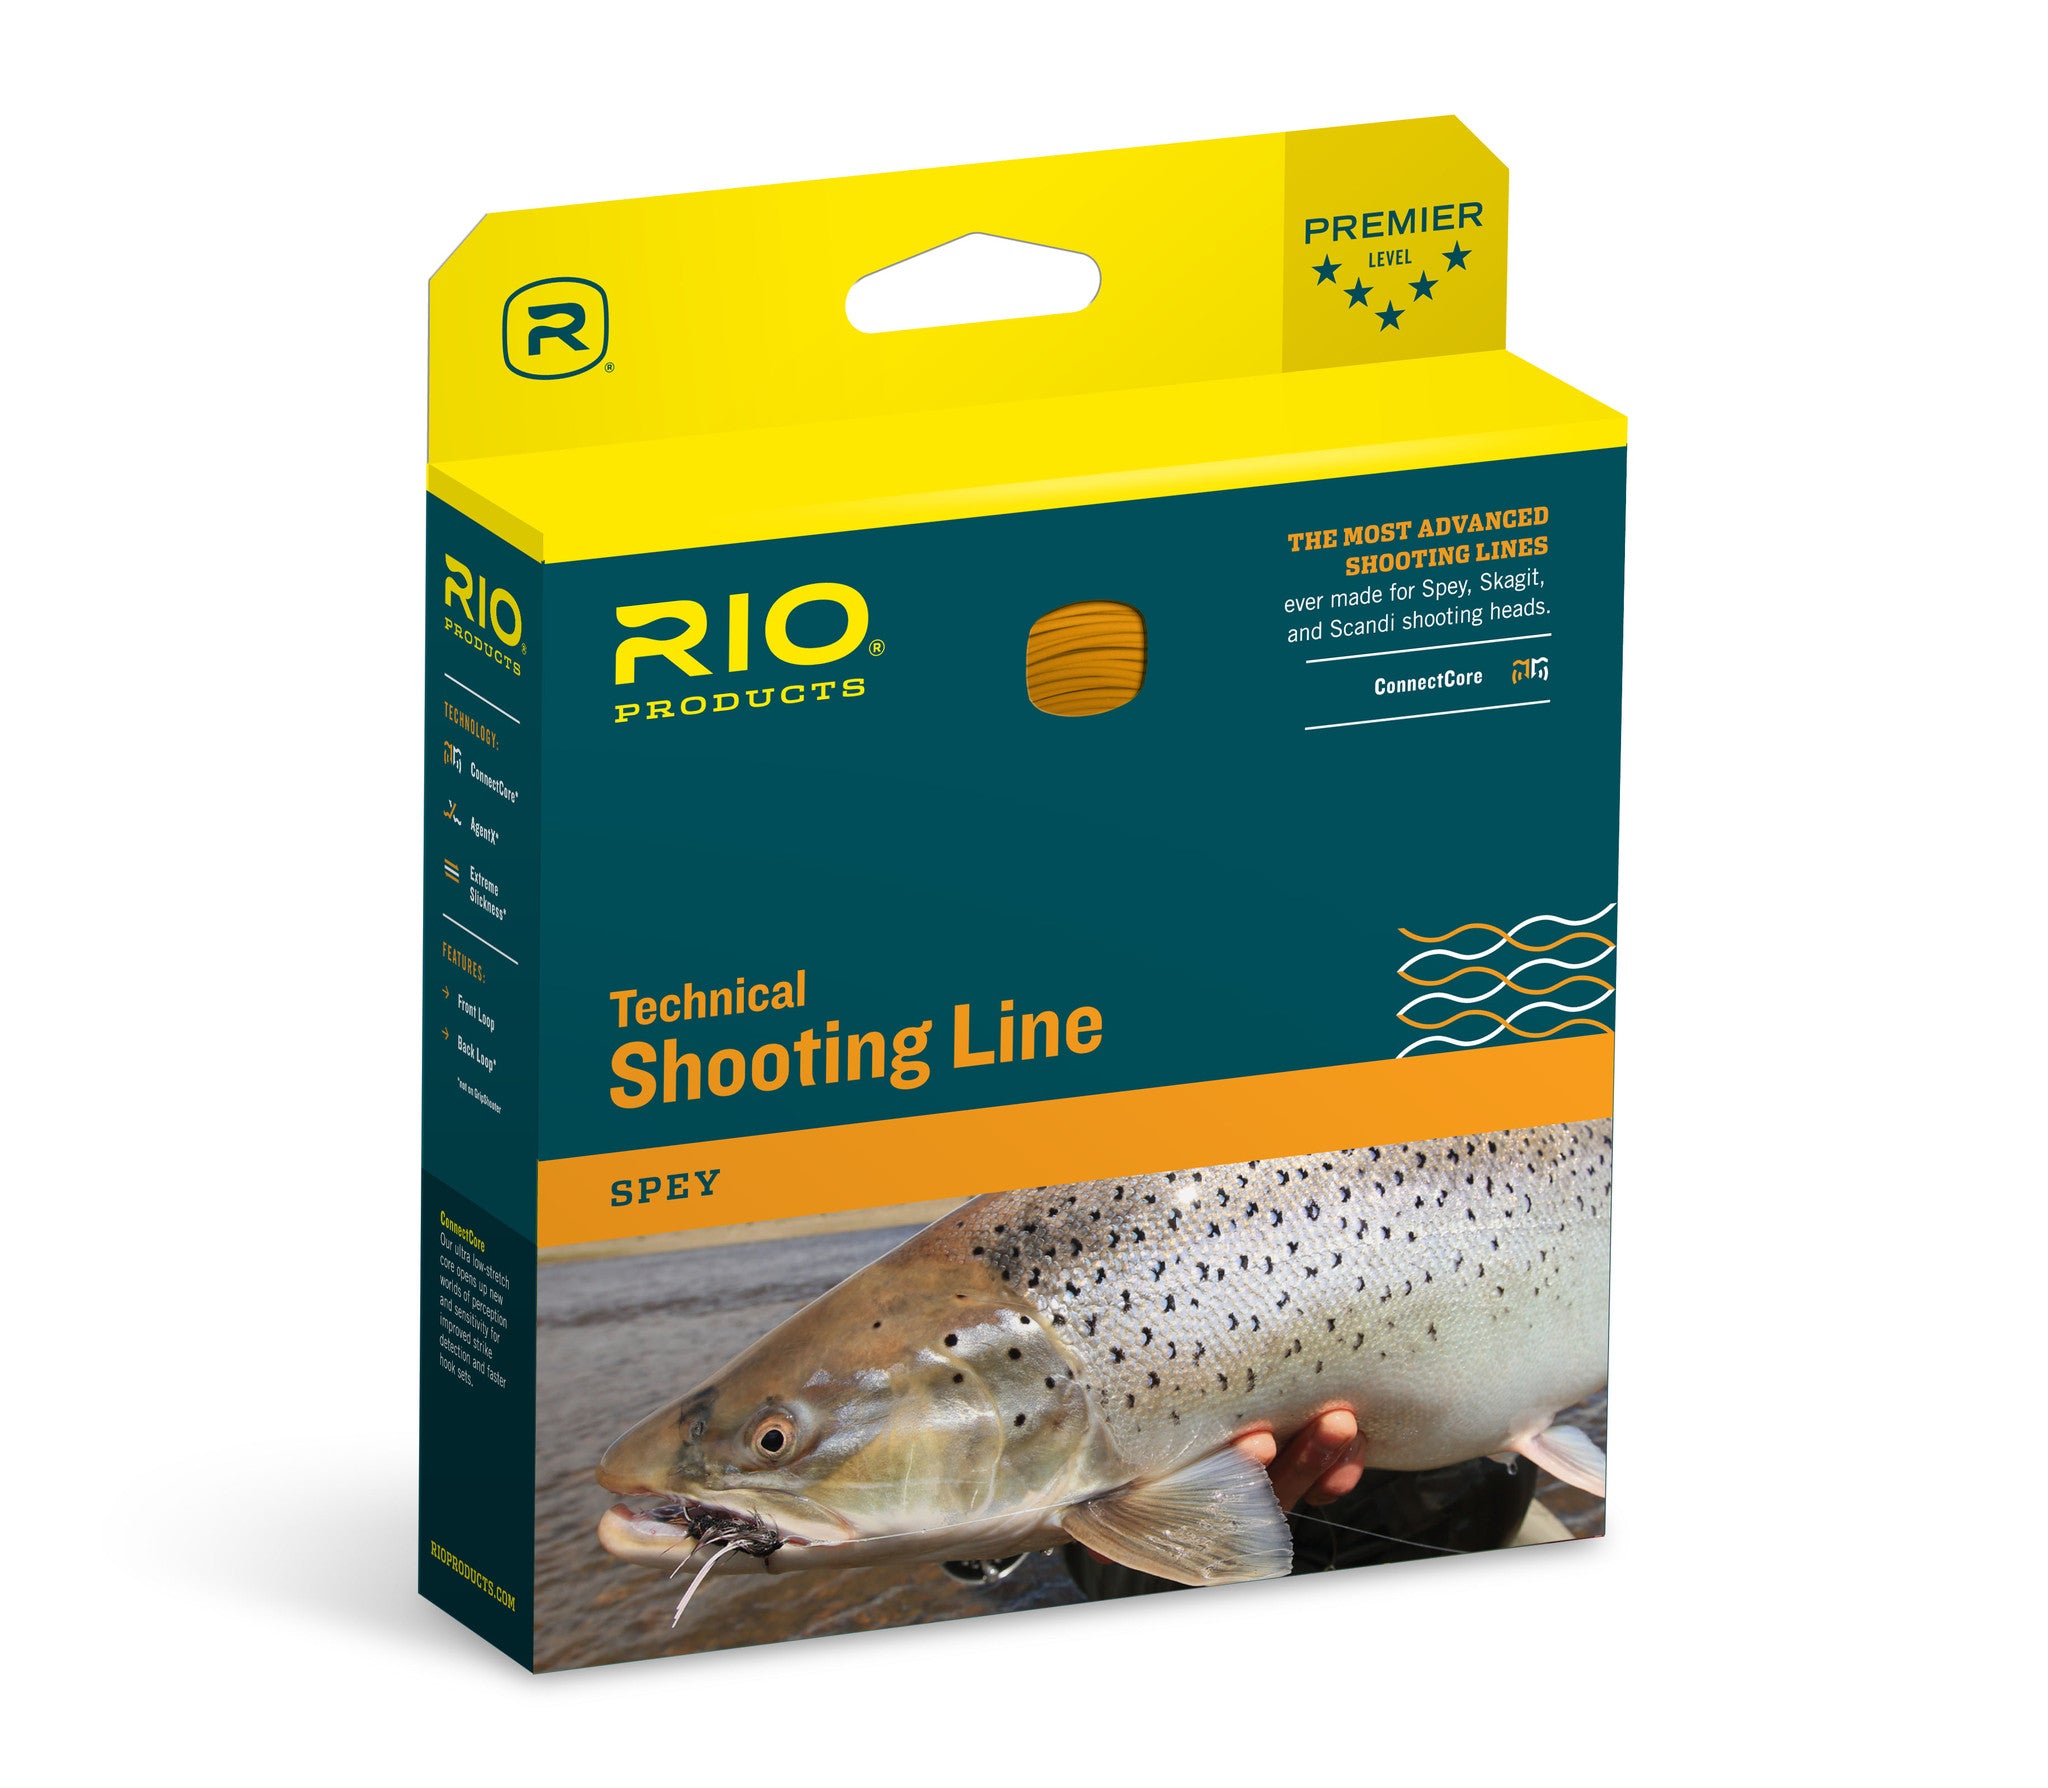
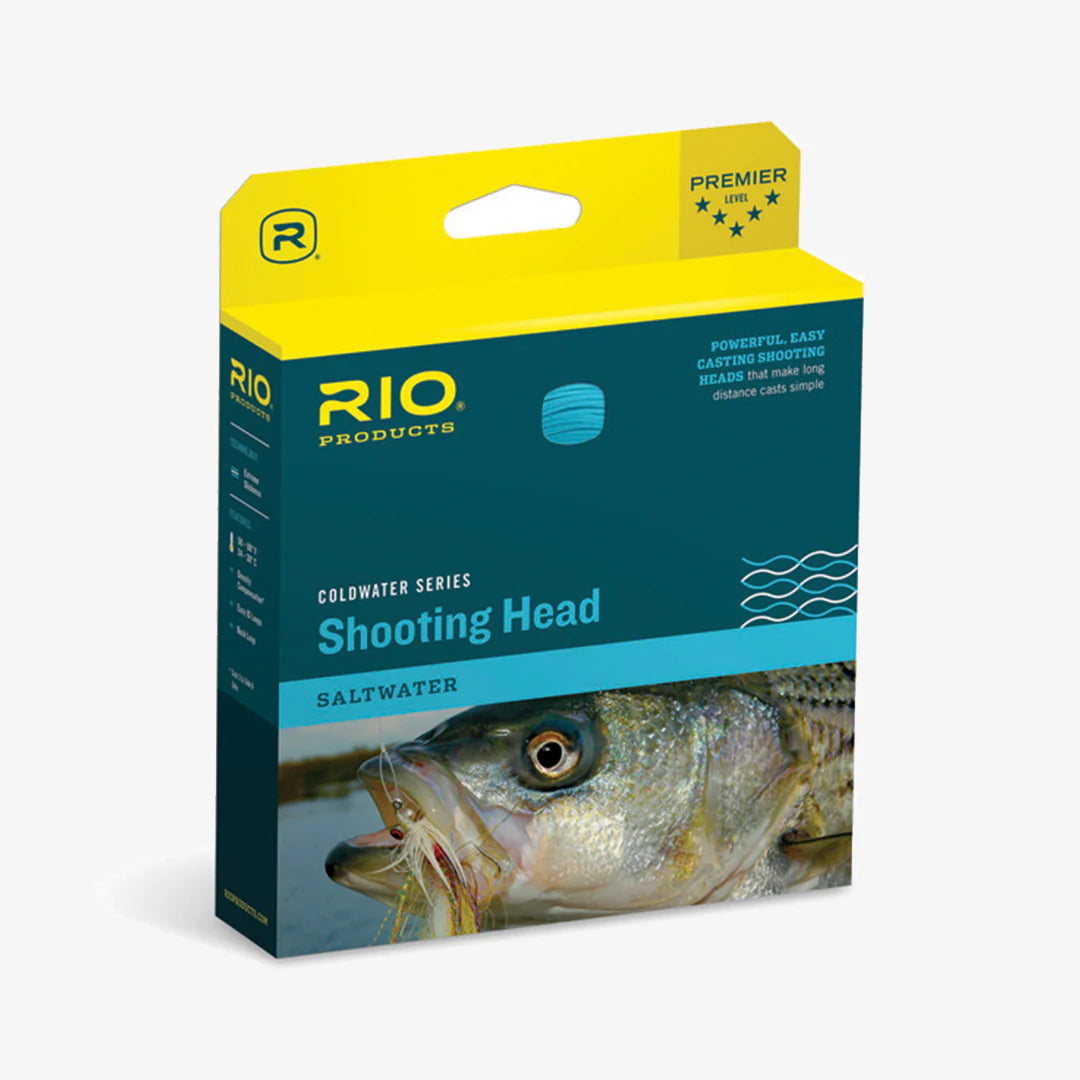
Interchangeable Shooting Head Systems
Shooting heads are short, powerful fly lines—typically 25–35 feet long—built to cast long distances with minimal false casting and limited backcast room. Think “cannonball at the end of a string.” The head attaches, loop-to-loop, to a thin running line that glides effortlessly through your guides for maximum distance.
Because shooting heads can be swapped quickly, you can fish different depths and surf conditions using a single reel and spool. Heavier, denser heads cut through wind and current; lighter ones stay high in the water column for shallow beaches or calmer bays.
They’re especially useful in the surf, where conditions change hourly, and being able to switch from a Type 3 to a fast-sinking Tungsten head can mean the difference between a slow day and a hero shot.
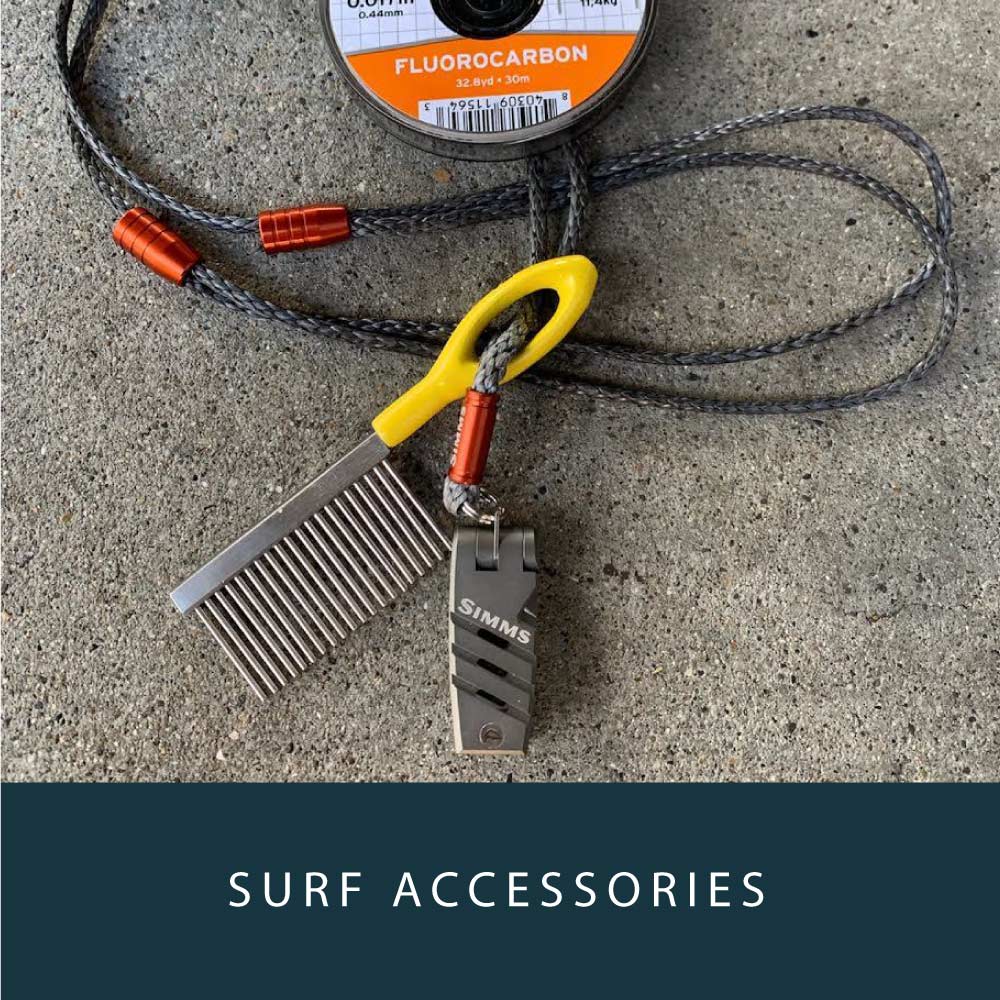
The only downside? The loop-to-loop connection takes some getting used to, but once you’ve fished it a few times, it slides through your guides without issue.
Interchangeable Shooting Head Systems
Shooting heads are short, powerful fly lines—typically 25–35 feet long—built to cast long distances with minimal false casting and limited backcast room. Think “cannonball at the end of a string.” The head attaches, loop-to-loop, to a thin running line that glides effortlessly through your guides for maximum distance.
Because shooting heads can be swapped quickly, you can fish different depths and surf conditions using a single reel and spool. Heavier, denser heads cut through wind and current; lighter ones stay high in the water column for shallow beaches or calmer bays.
They’re especially useful in the surf, where conditions change hourly, and being able to switch from a Type 3 to a fast-sinking Tungsten head can mean the difference between a slow day and a hero shot.
The only downside? The loop-to-loop connection takes some getting used to, but once you’ve fished it a few times, it slides through your guides without issue.
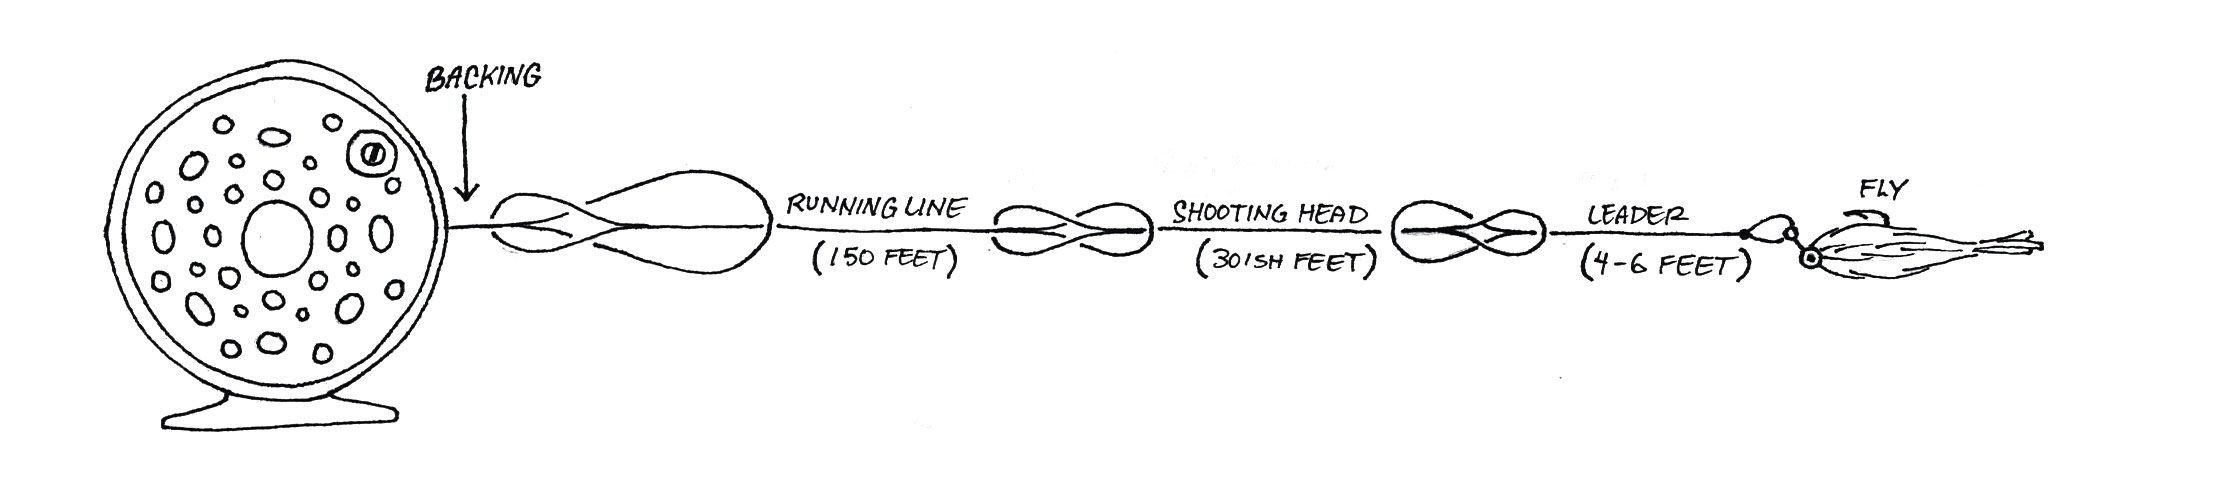
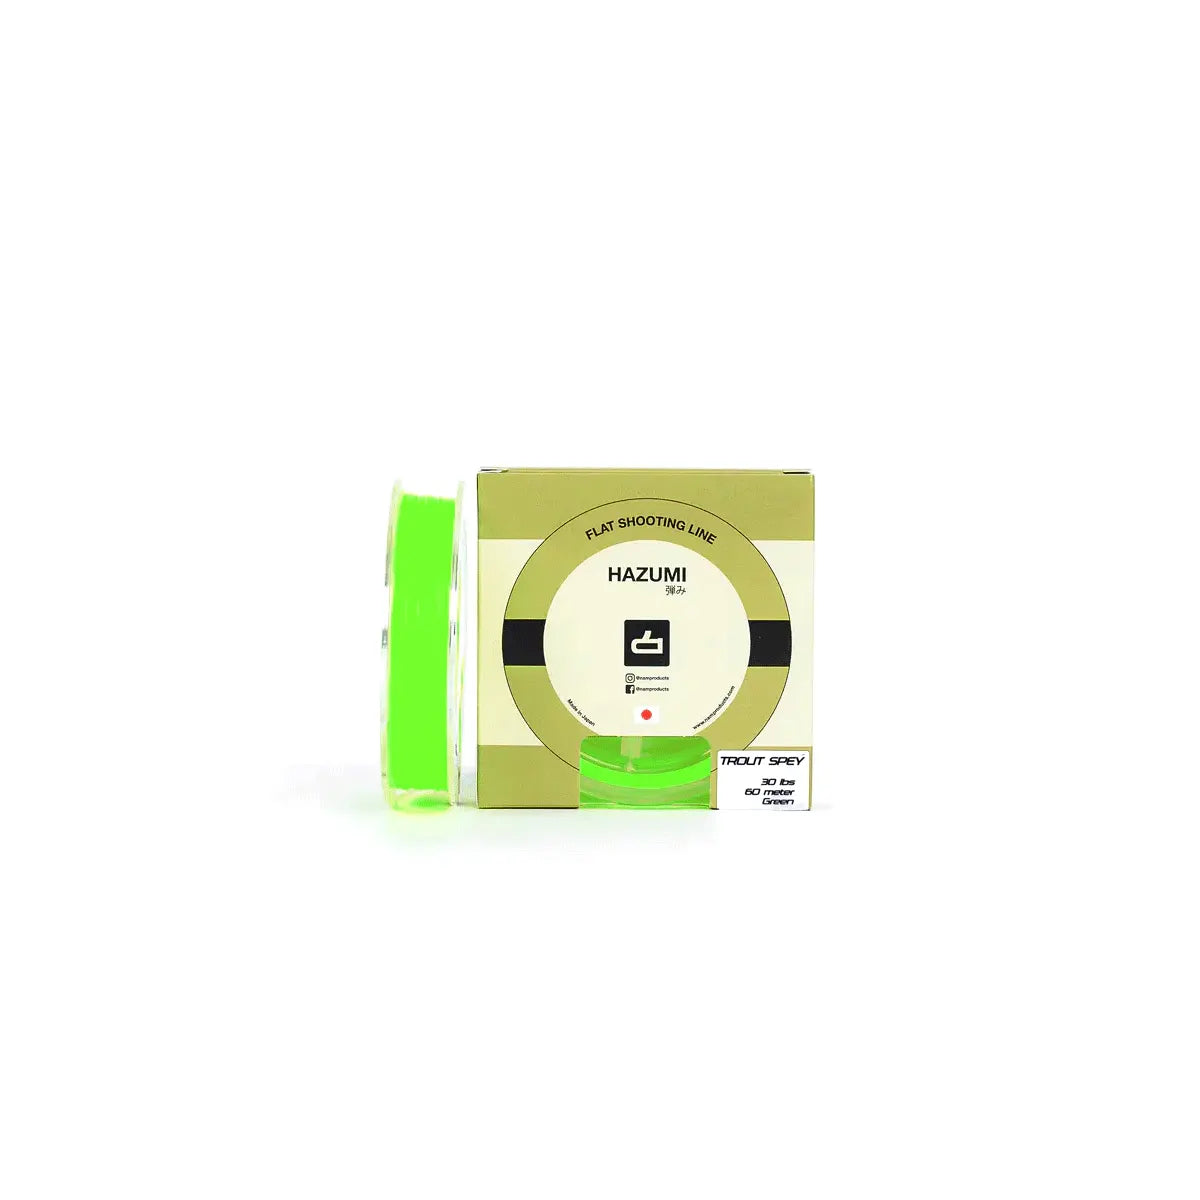
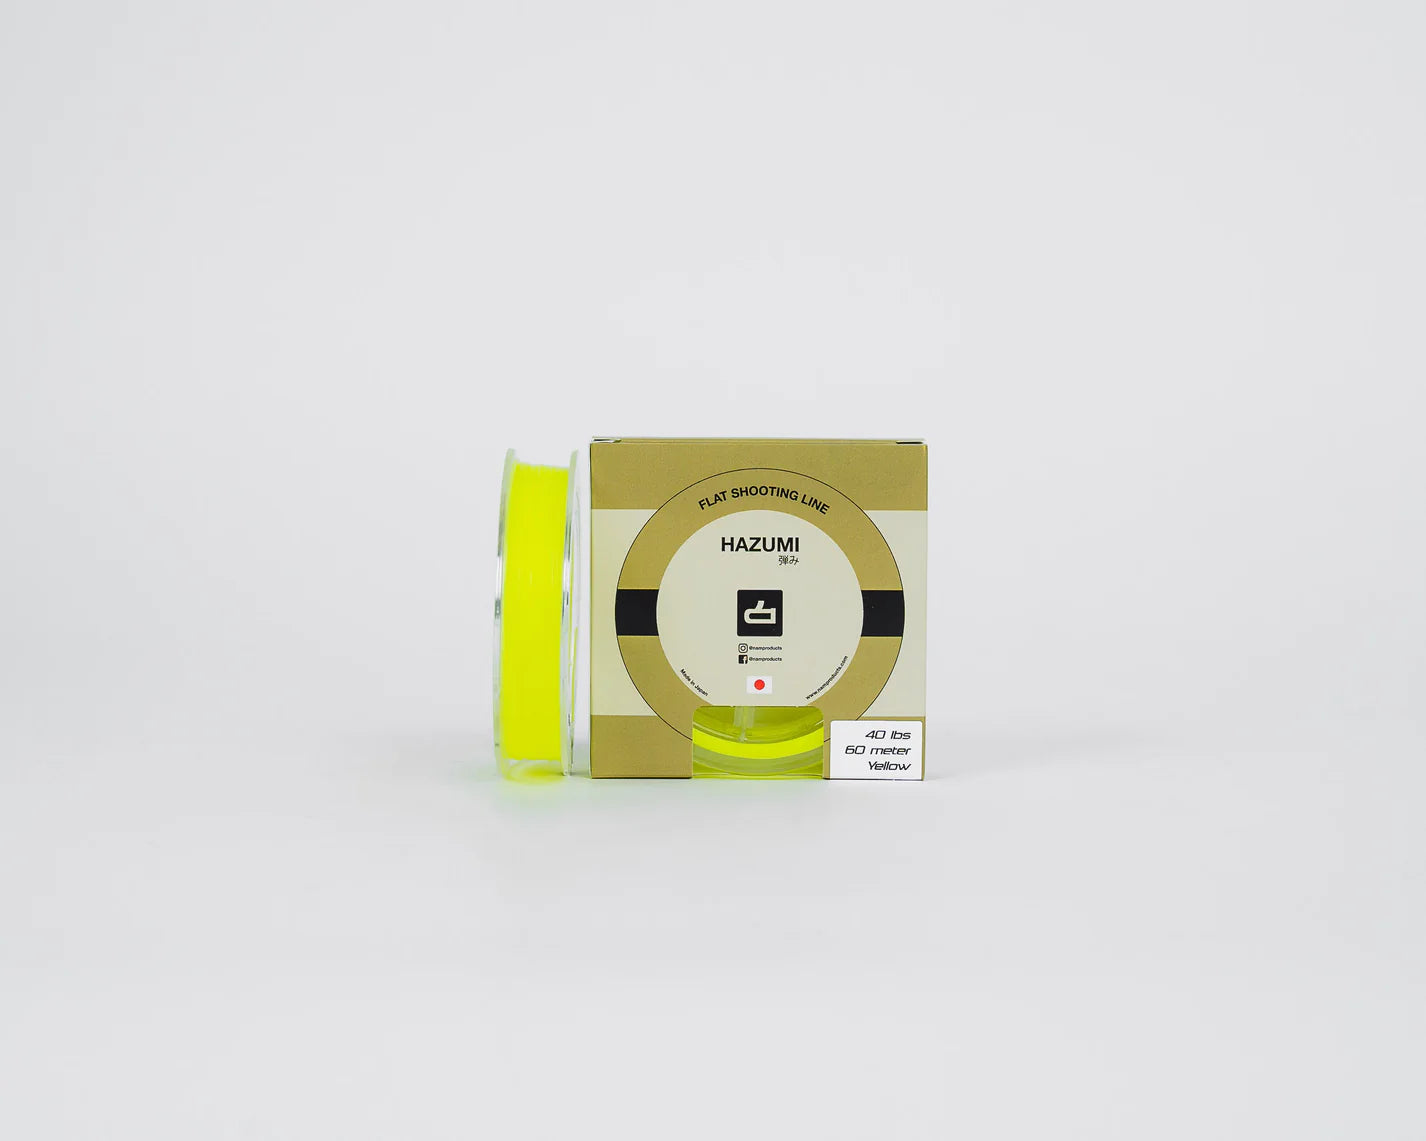
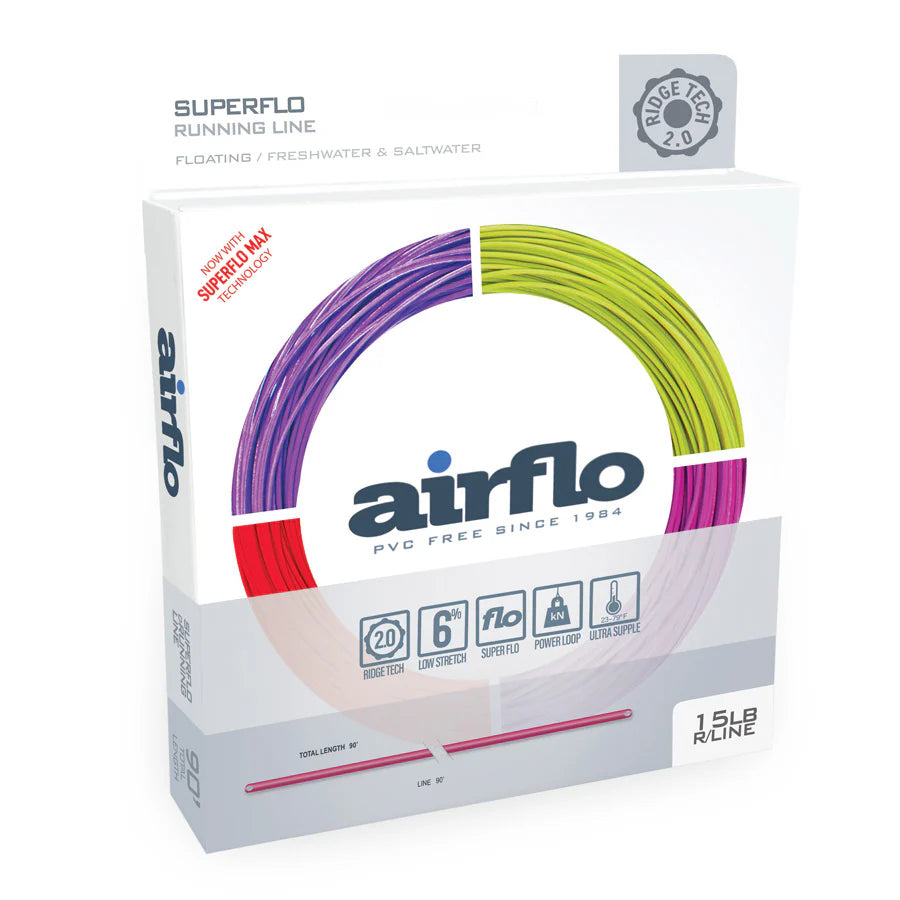
Step 1: Choose Your Running Line
Running lines are your system’s foundation—they connect you to your shooting head and determine how efficiently you can cast. There’s a lot of debate about which running line is best, but after testing them all, we’ve narrowed it down to a few reliable options.
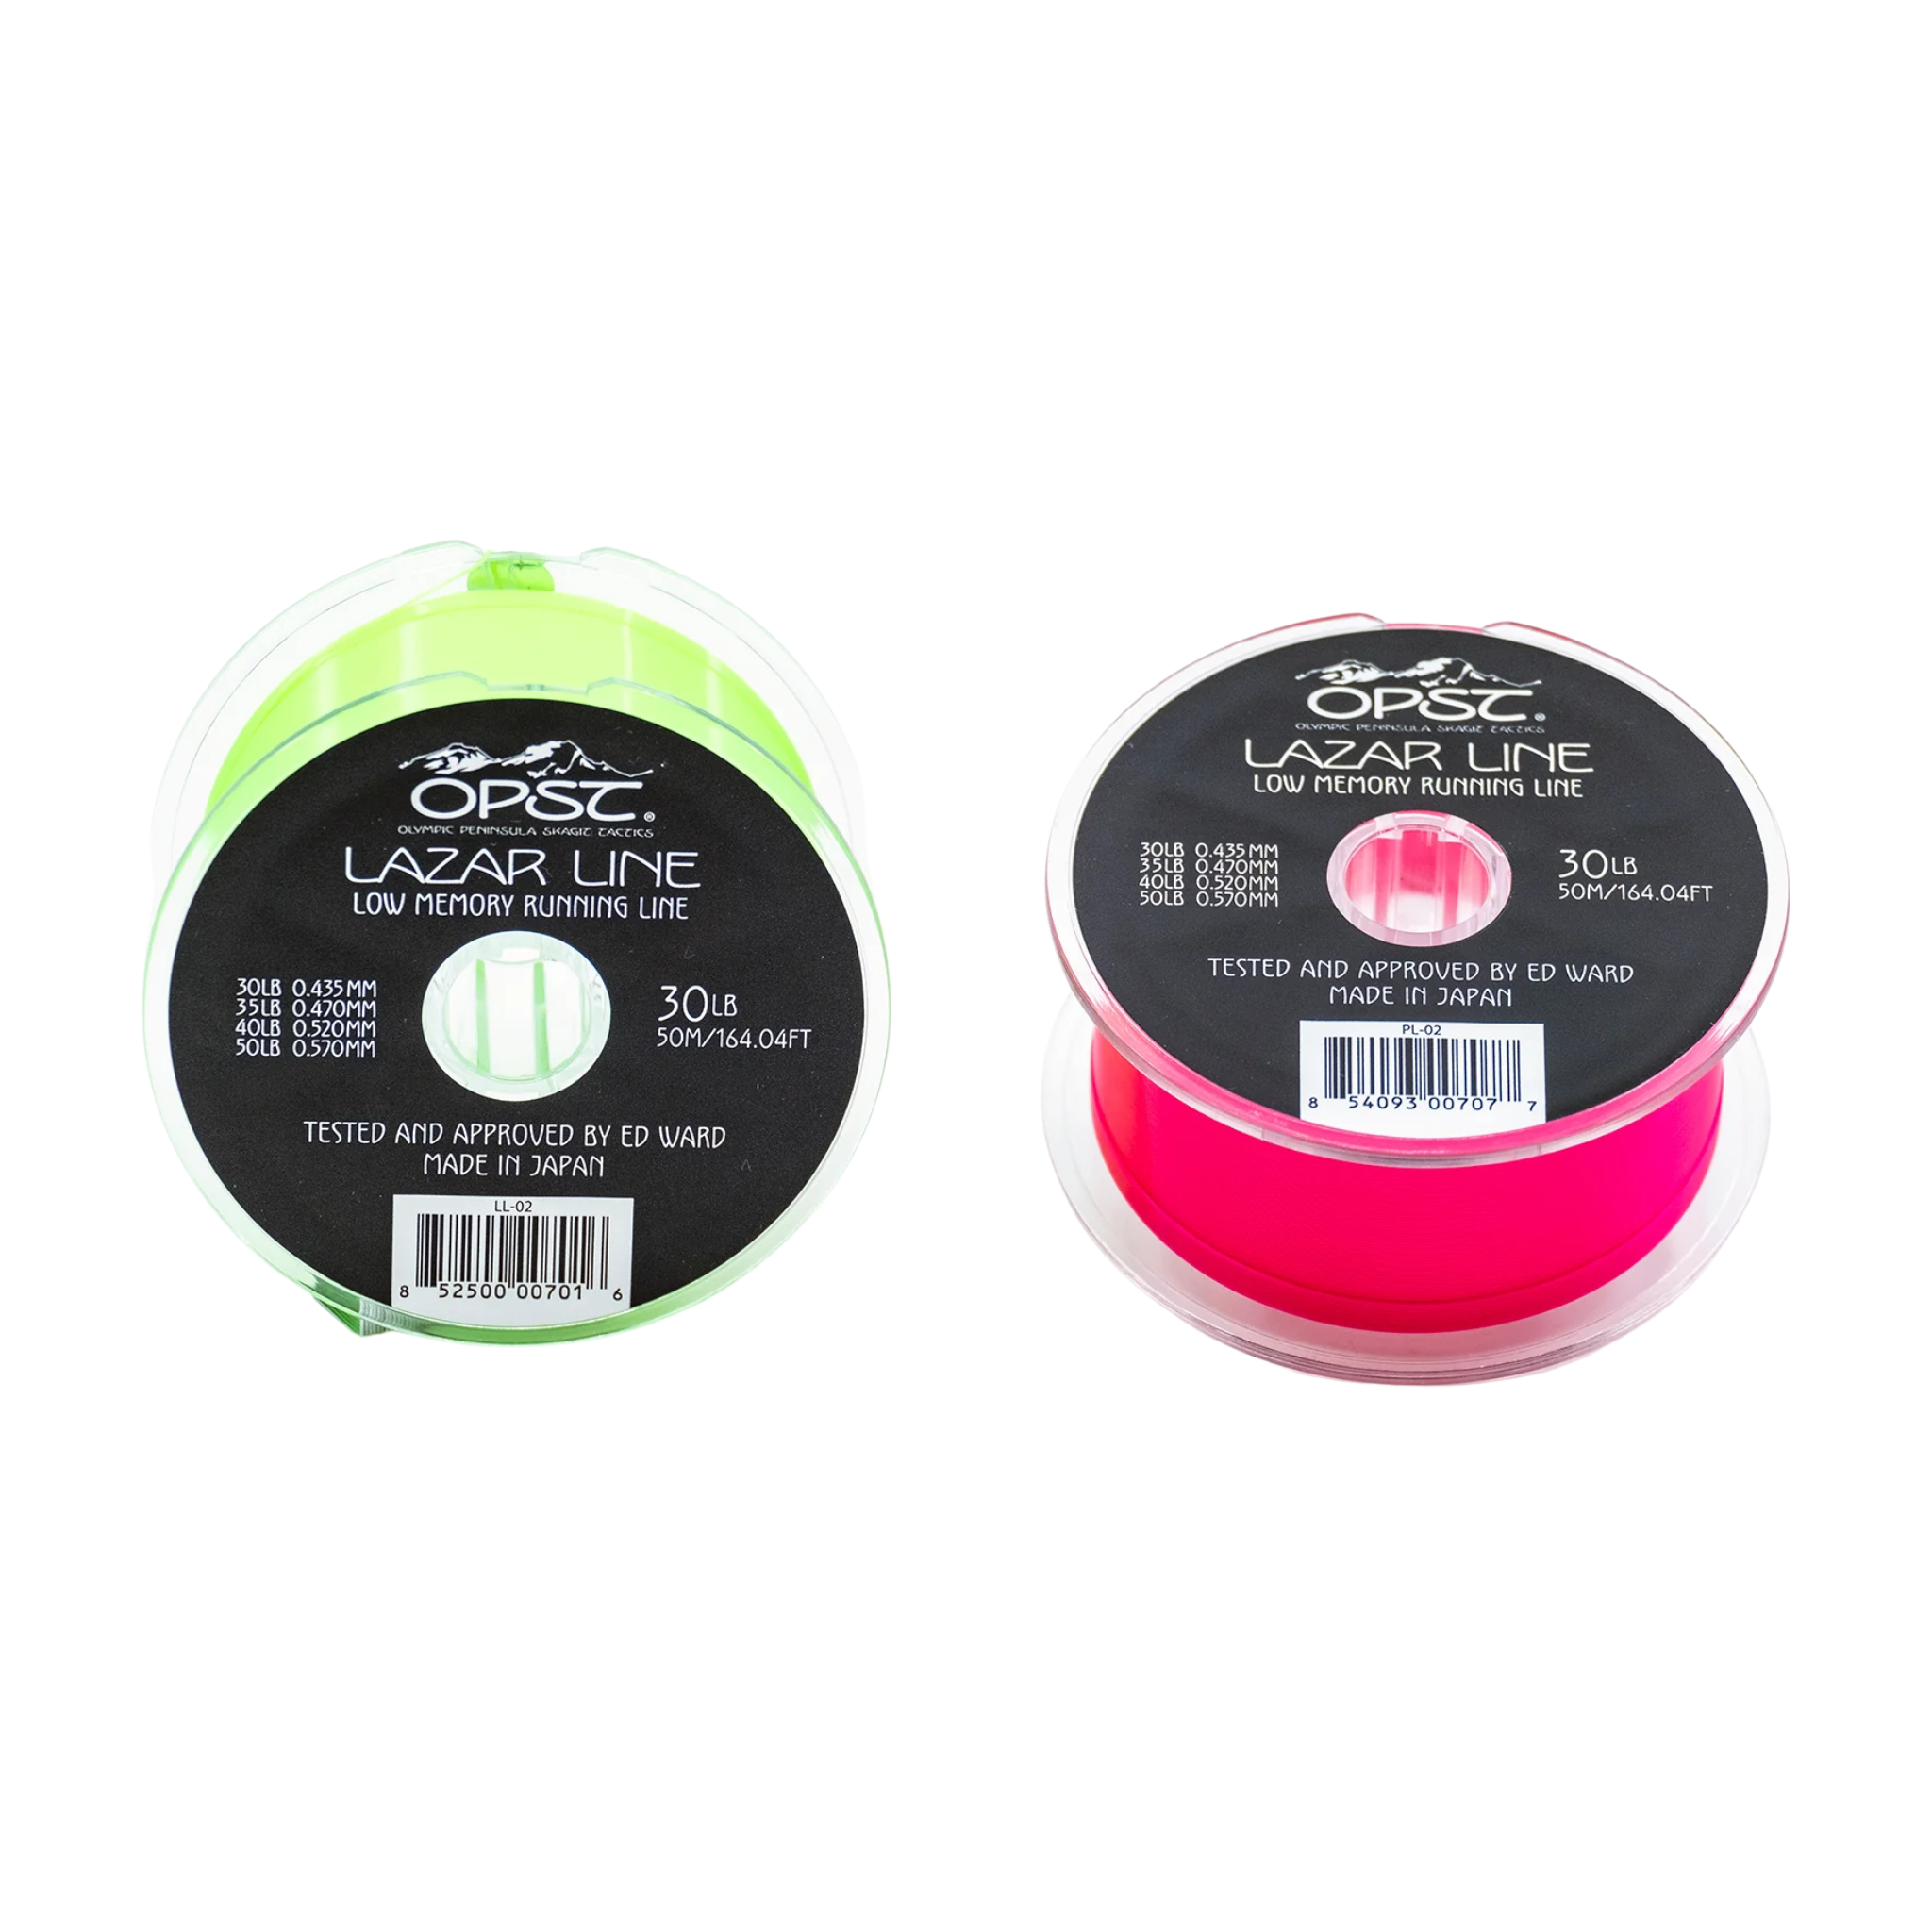
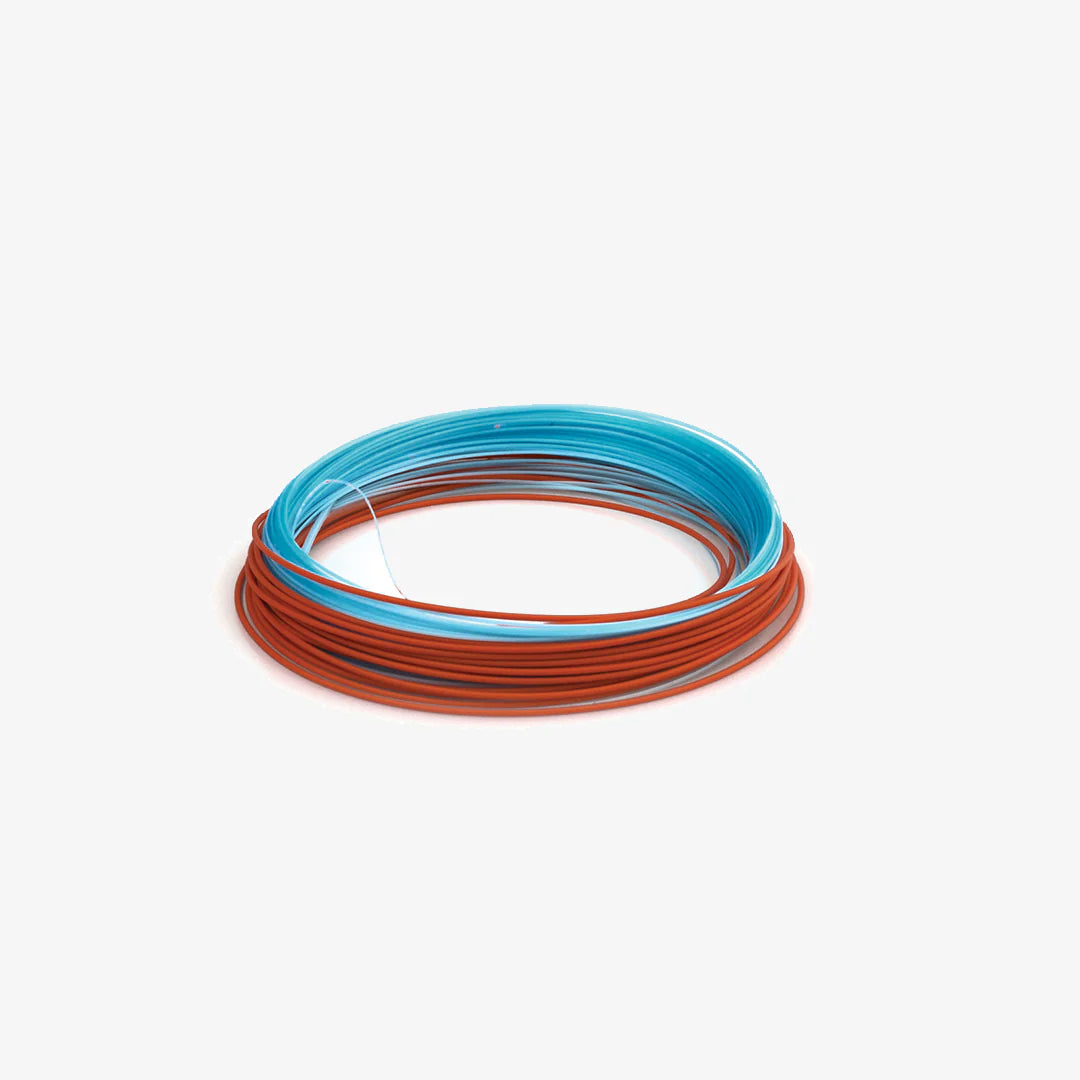
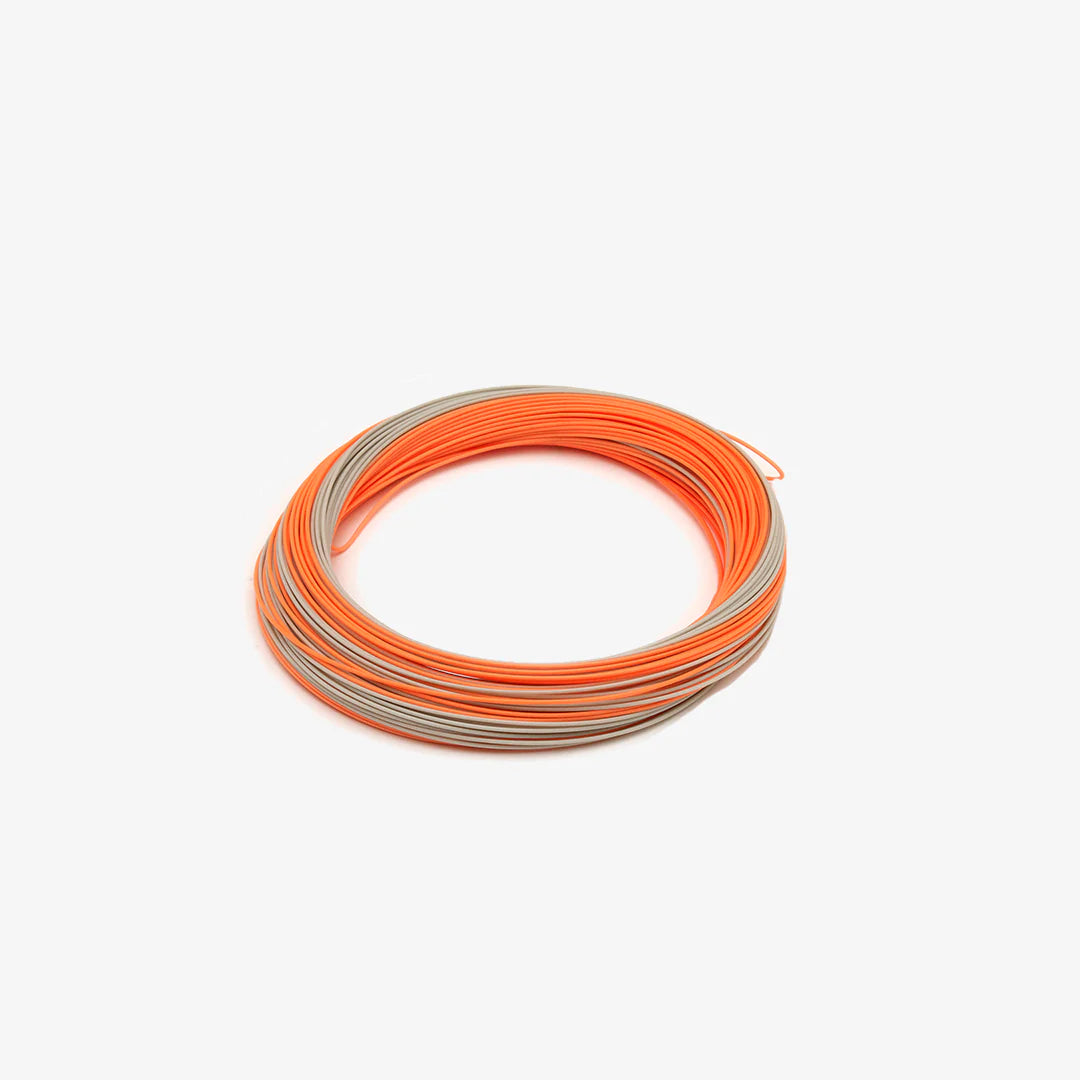
Nylon Mono (Flat or Round)
Most Effective
The distance king. Mono shoots beautifully with minimal drag and requires less effort to cast. The tradeoff is that it can tangle easily. This is our preferred running line for fishing in heavy surf like Ocean Beach.
Pros:
- Shoots well
- Cuts through the water and does not get pushed around by the waves.
- Inexpensive
Cons:
- Can be hard to grip when your hands are cold and wet
- Needs to be stretched out before you fish so it doesn't tangle.
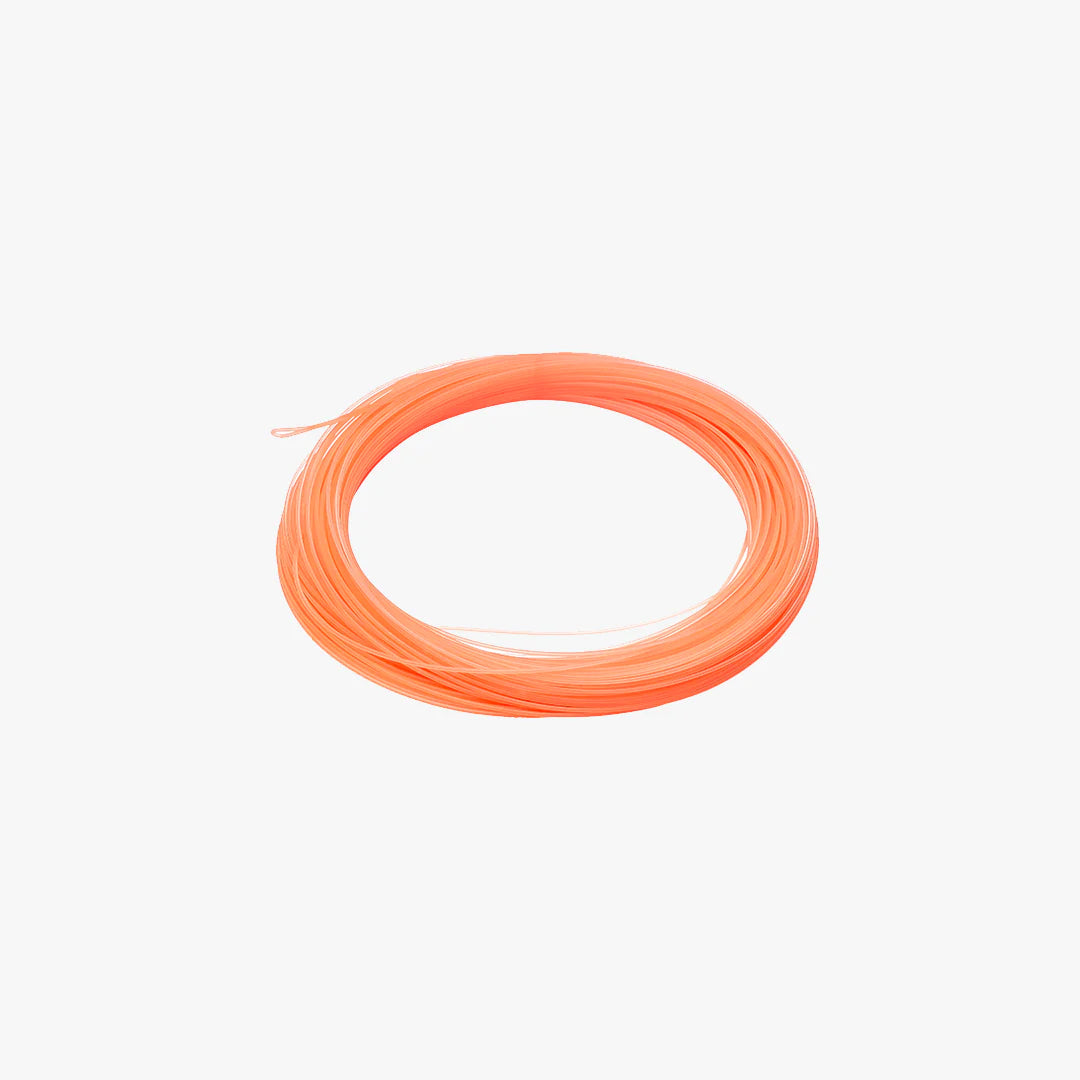
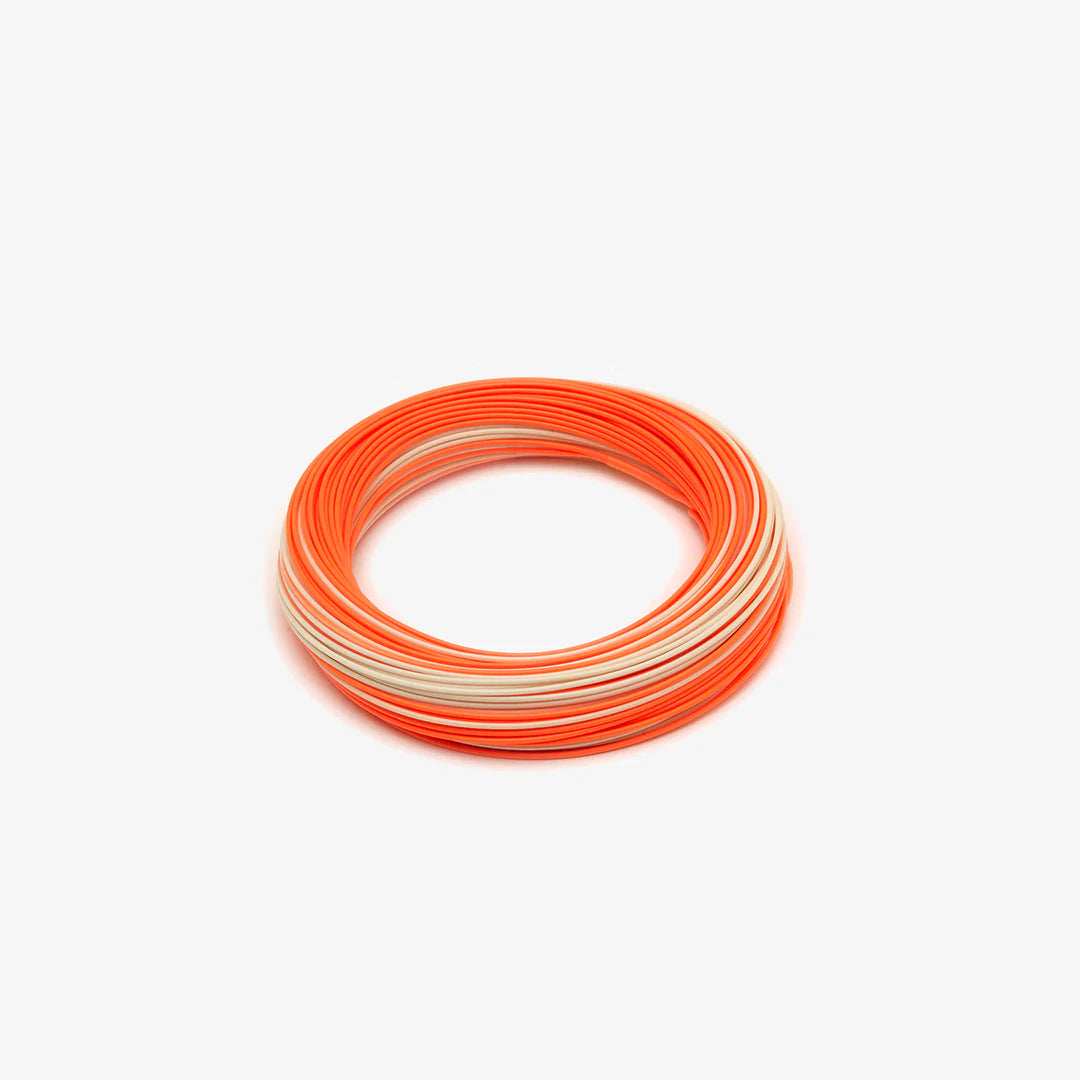
Fly Line-Style Running Line
Best for Beginners
Thicker and easier to manage than mono, but you’ll lose a little distance. The added grip makes it ideal for cold mornings or anyone who values control over sheer distance.
If you plan to use your reel for both surf and spey setups, go with a floating running line.
Pros:
- Easy to hang on to when stripping.
- Less tangly
Cons:
- Gets pushed around a lot by waves in heavy surf.


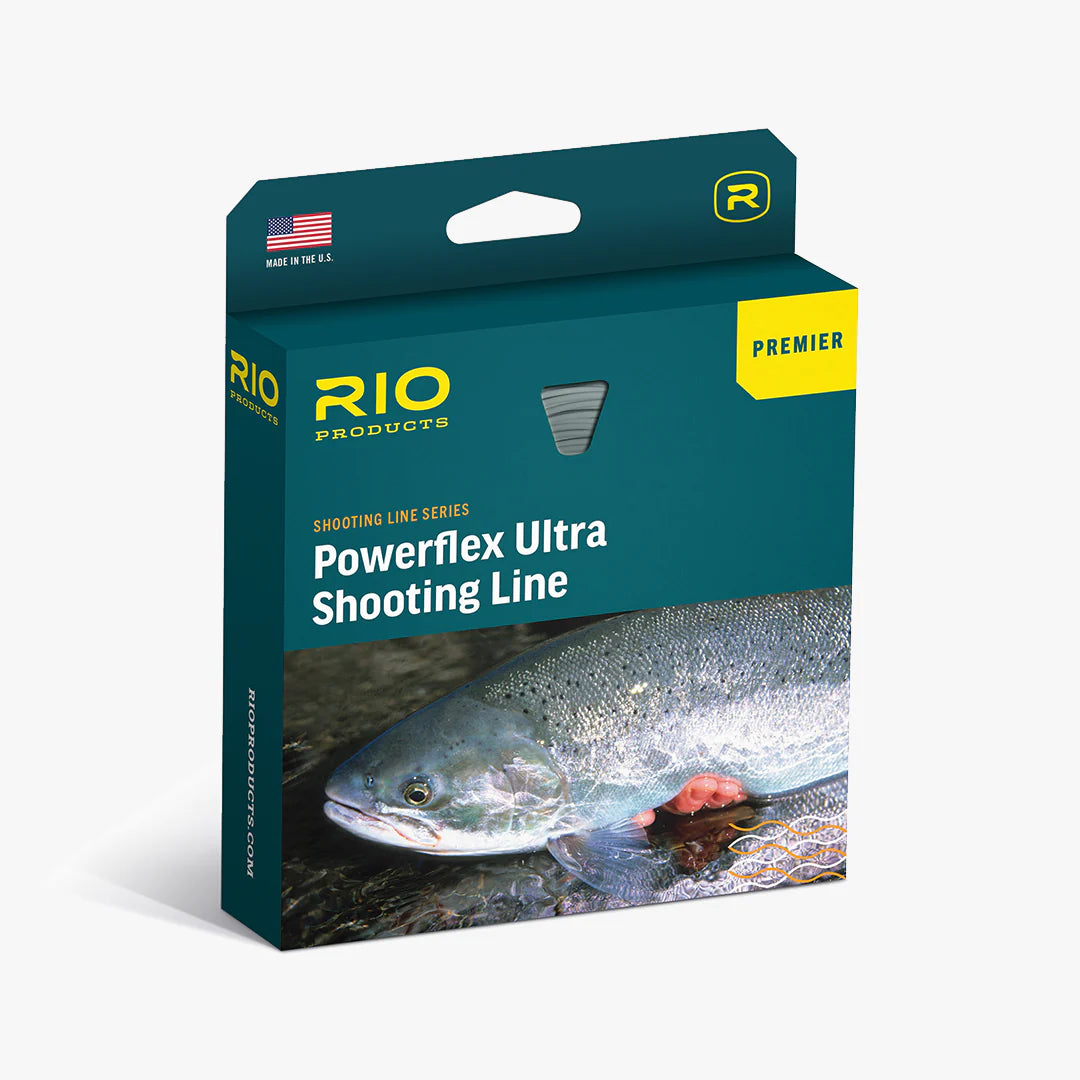

Step 2: Choose Your Shooting Heads
Your shooting head determines how deep your fly will swim and how easily you can stay connected in the surf.
Picking the right sink rate is key
Rules of thumb:
Shallow or calm water → slower sink rate. Hover, Intermediate, or Sink 3.
Deep or turbulent water → faster sink rate. Sink 6 to Sink 9.
Faster-sinking heads also have thinner diameters, which helps cut through wind and chop—perfect for open-coast beaches.
When you are looking at your shooting heads trying to remember which is which, note the color of the line as the darker the color the faster the sink rate.
Two things define each head
- Grain weight – how heavy the line is (e.g., an 8wt rod pairs well with a 300–350 grain head).
- Density – how fast it sinks.
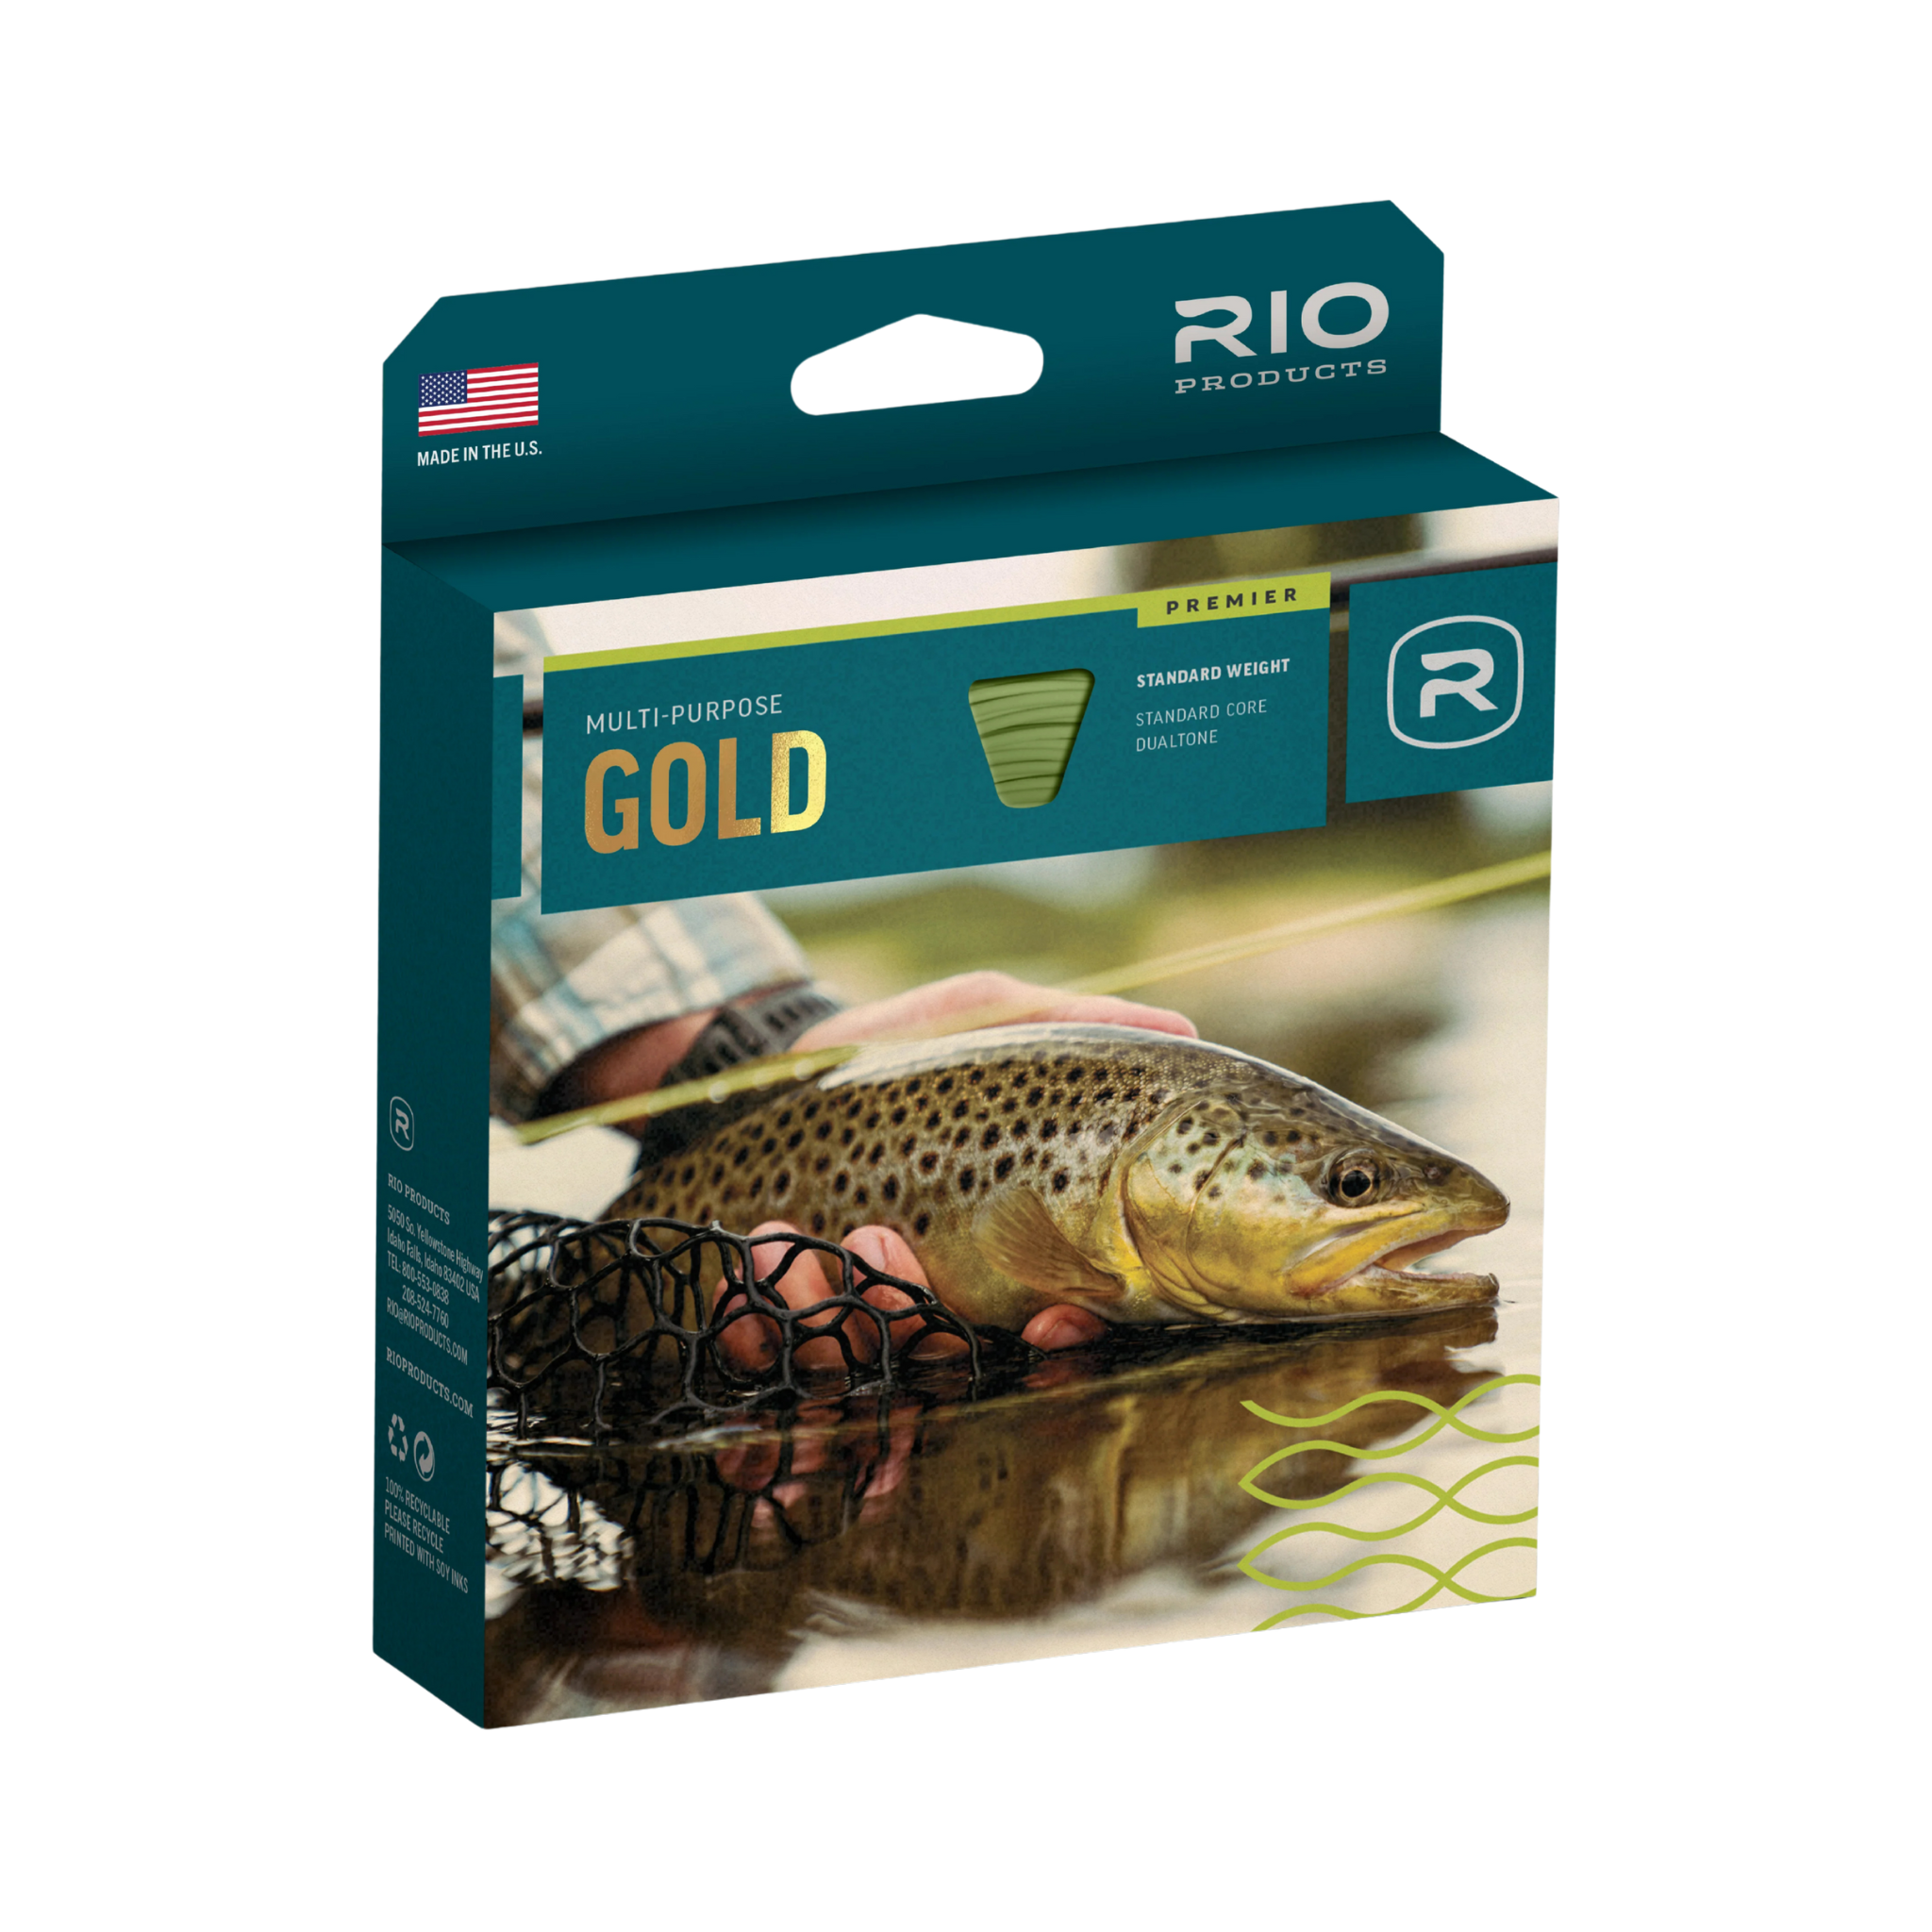
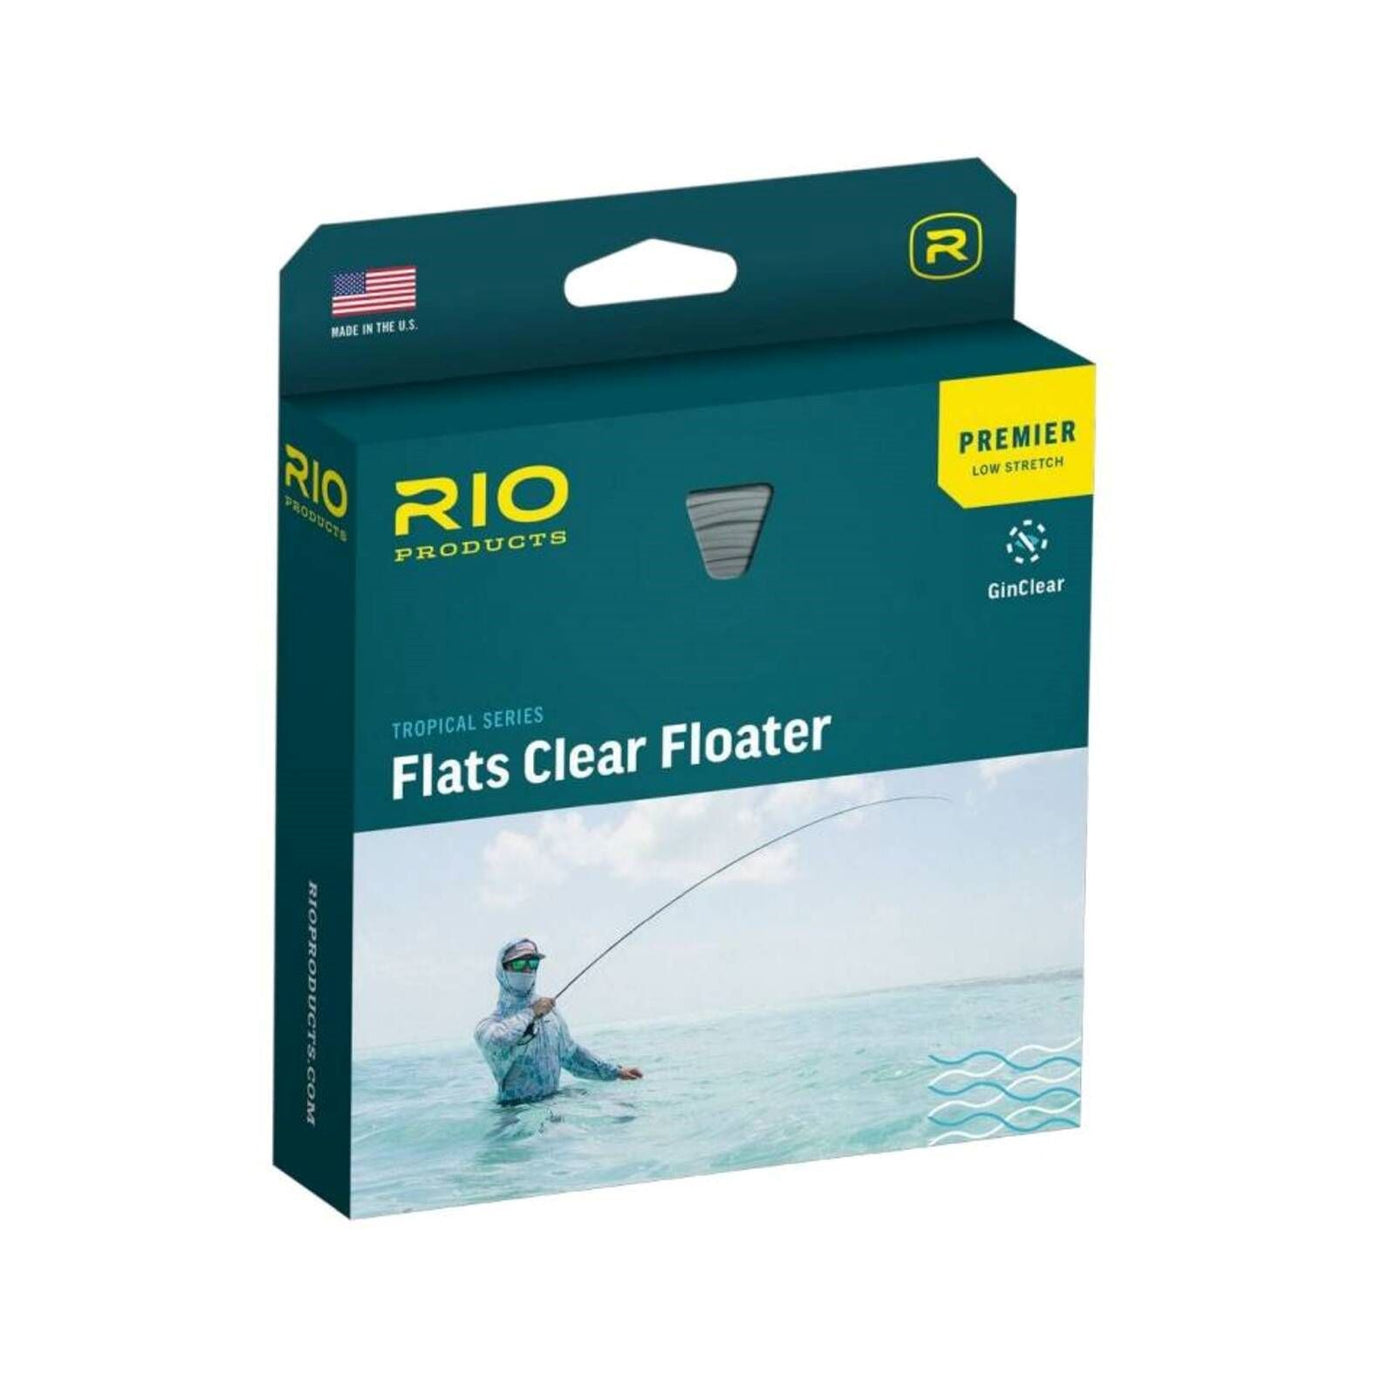
For example, the RIO OutBound Short 8wt (330 grains) is the sweet spot for most modern 8wt rods. You can get that same weight in different sink rates—floating, intermediate, Type 3, Type 6, or even Tungsten—depending on how deep you want to fish.
Our Must-Have Shooting Heads for the Bay Area Angler
If you fish across the Delta, bays, and coast, these are the heads we consider essential:
- Intermediate (1–2 ips): Best for the Bay and calm surf days. Keeps your fly riding high in shallow water.
- Type 3 (3–4 ips): Great for light surf or gentle conditions—our go-to at Crissy Field, Stinson, and for shad and steelhead.
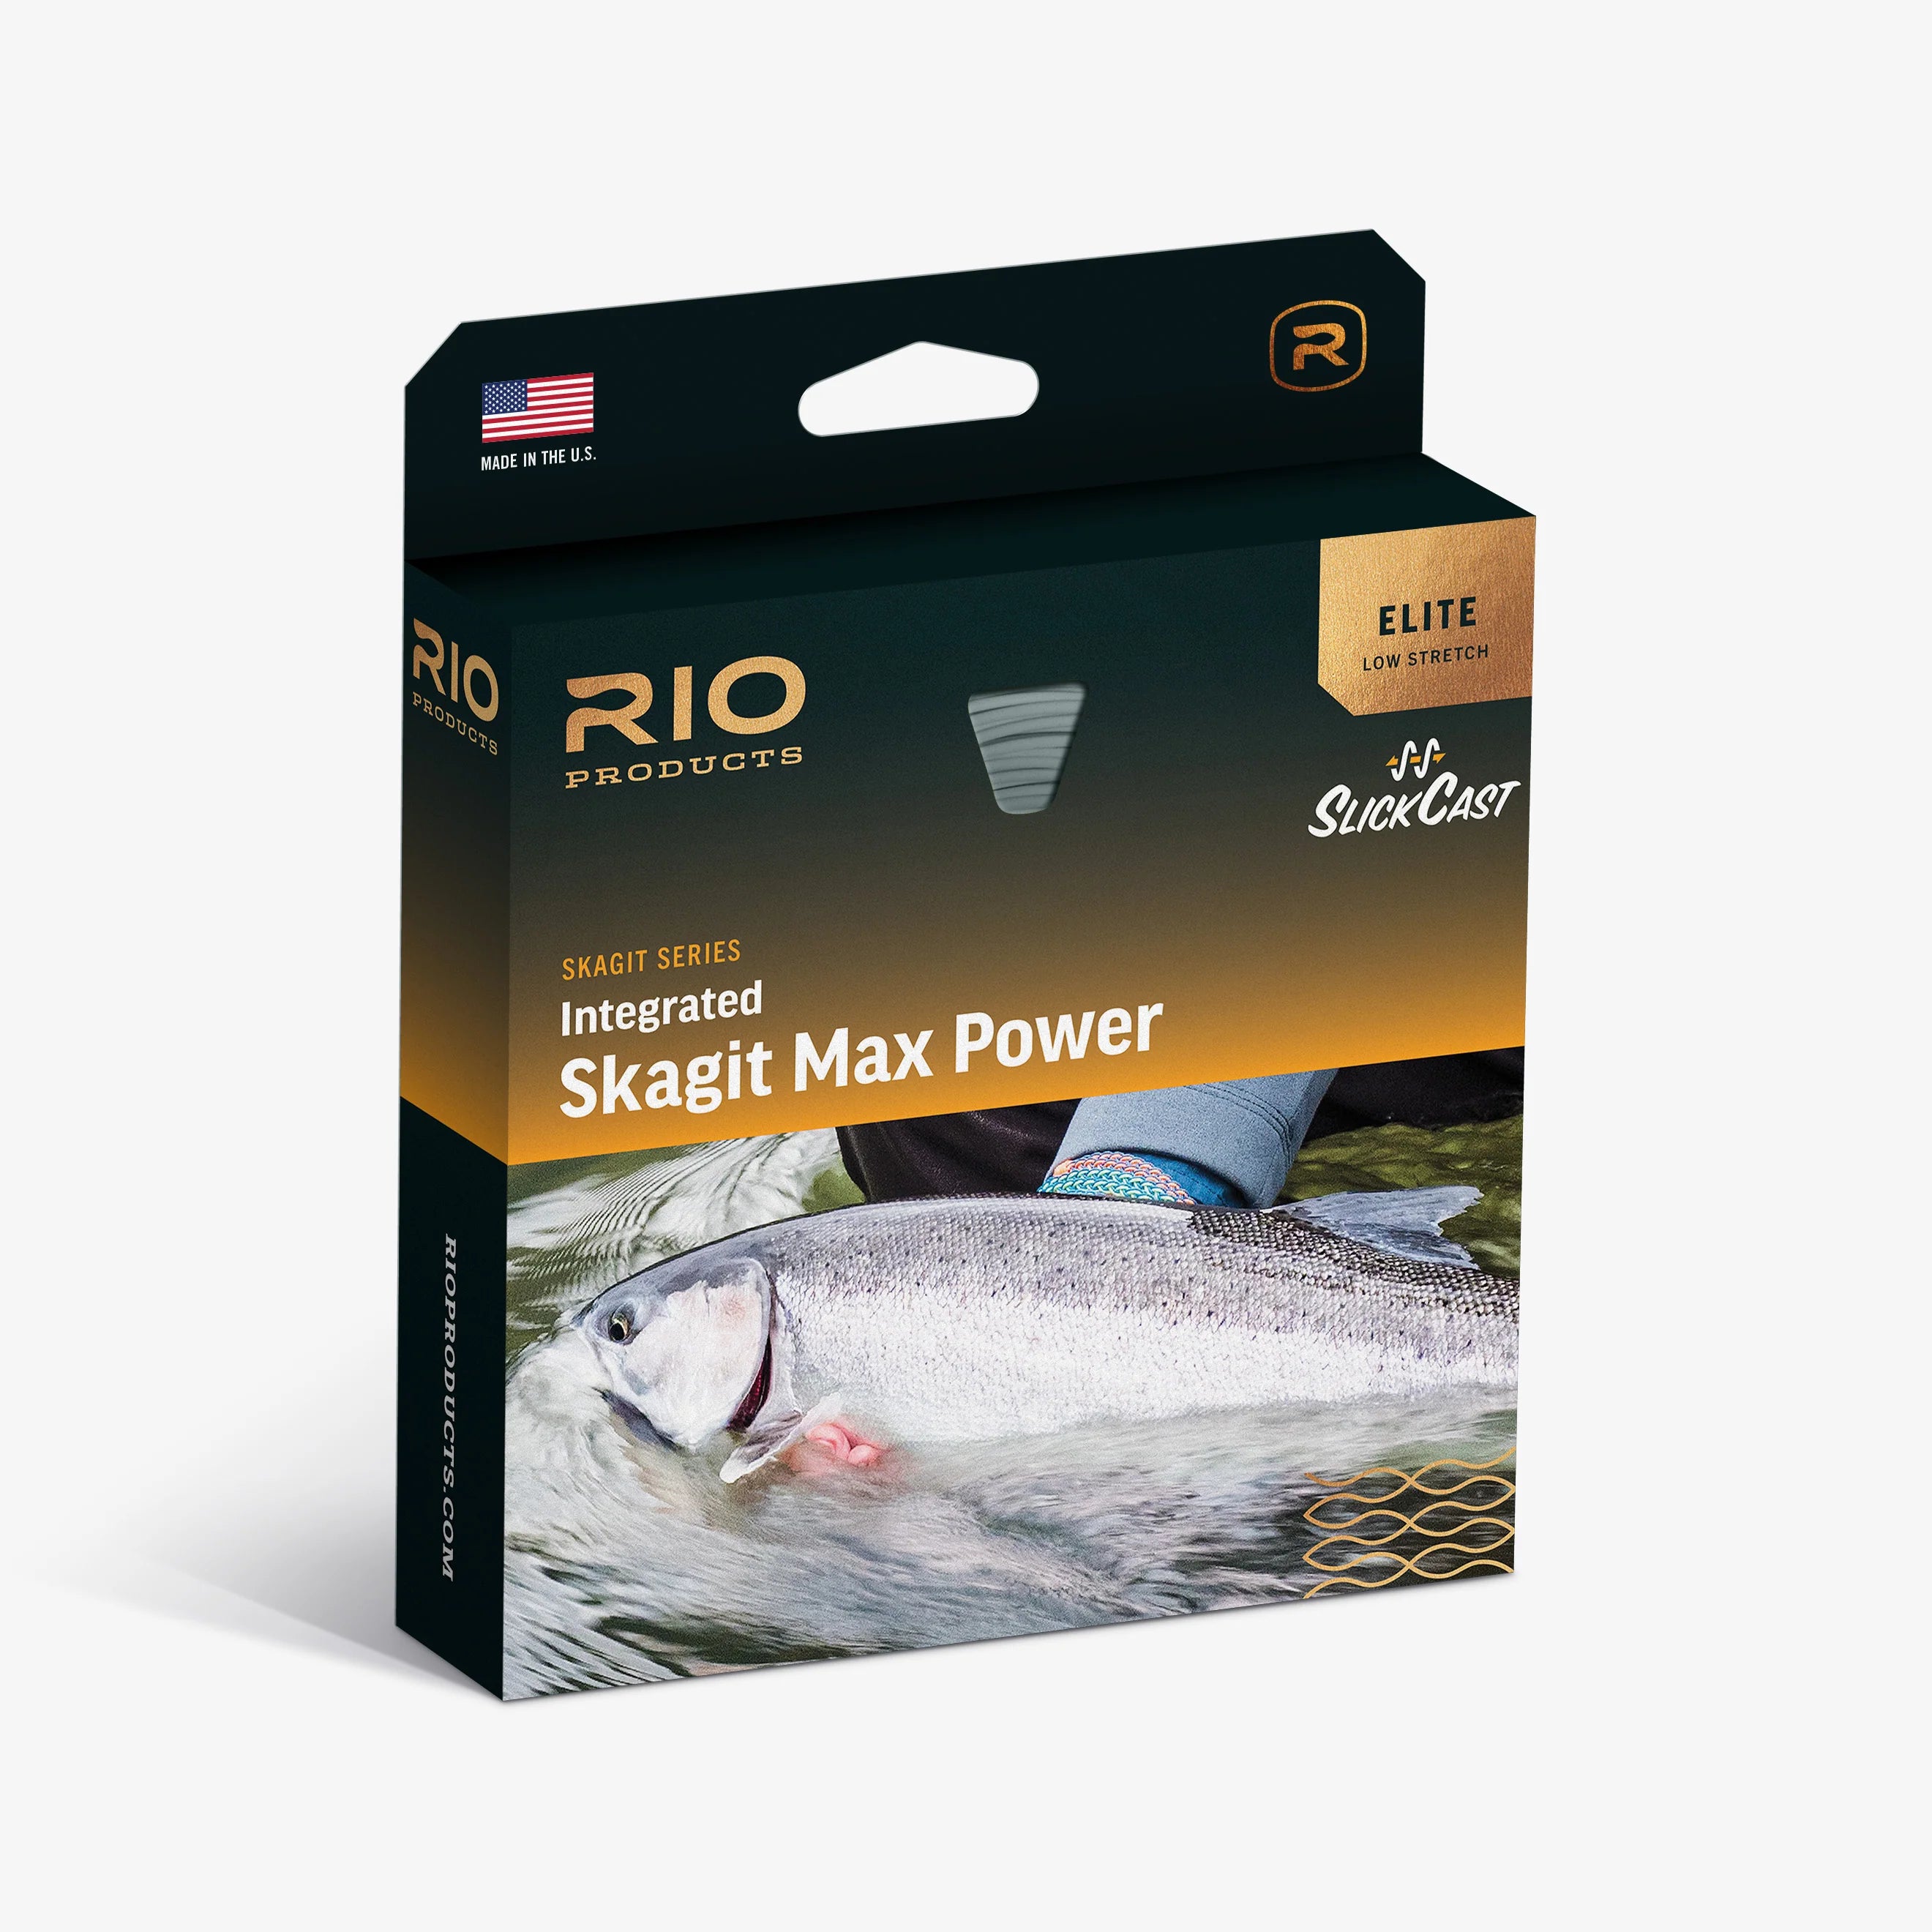
- RIO Tungsten (7–9 ips): The heavy hitter. Cuts through wind and whitewater for perch, stripers, or boat fishing outside the Gate.
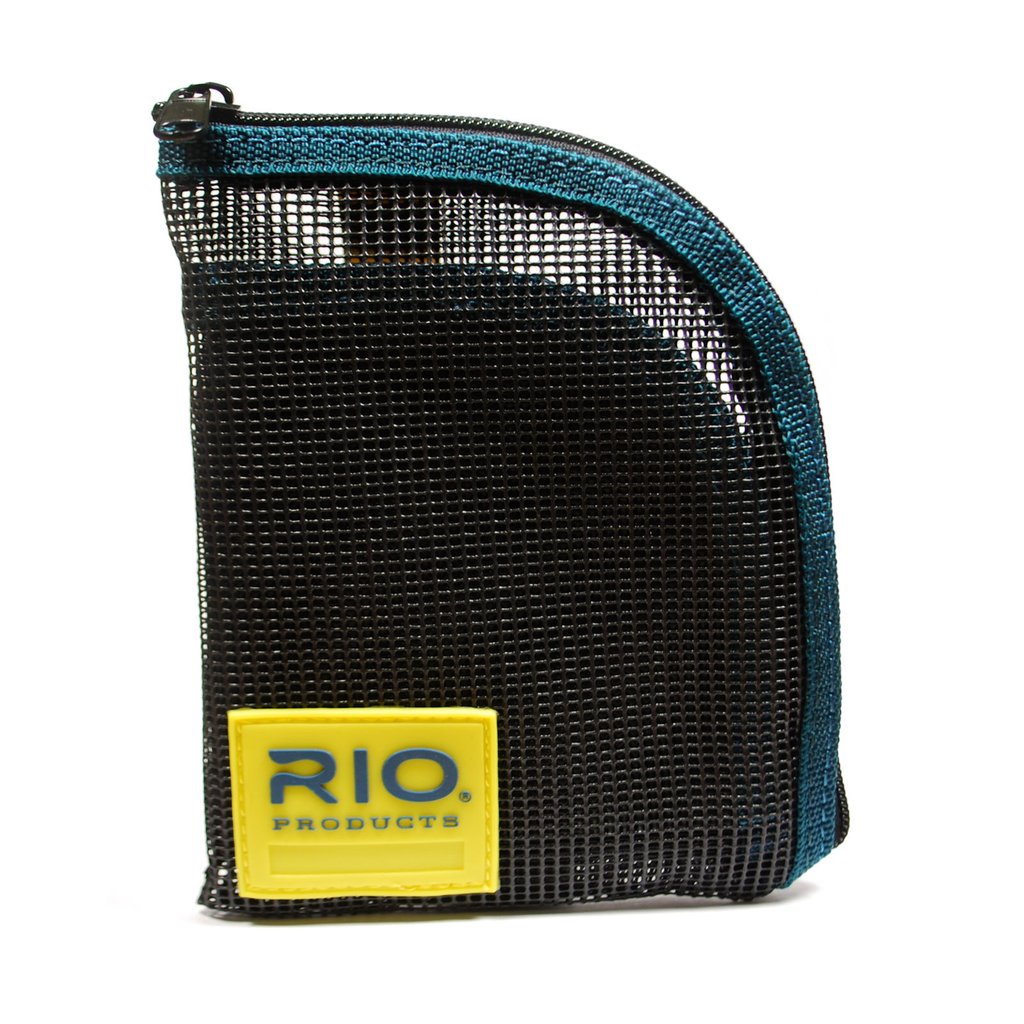
Want to cover all your bases? We built an LCO Surf Line Kit that includes all three heads plus a free line wallet to keep your system organized.
Floating & Sinking Shooting Heads
Different surf conditions call for different lines. Here’s how each sink rate behaves and where it shines.
Sink Rate: Floating
Floating shooting heads are ideal for shallow areas, such as tidal flats, sloughs, and calm bays. They’re suitable for fishing poppers, crease flies, and subsurface bait patterns in skinny water or when stripers are chasing bait near the surface.
We don’t use floaters often in the surf, but if you’re fishing the Delta, bass ponds, or shallow bay structure, a floating line gives you more control over speed and presentation.
Sink Rate: 1–2 inches per second
An intermediate head is an absolute must-have for Bay Area anglers. The San Francisco Bay averages just 12–15 feet deep, and most shore fishing happens in 3–10 feet of water. Stripers often push bait right up to the surface, so this head keeps your fly tracking just below the chop—where the fish are hunting.
This is our go-to head for Crissy Field and other calm-water spots, where you want the fly to hover rather than dive. It’s also a solid option for clear, shallow beaches or slow-moving tidal flats.
Pro Tip: The intermediate head is your everyday workhorse for inside the Bay.
Sink Rate: 3–4 inches per second
This is your “in-between” line for fishing moderate surf and medium-depth water. It gets your fly under the surface quickly but doesn’t drag bottom.
We love the Type 3 for Crissy Field, Stinson Beach on calm days, or even light surf outside the Gate. It also doubles as a versatile option for shad and steelhead.
LCO Favorite: If you can only have one head for both the Bay and light surf, make it a Type 3.
Sink rate: 6–9 inches per second
This is your heavy artillery—built for the open coast, strong currents, and deep holes. A fast-sinking head cuts through wind and whitewater to keep your fly in the zone.
It’s a staple for Ocean Beach, Fort Funston, and winter perch sessions. The thinner profile also helps maintain contact through waves, giving you better control of your fly in turbulent conditions.
Best for: Big surf, deep troughs, and windy days when you need to punch through and stay tight to your fly.


Ready to Hit the Surf?
Building a good line system is the key to consistent success on our local beaches and bays. Start with a quality running line, add a few shooting heads, and you’ll be ready to tackle anything from calm days at Crissy to the heavy surf at Ocean Beach.


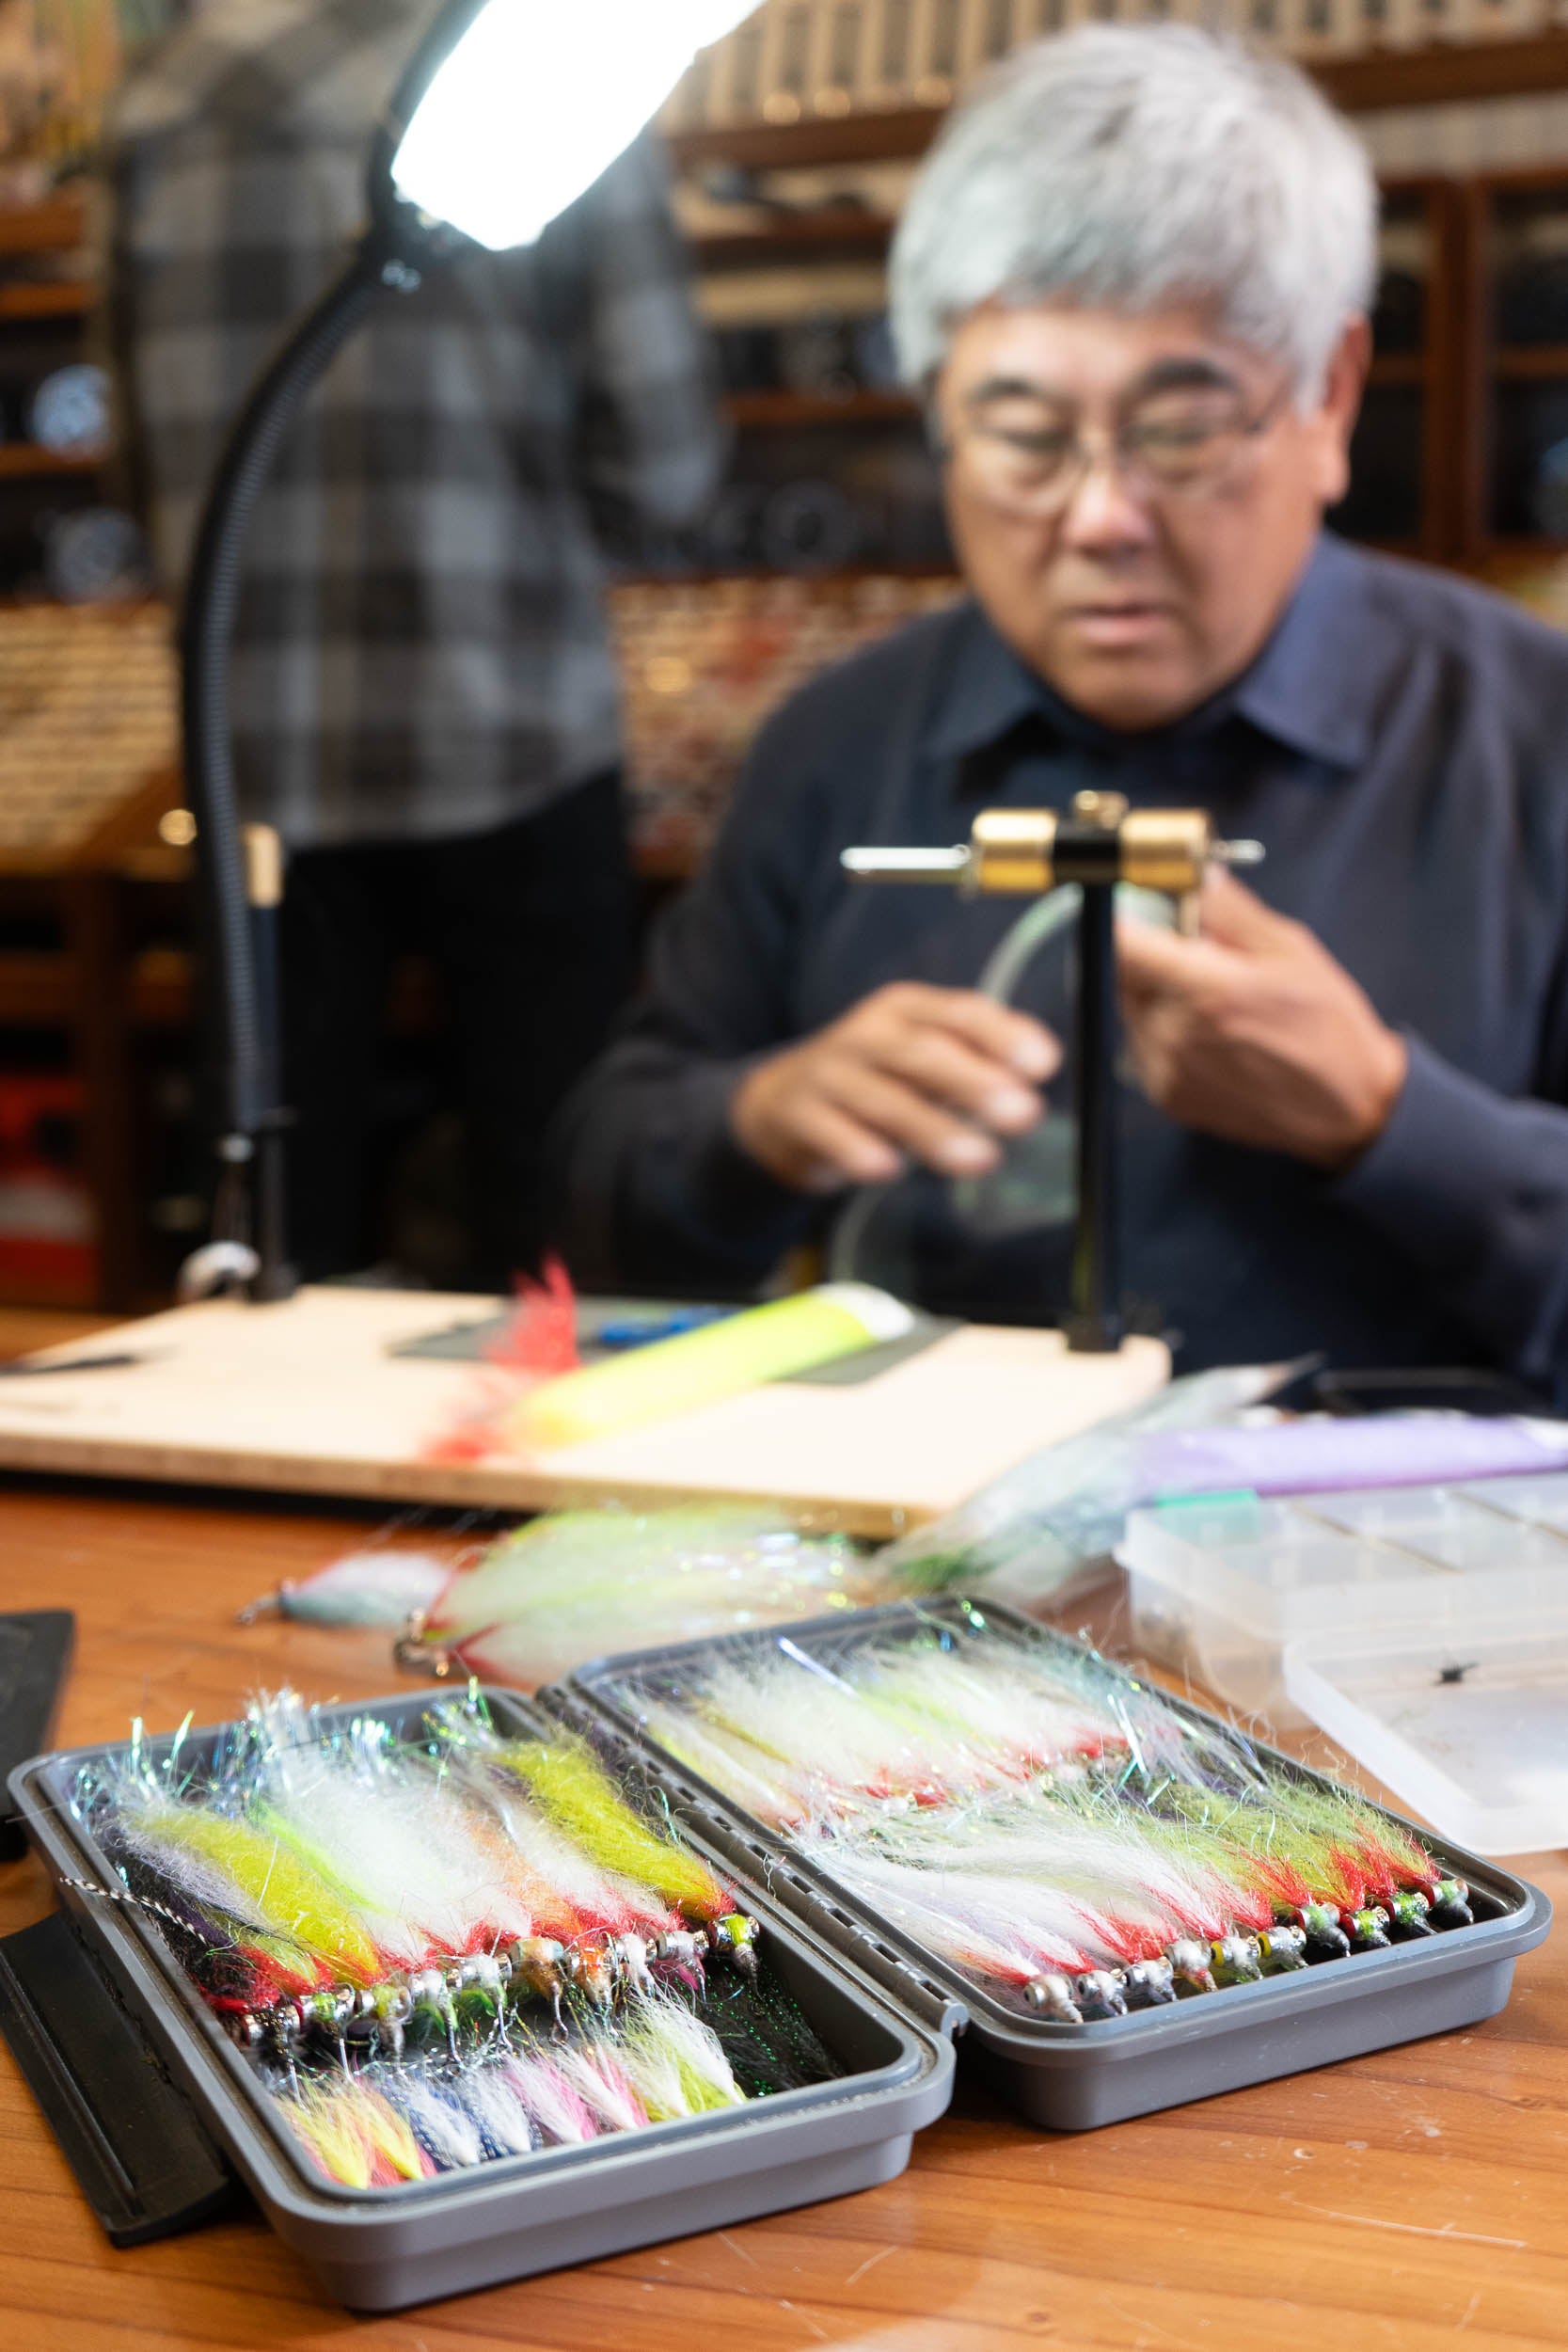
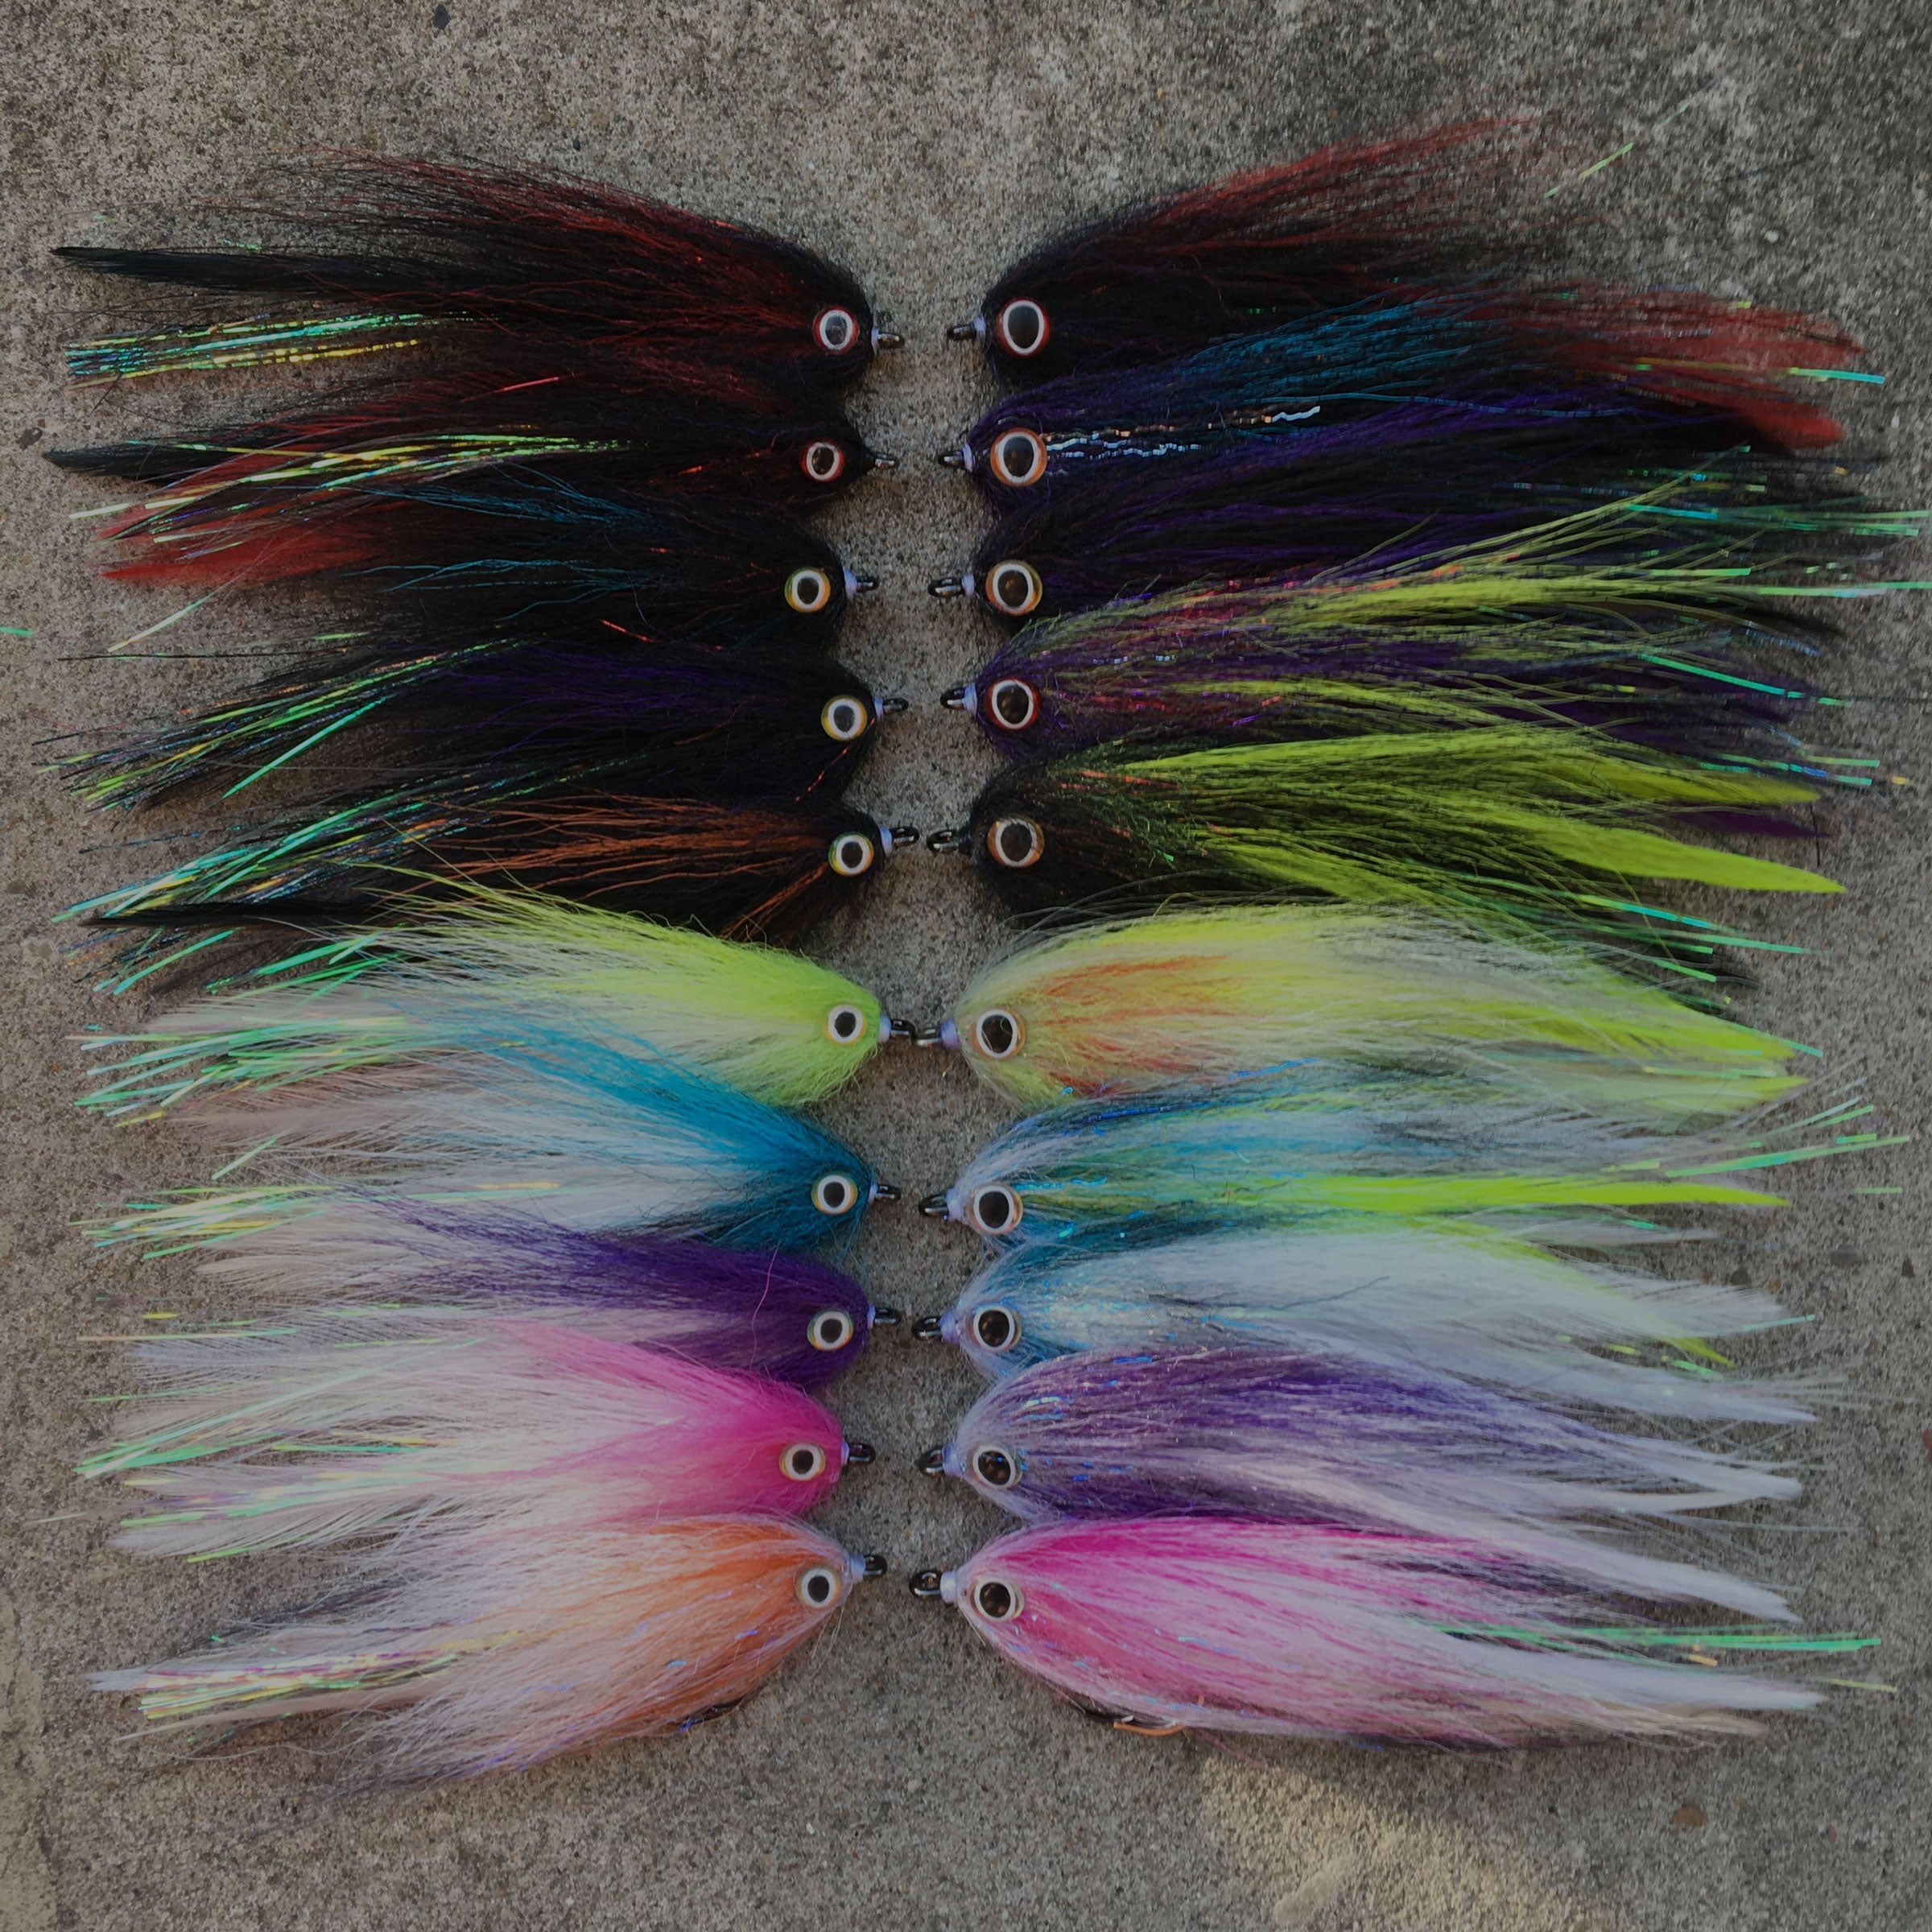
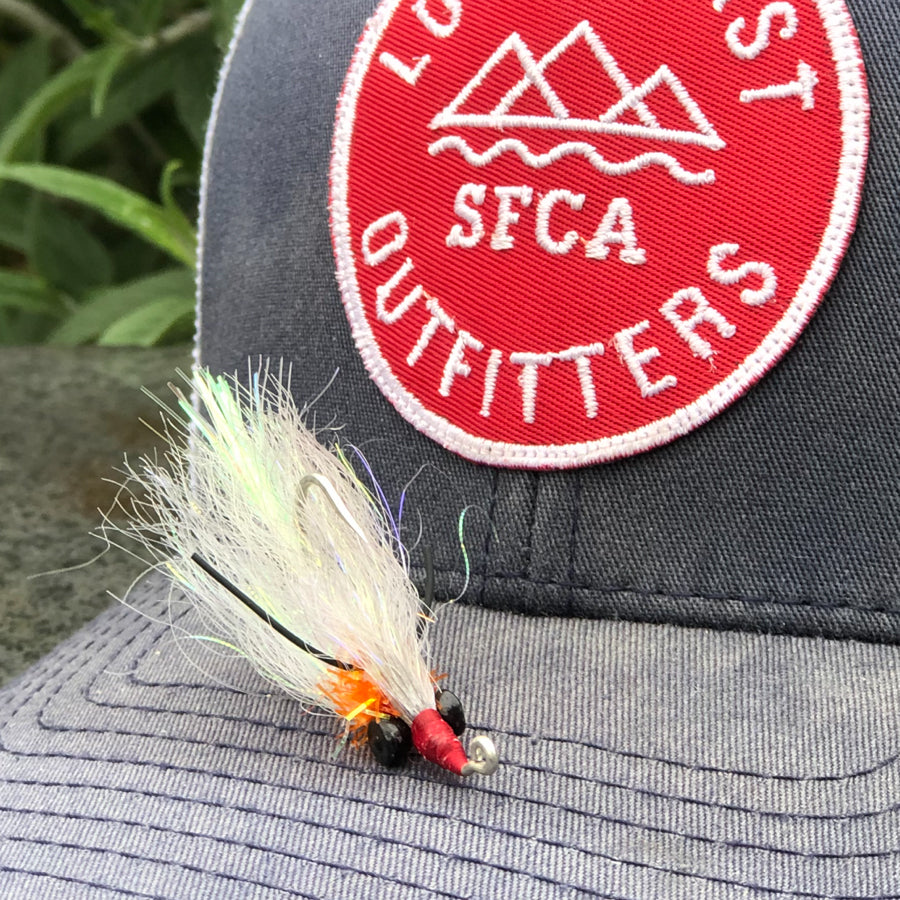
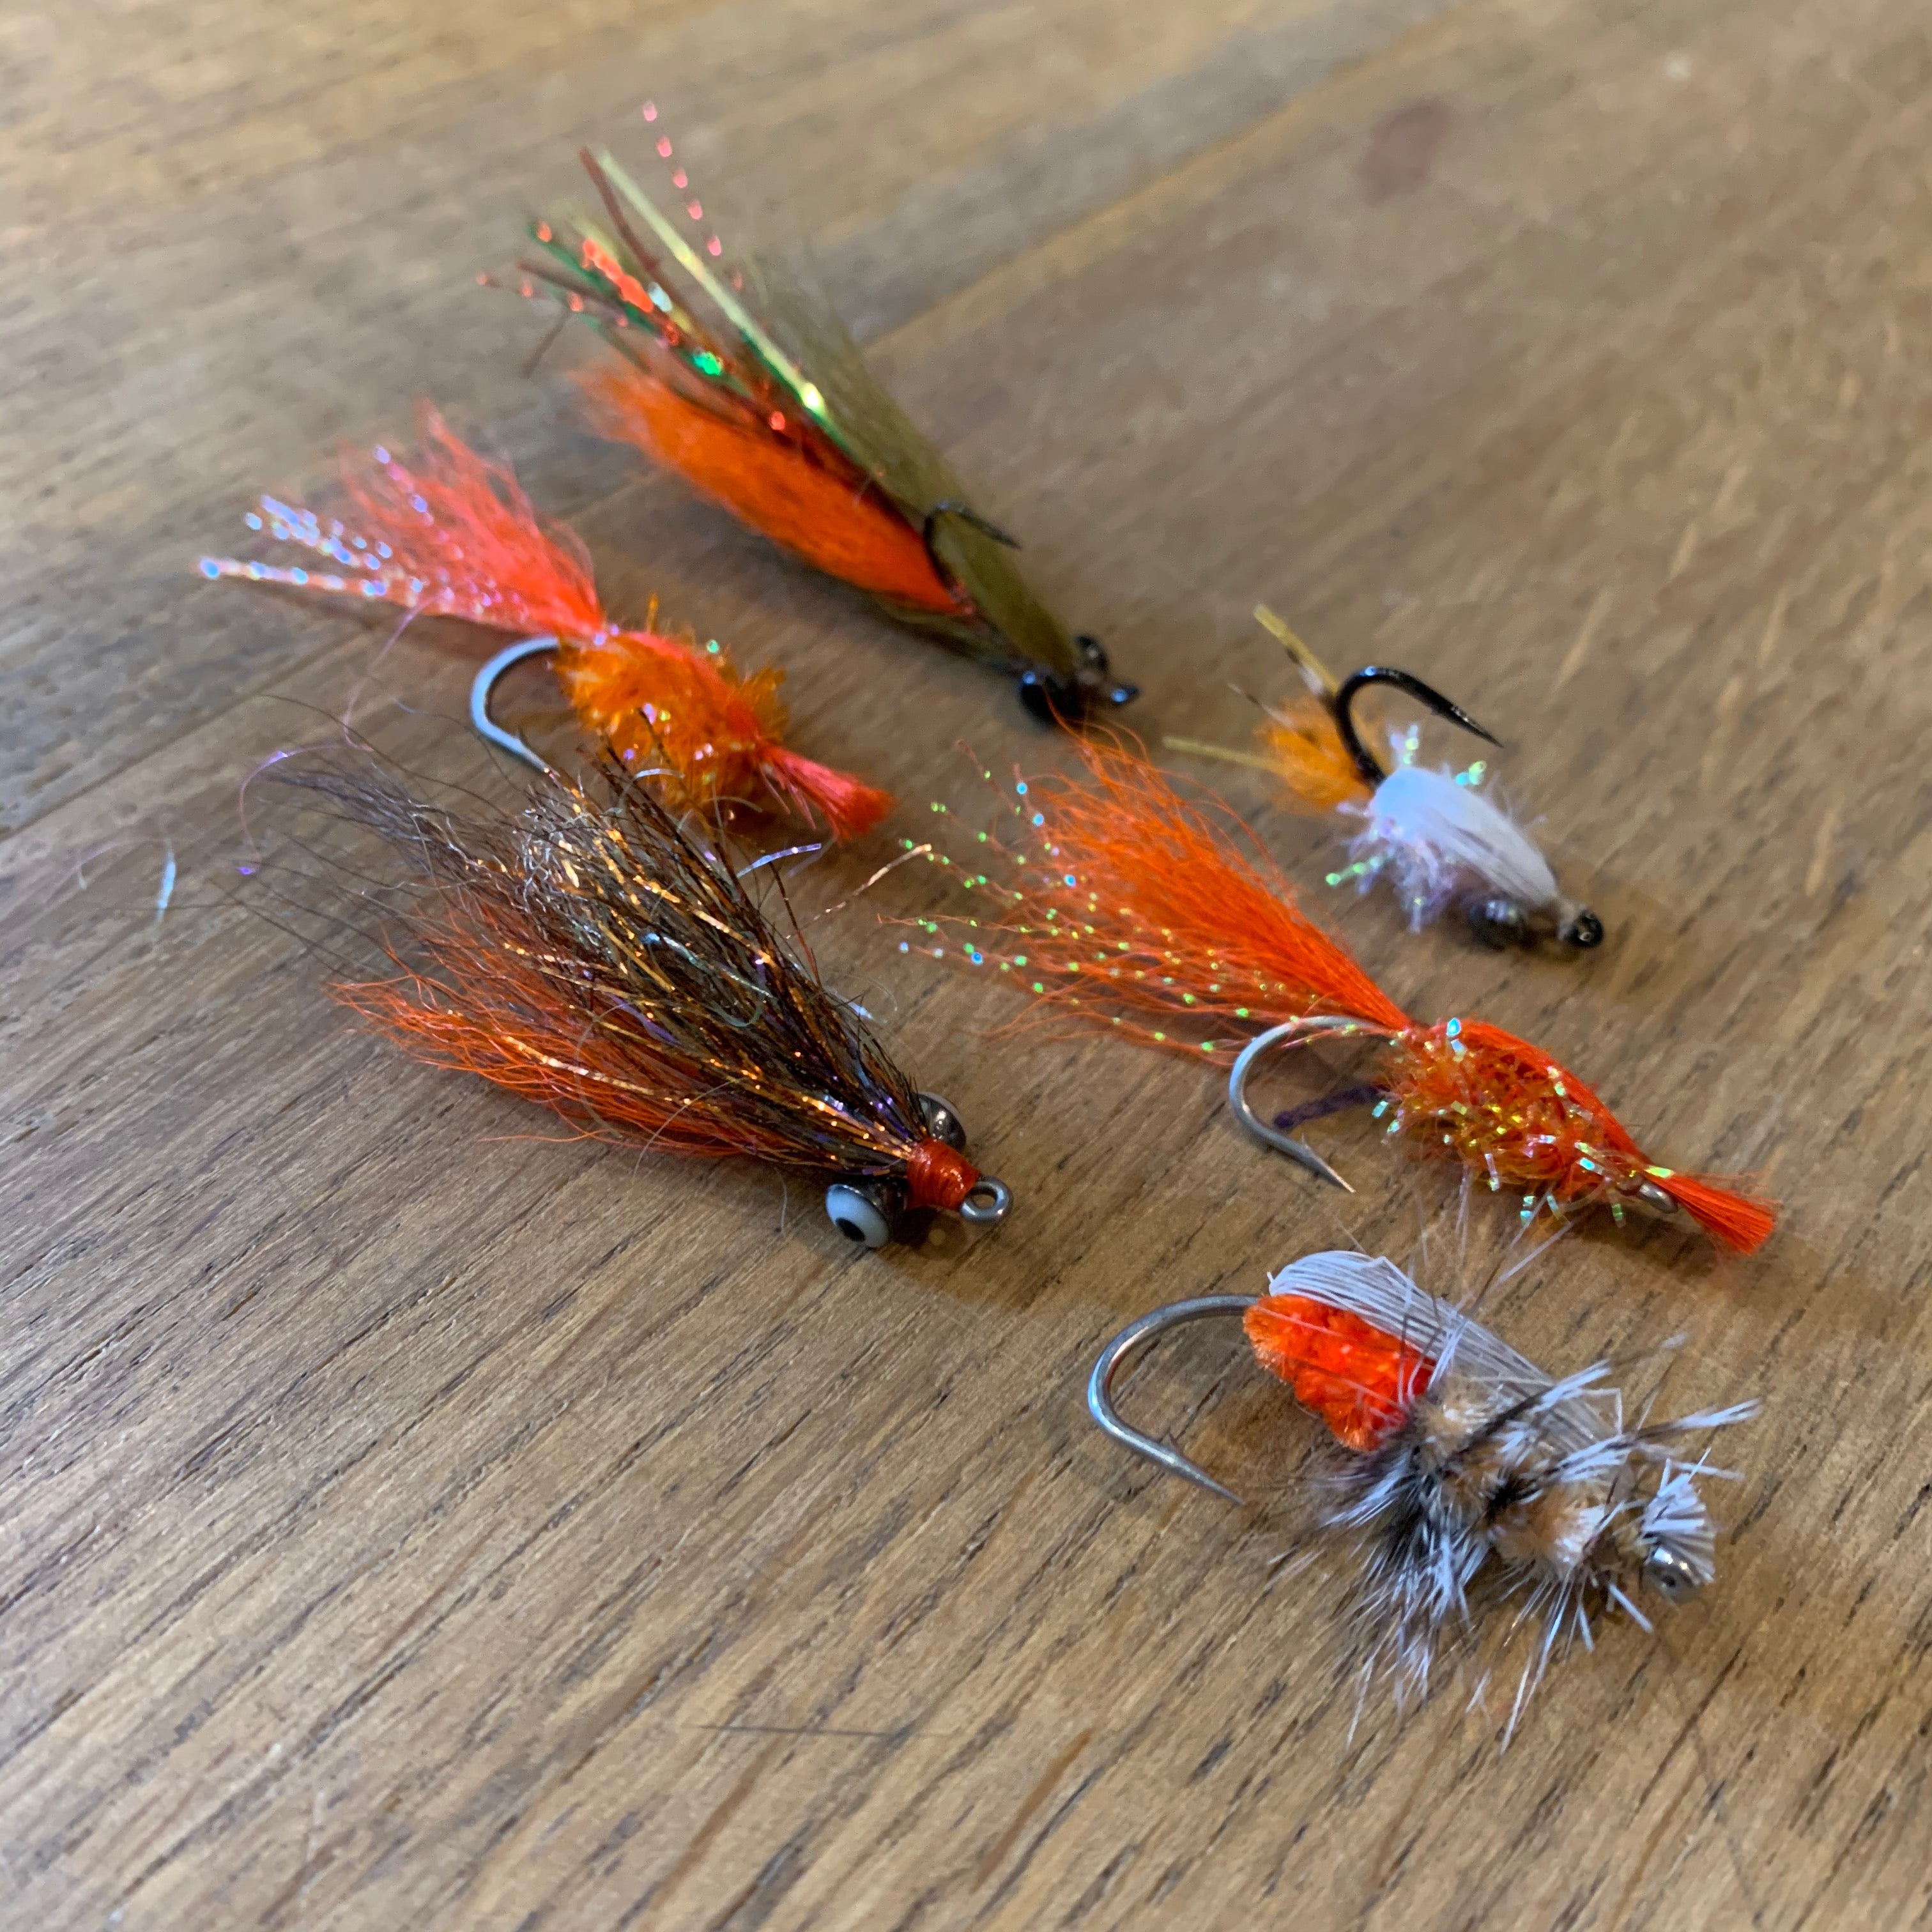
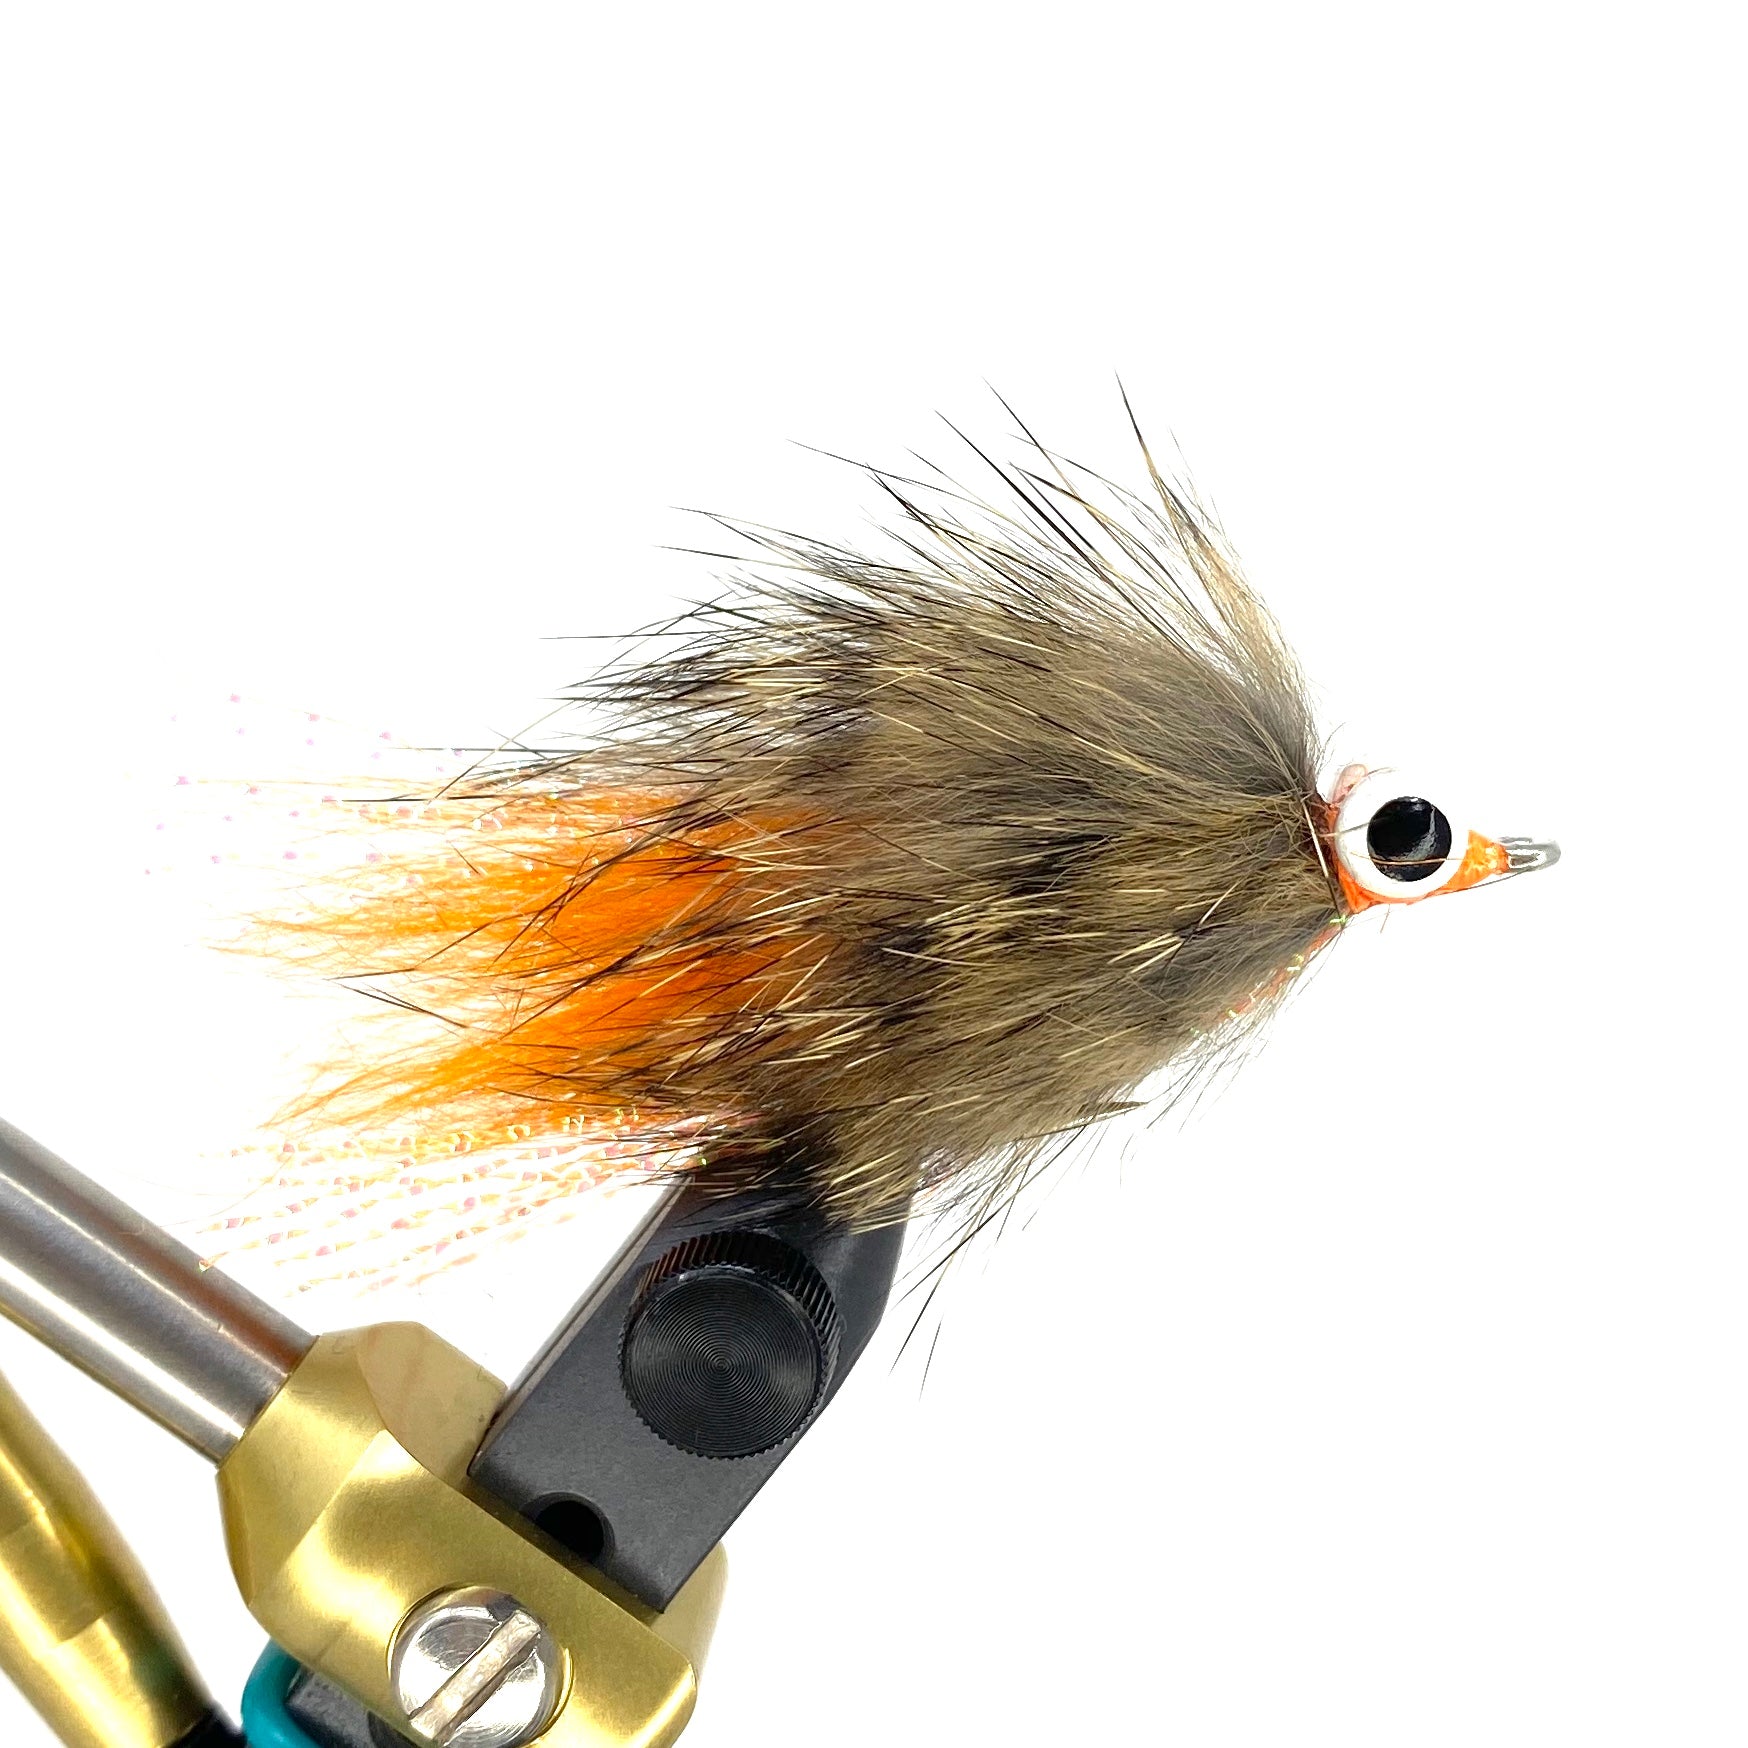
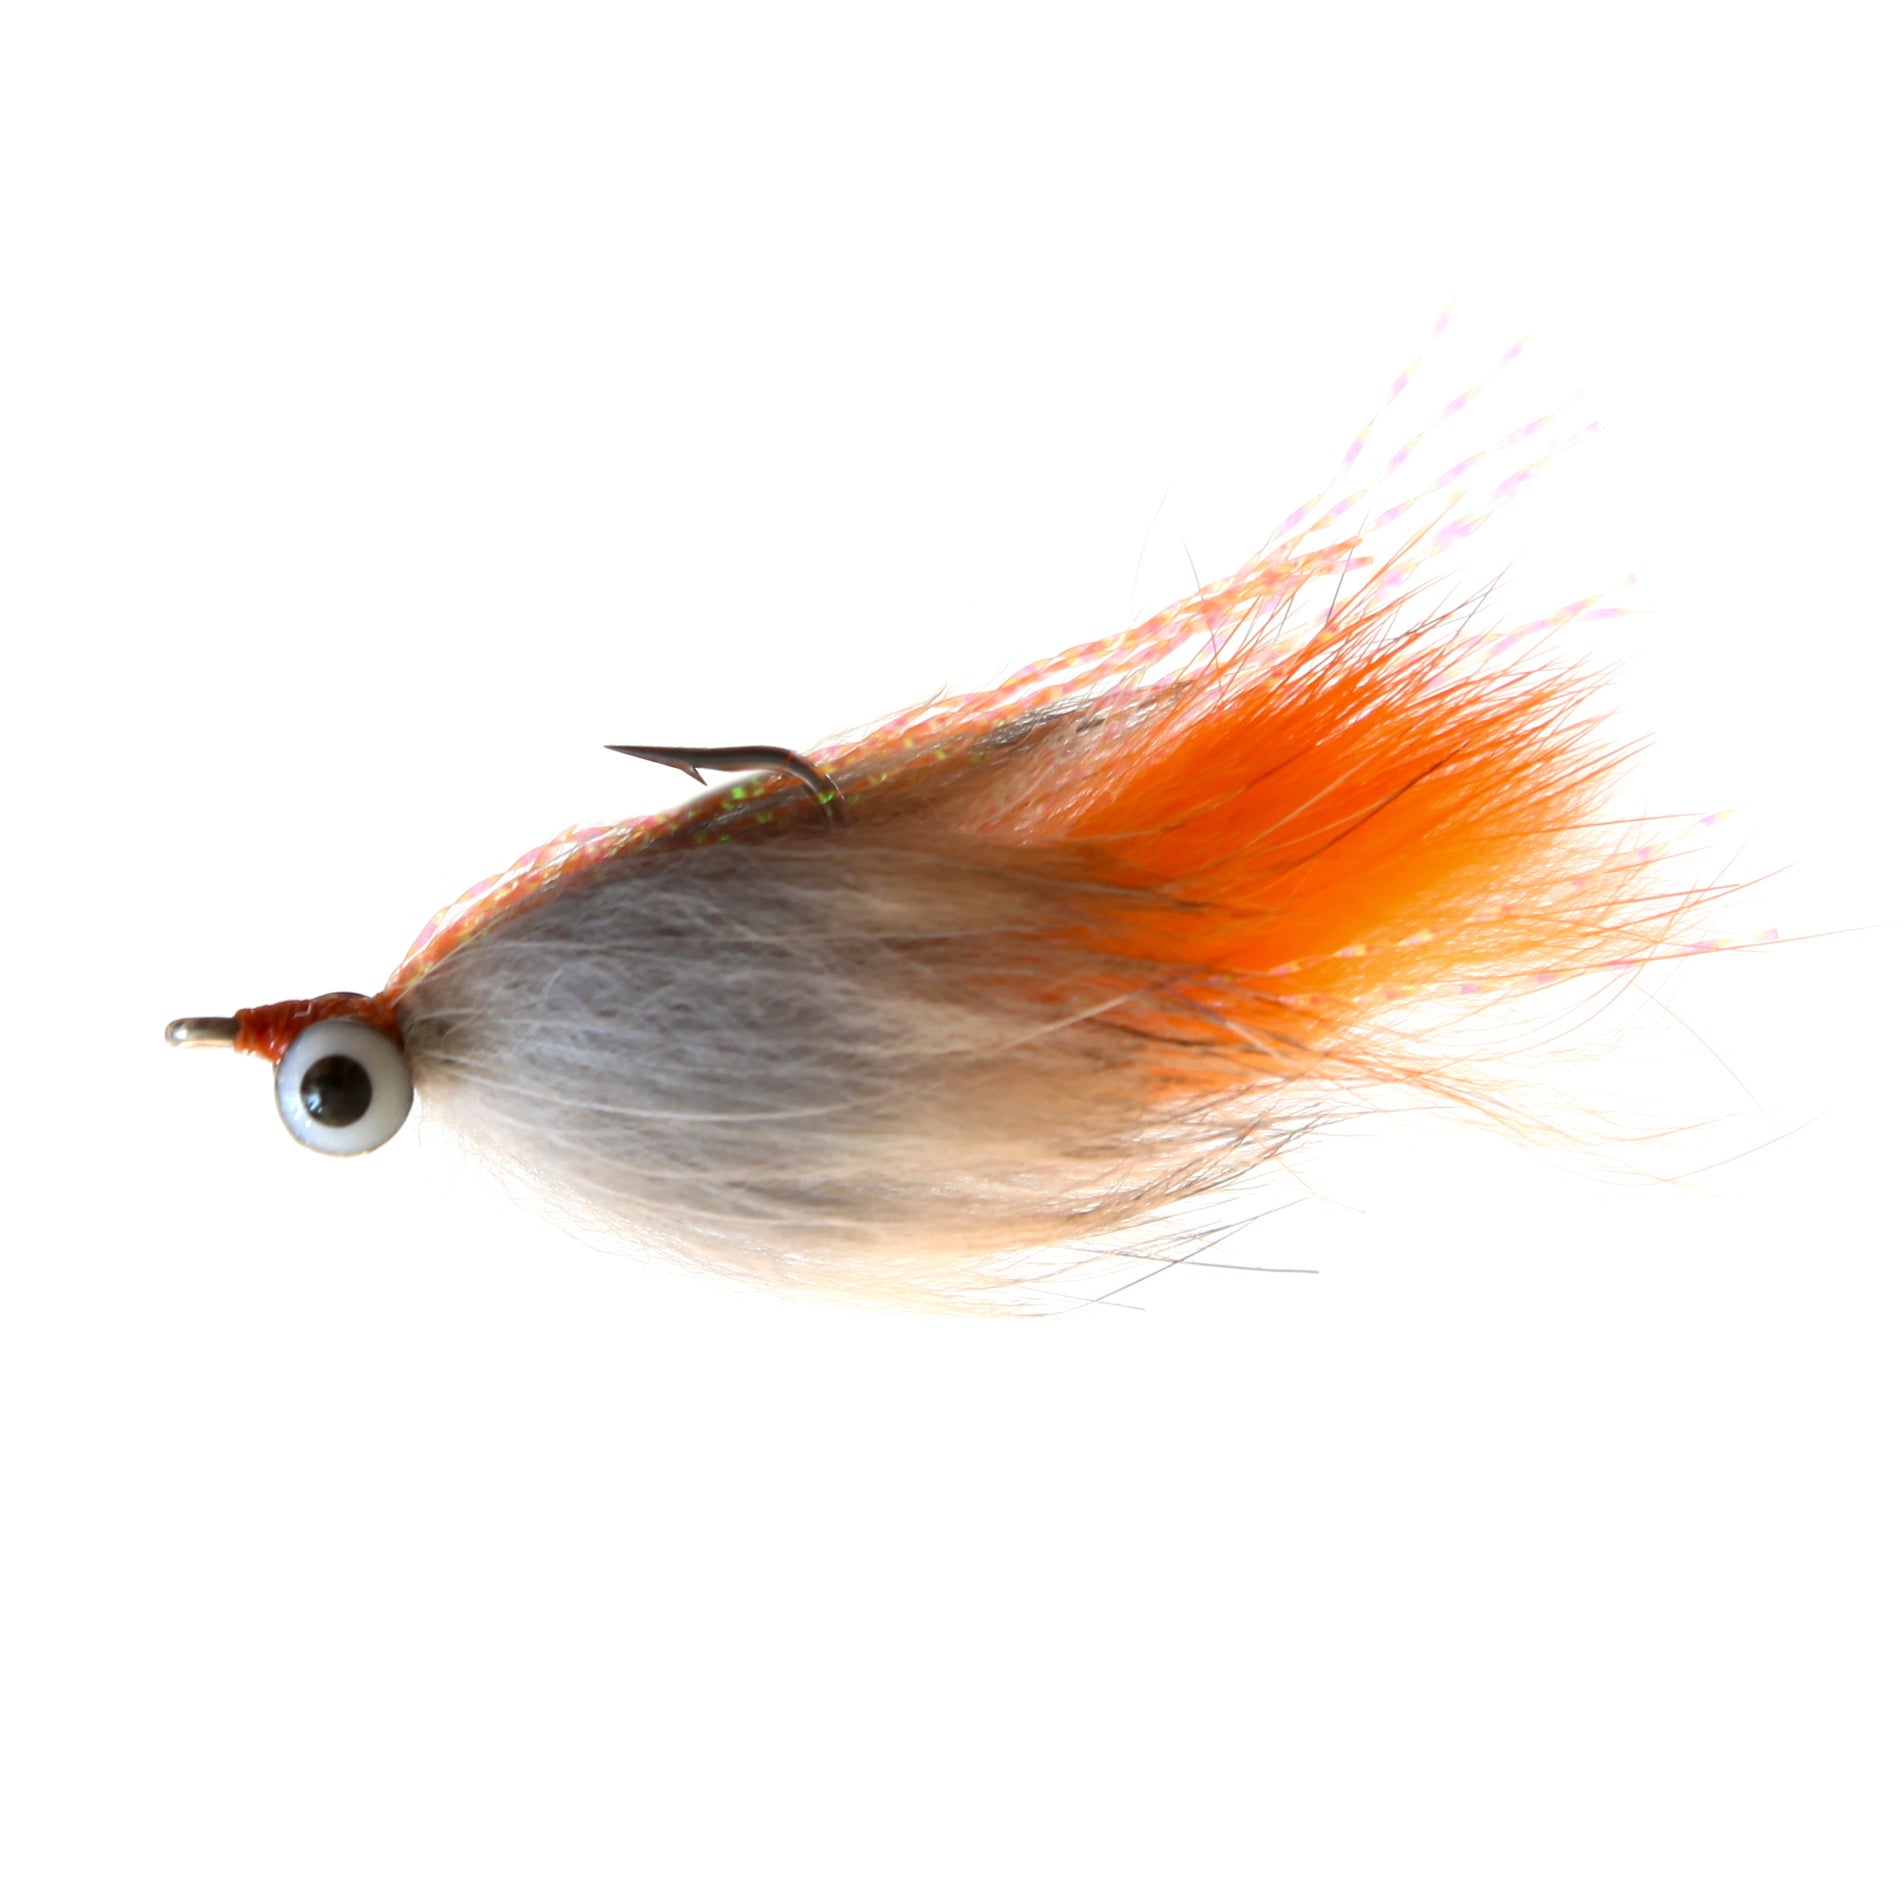
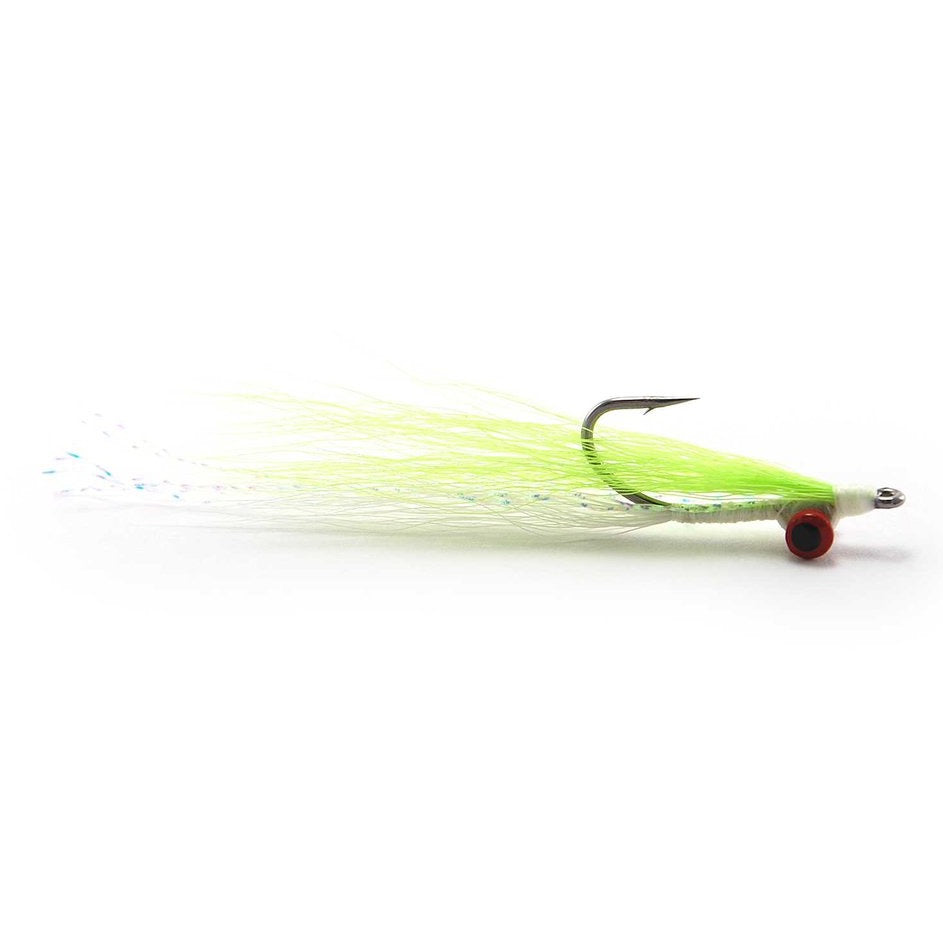
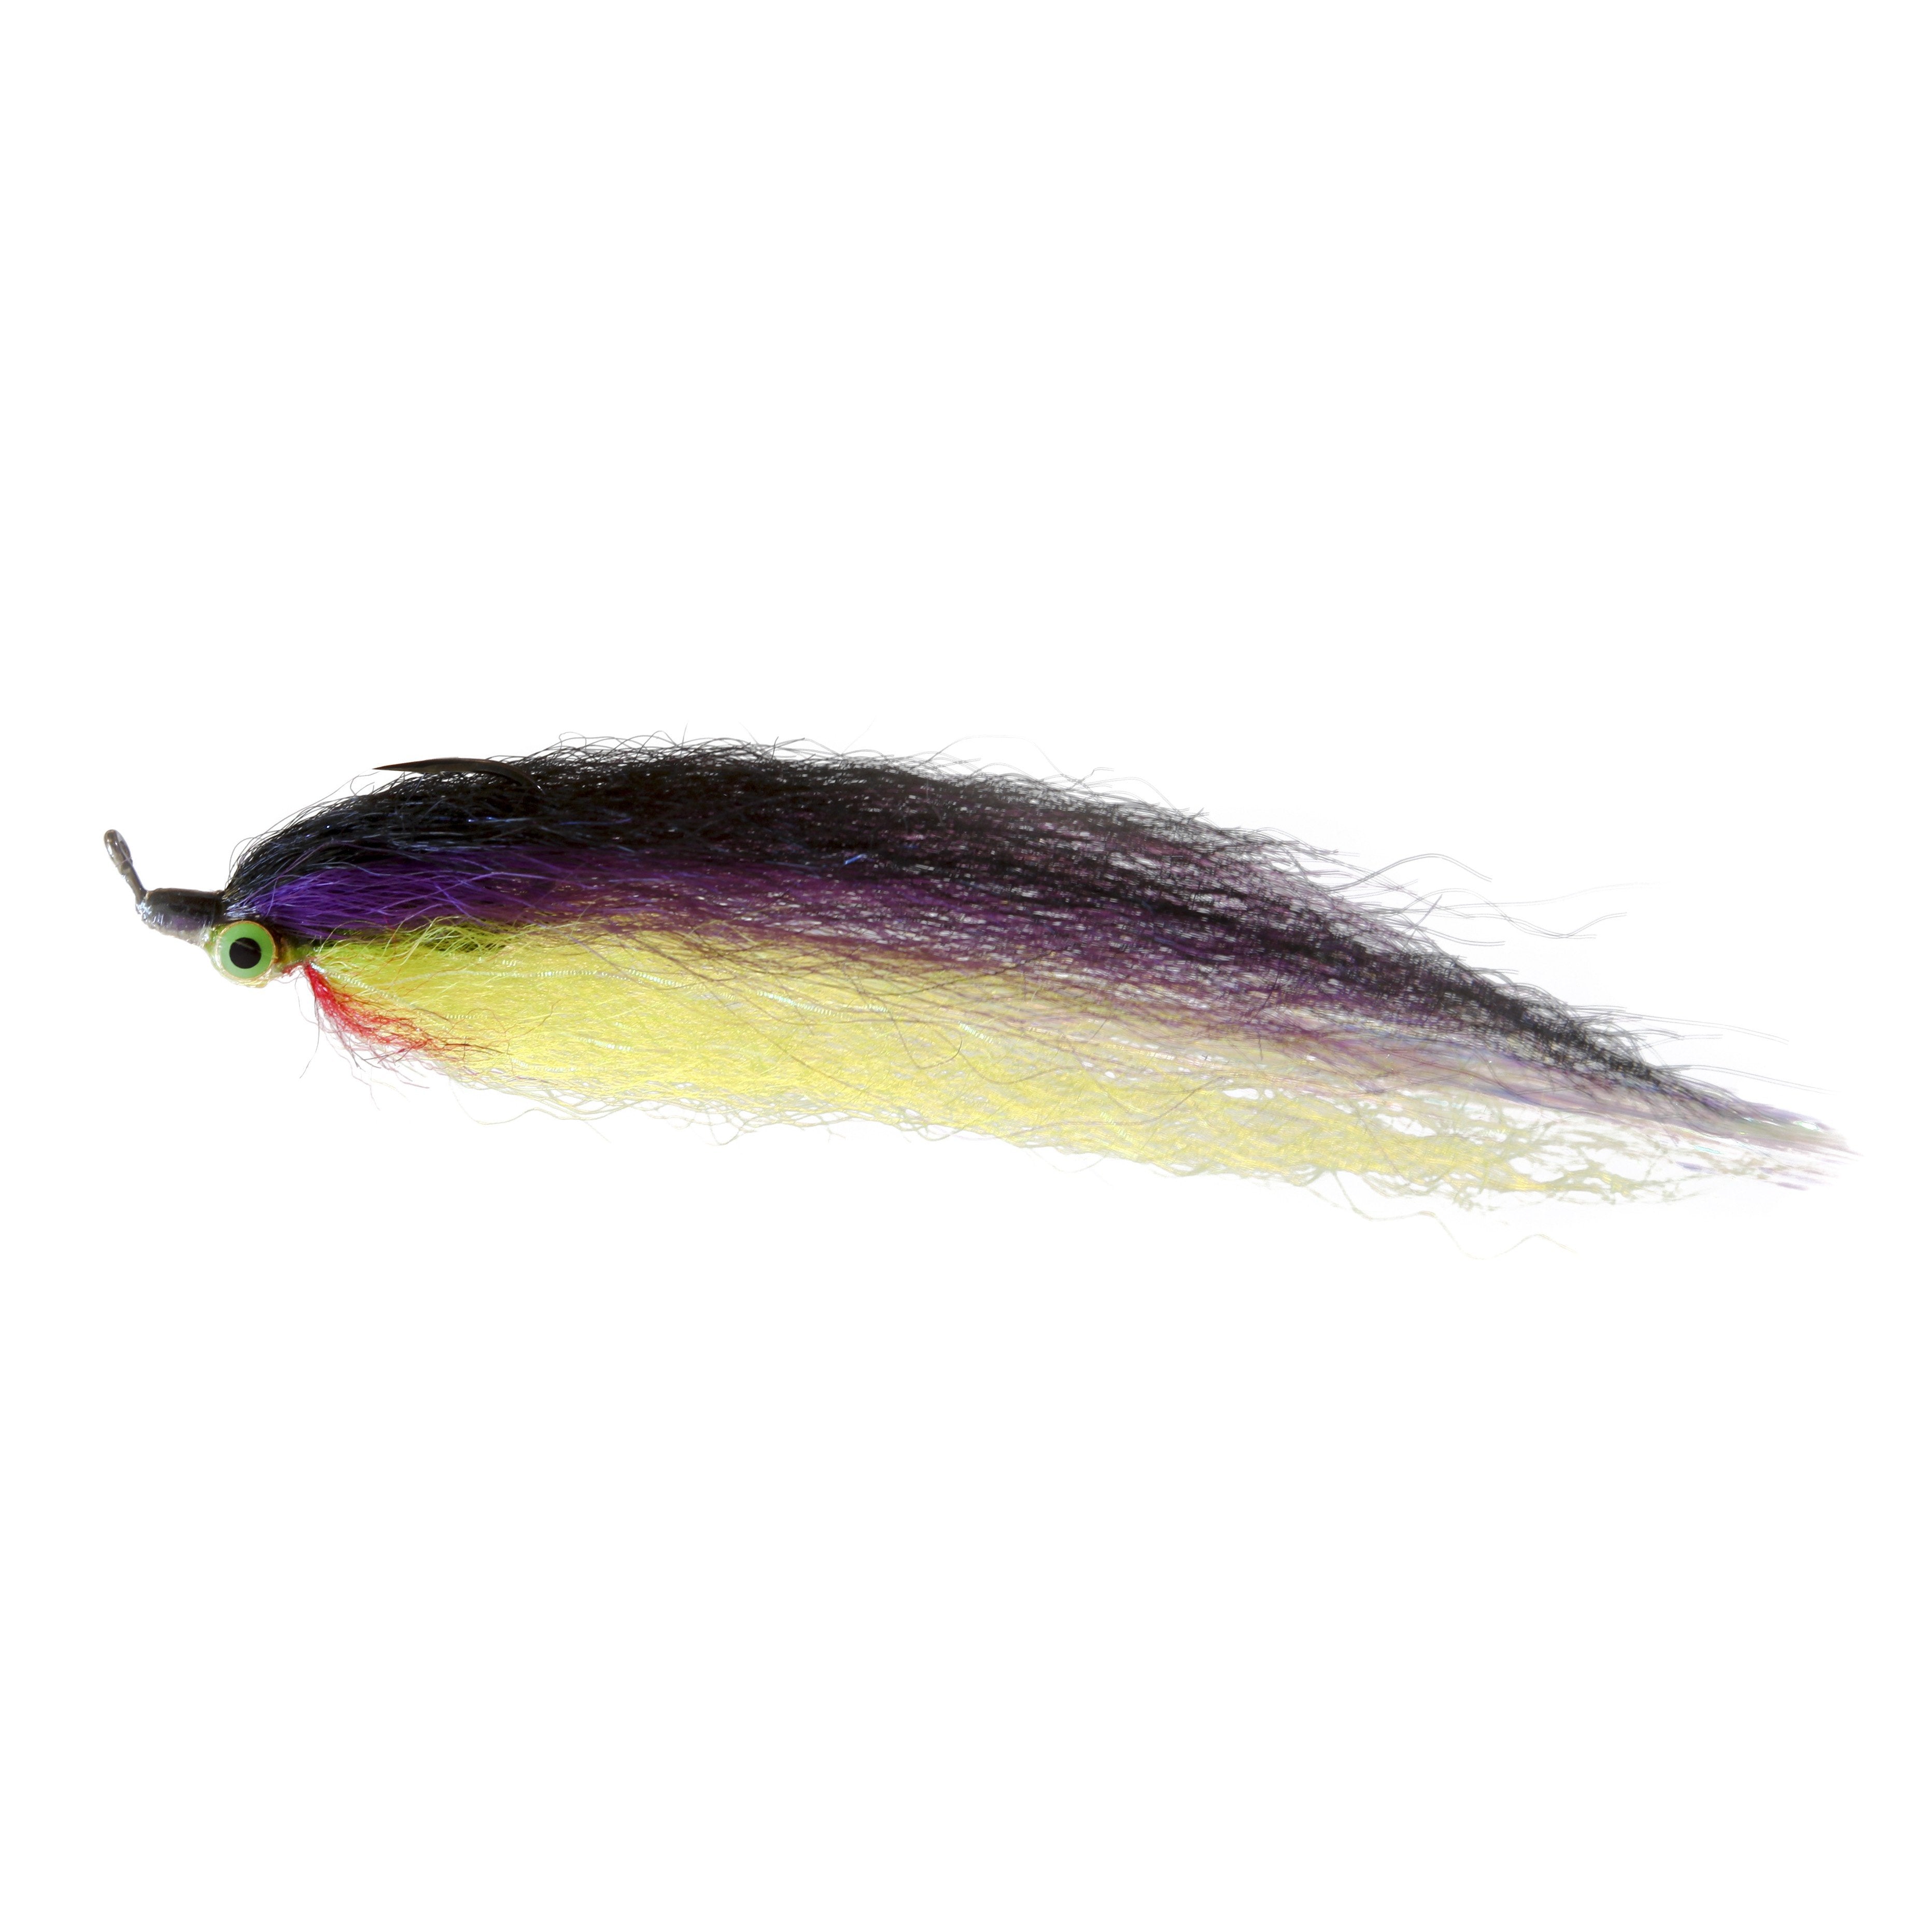
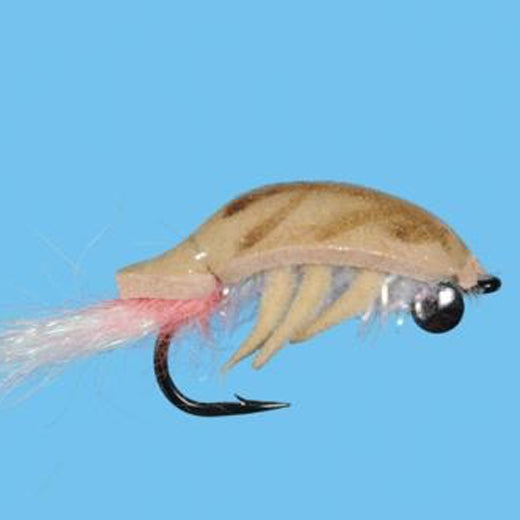
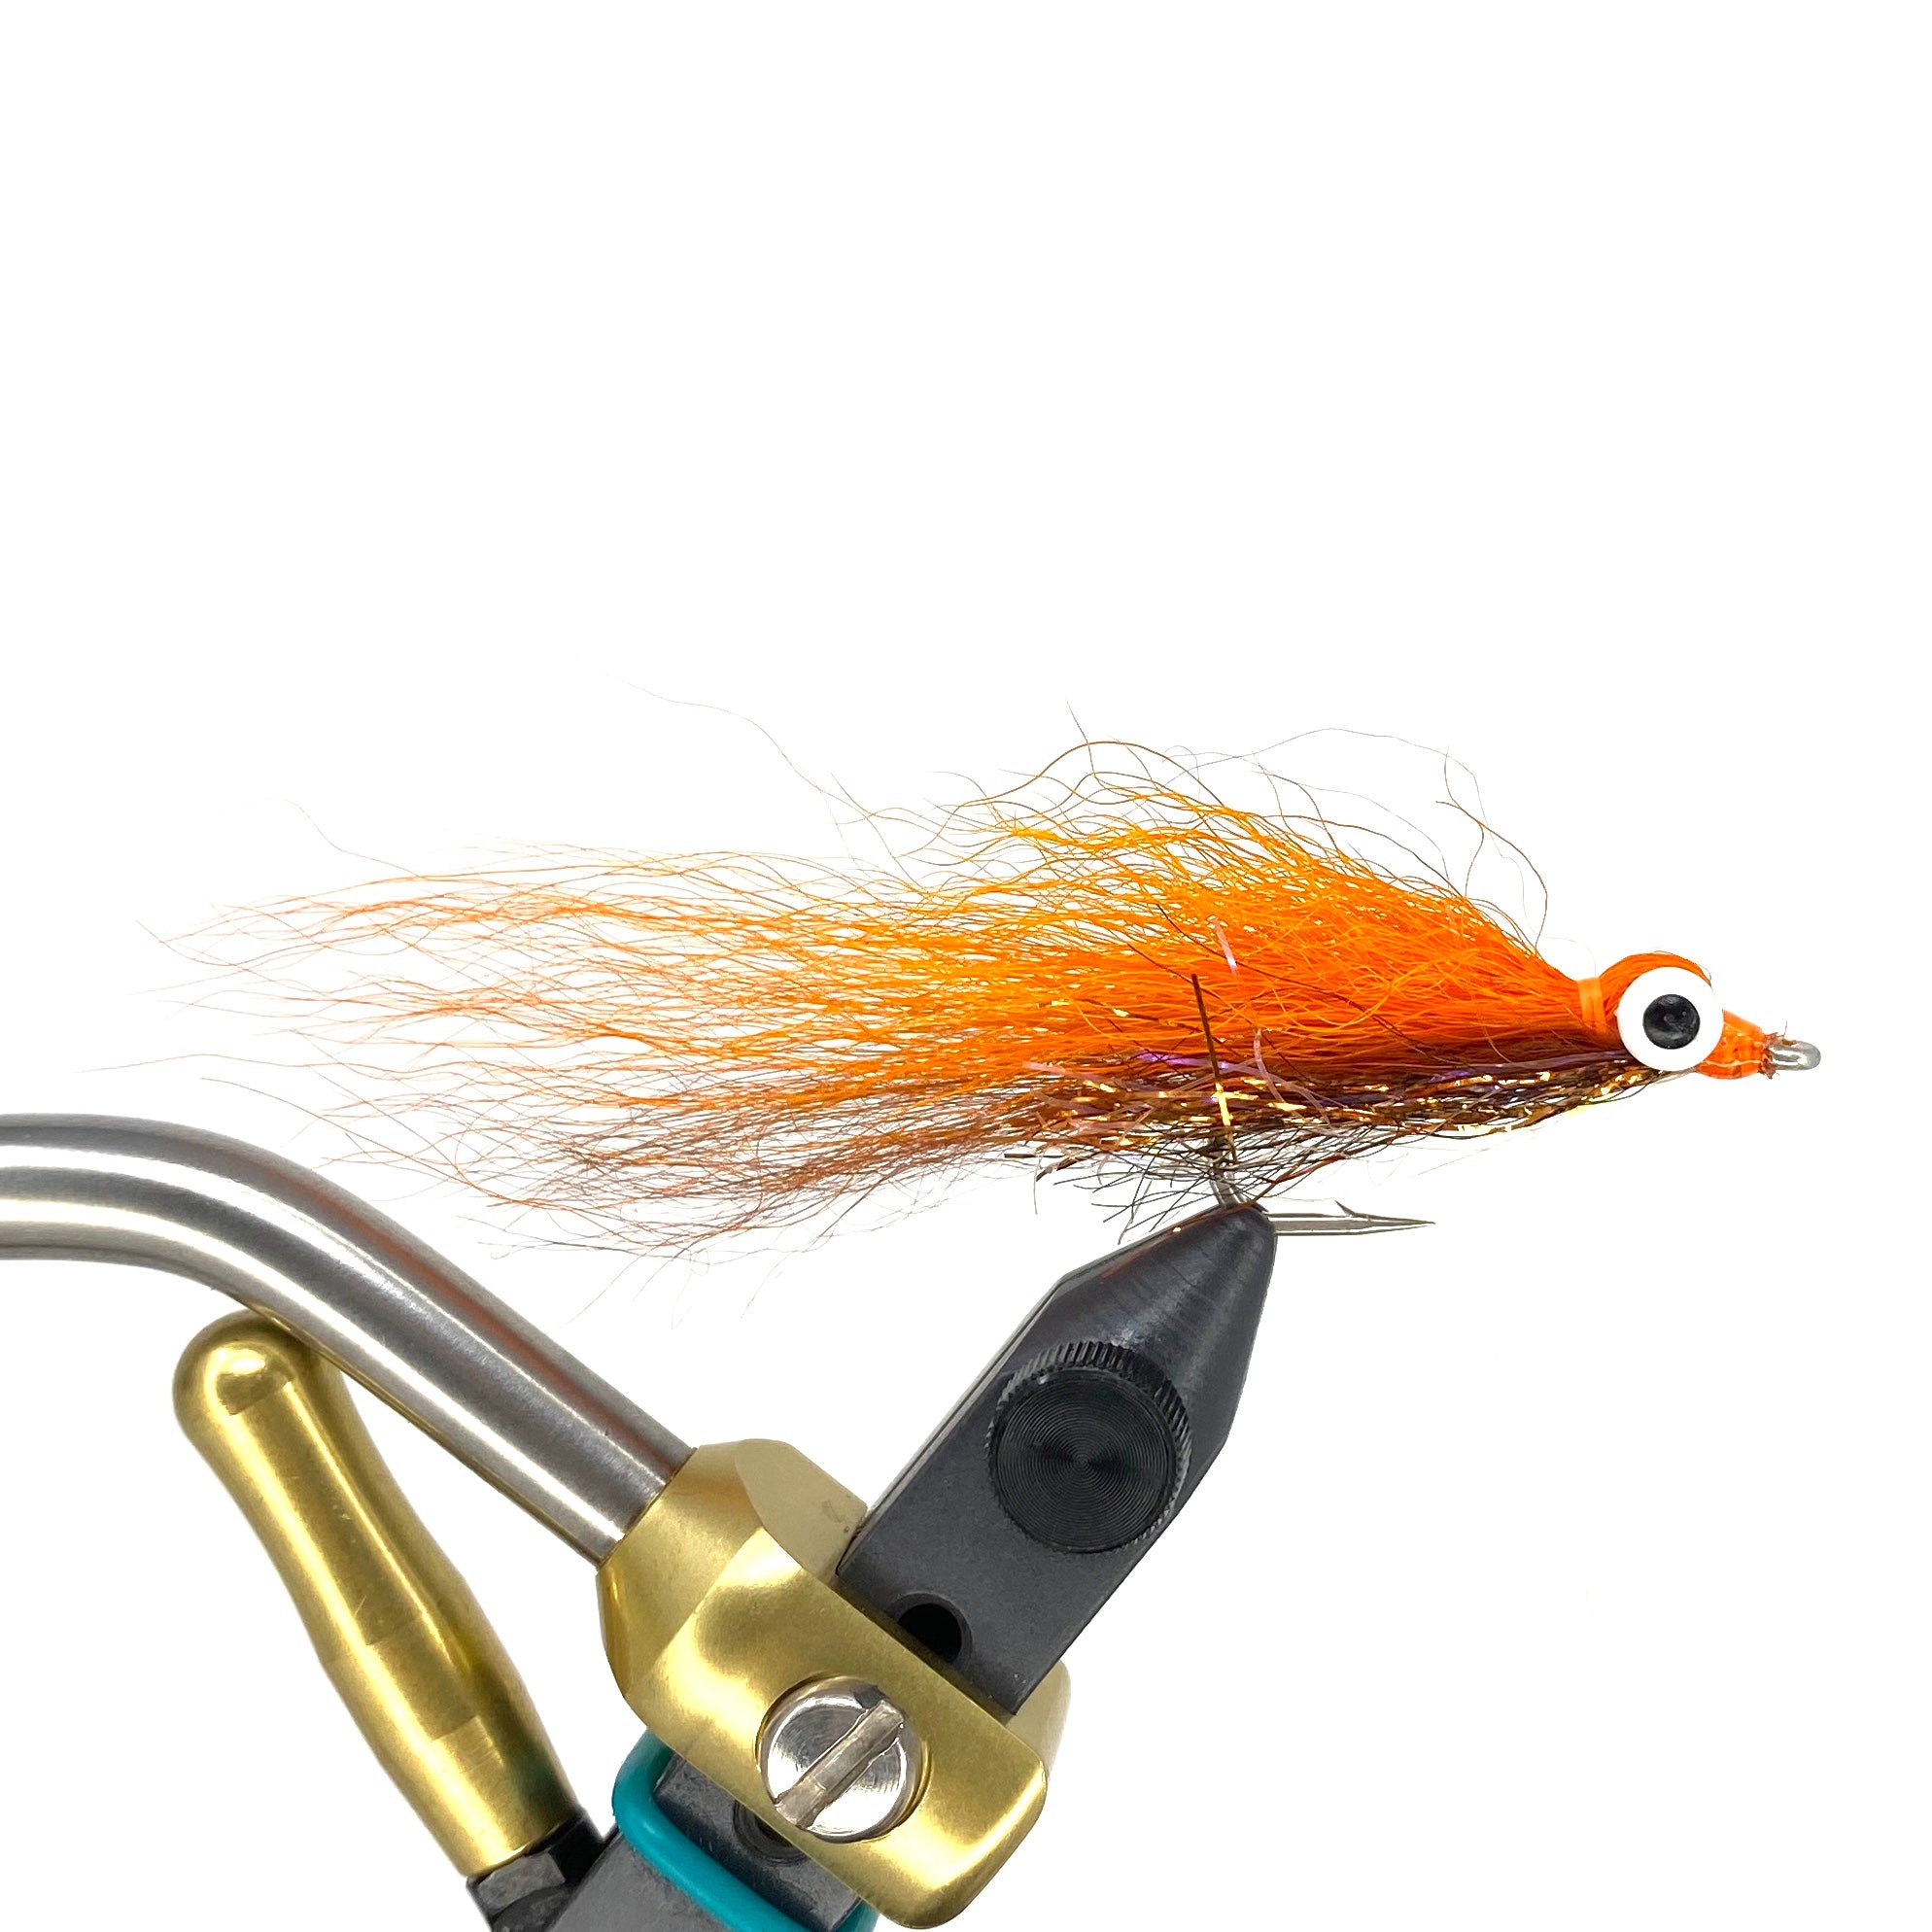
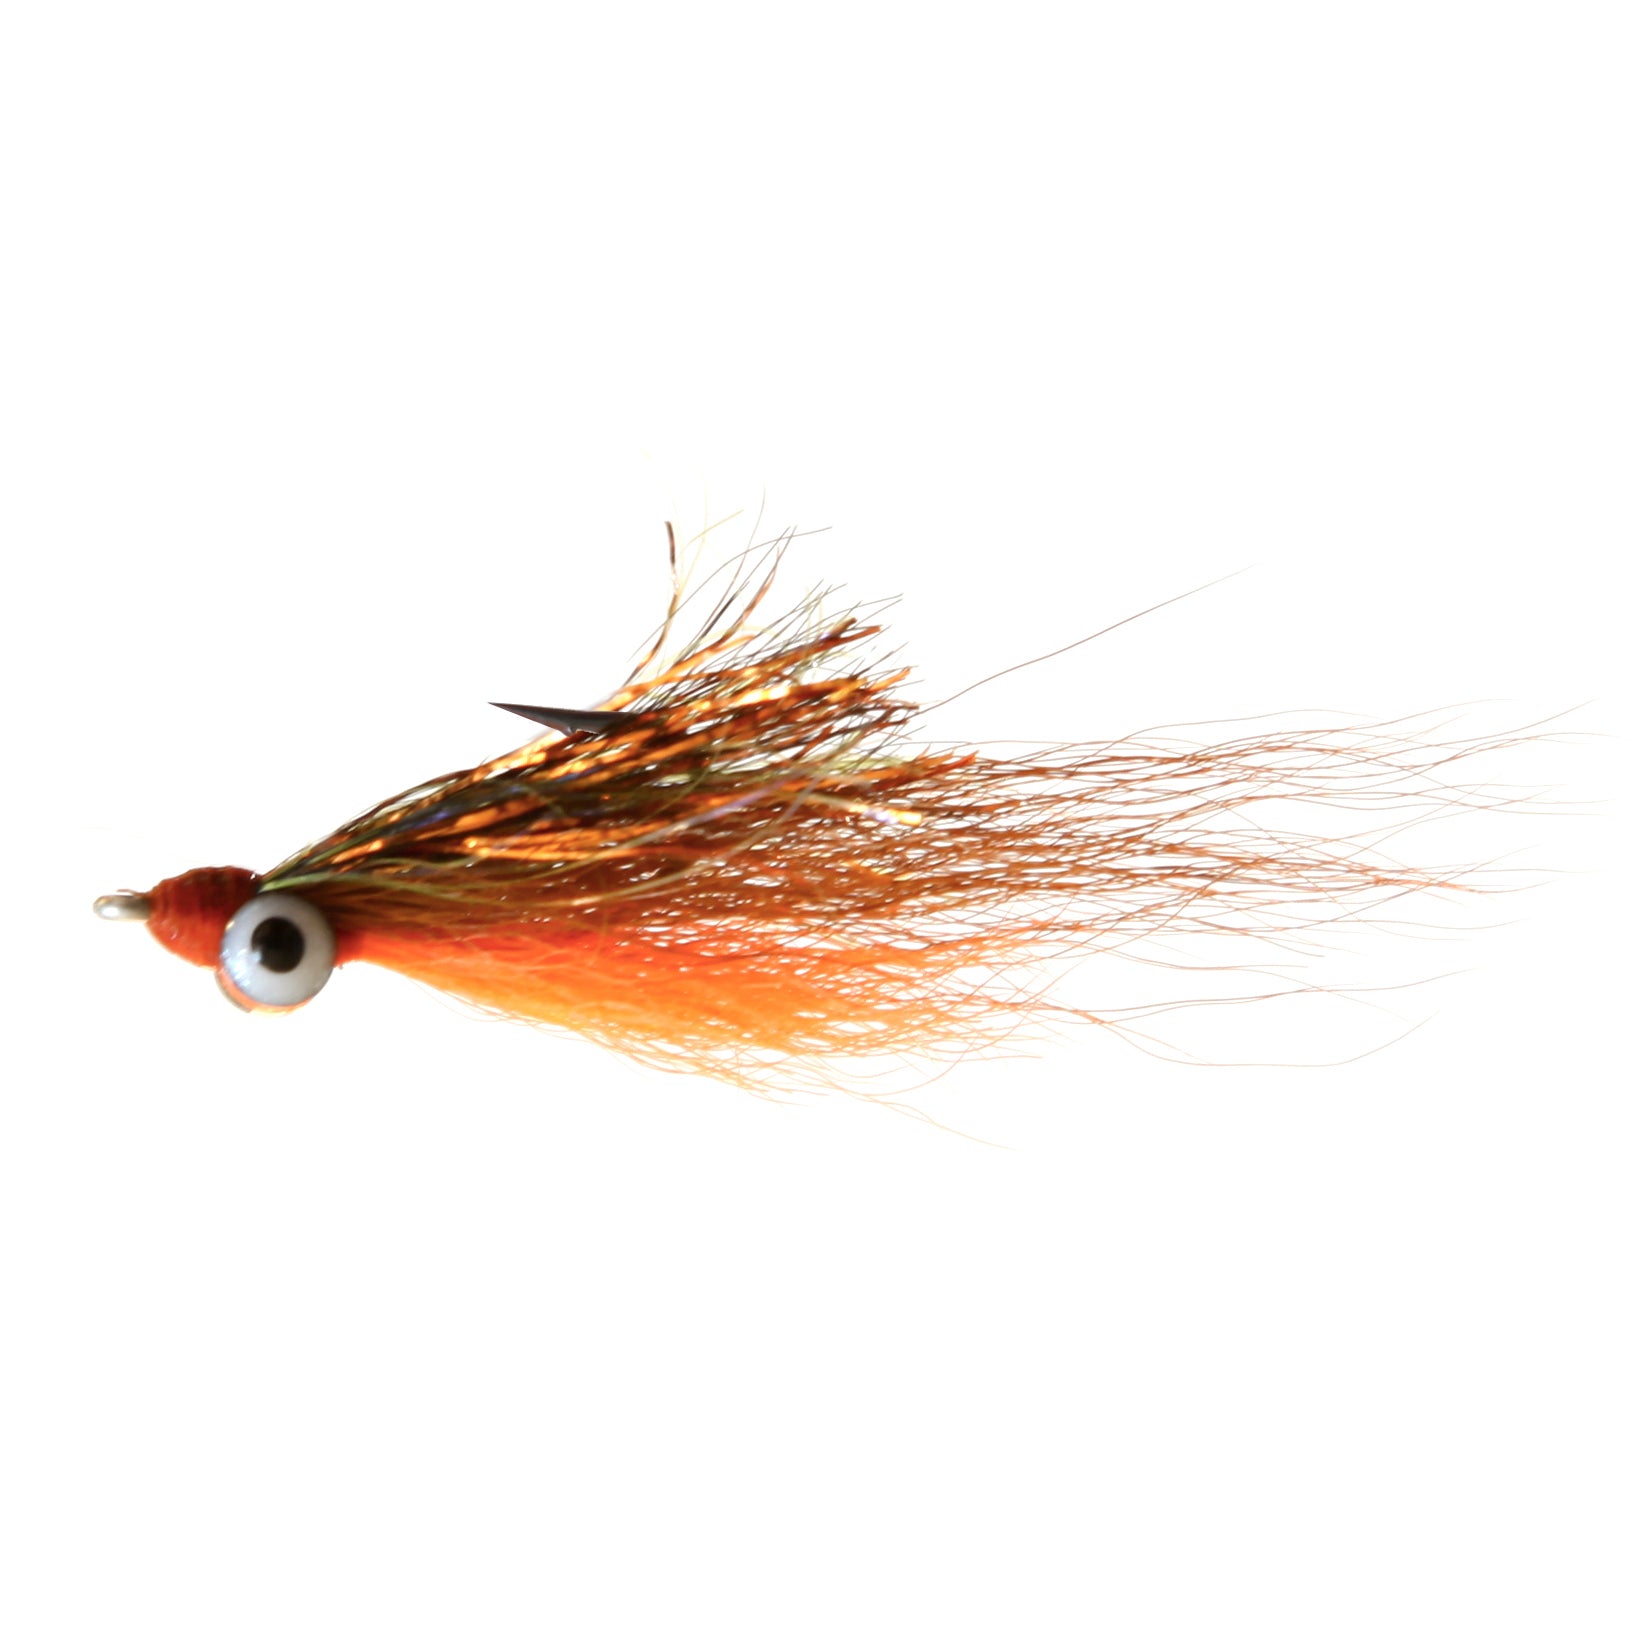
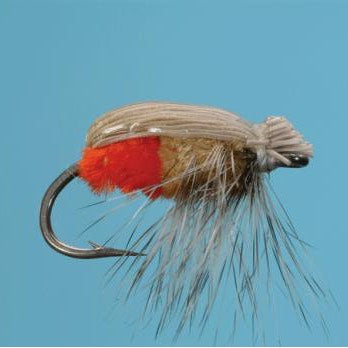
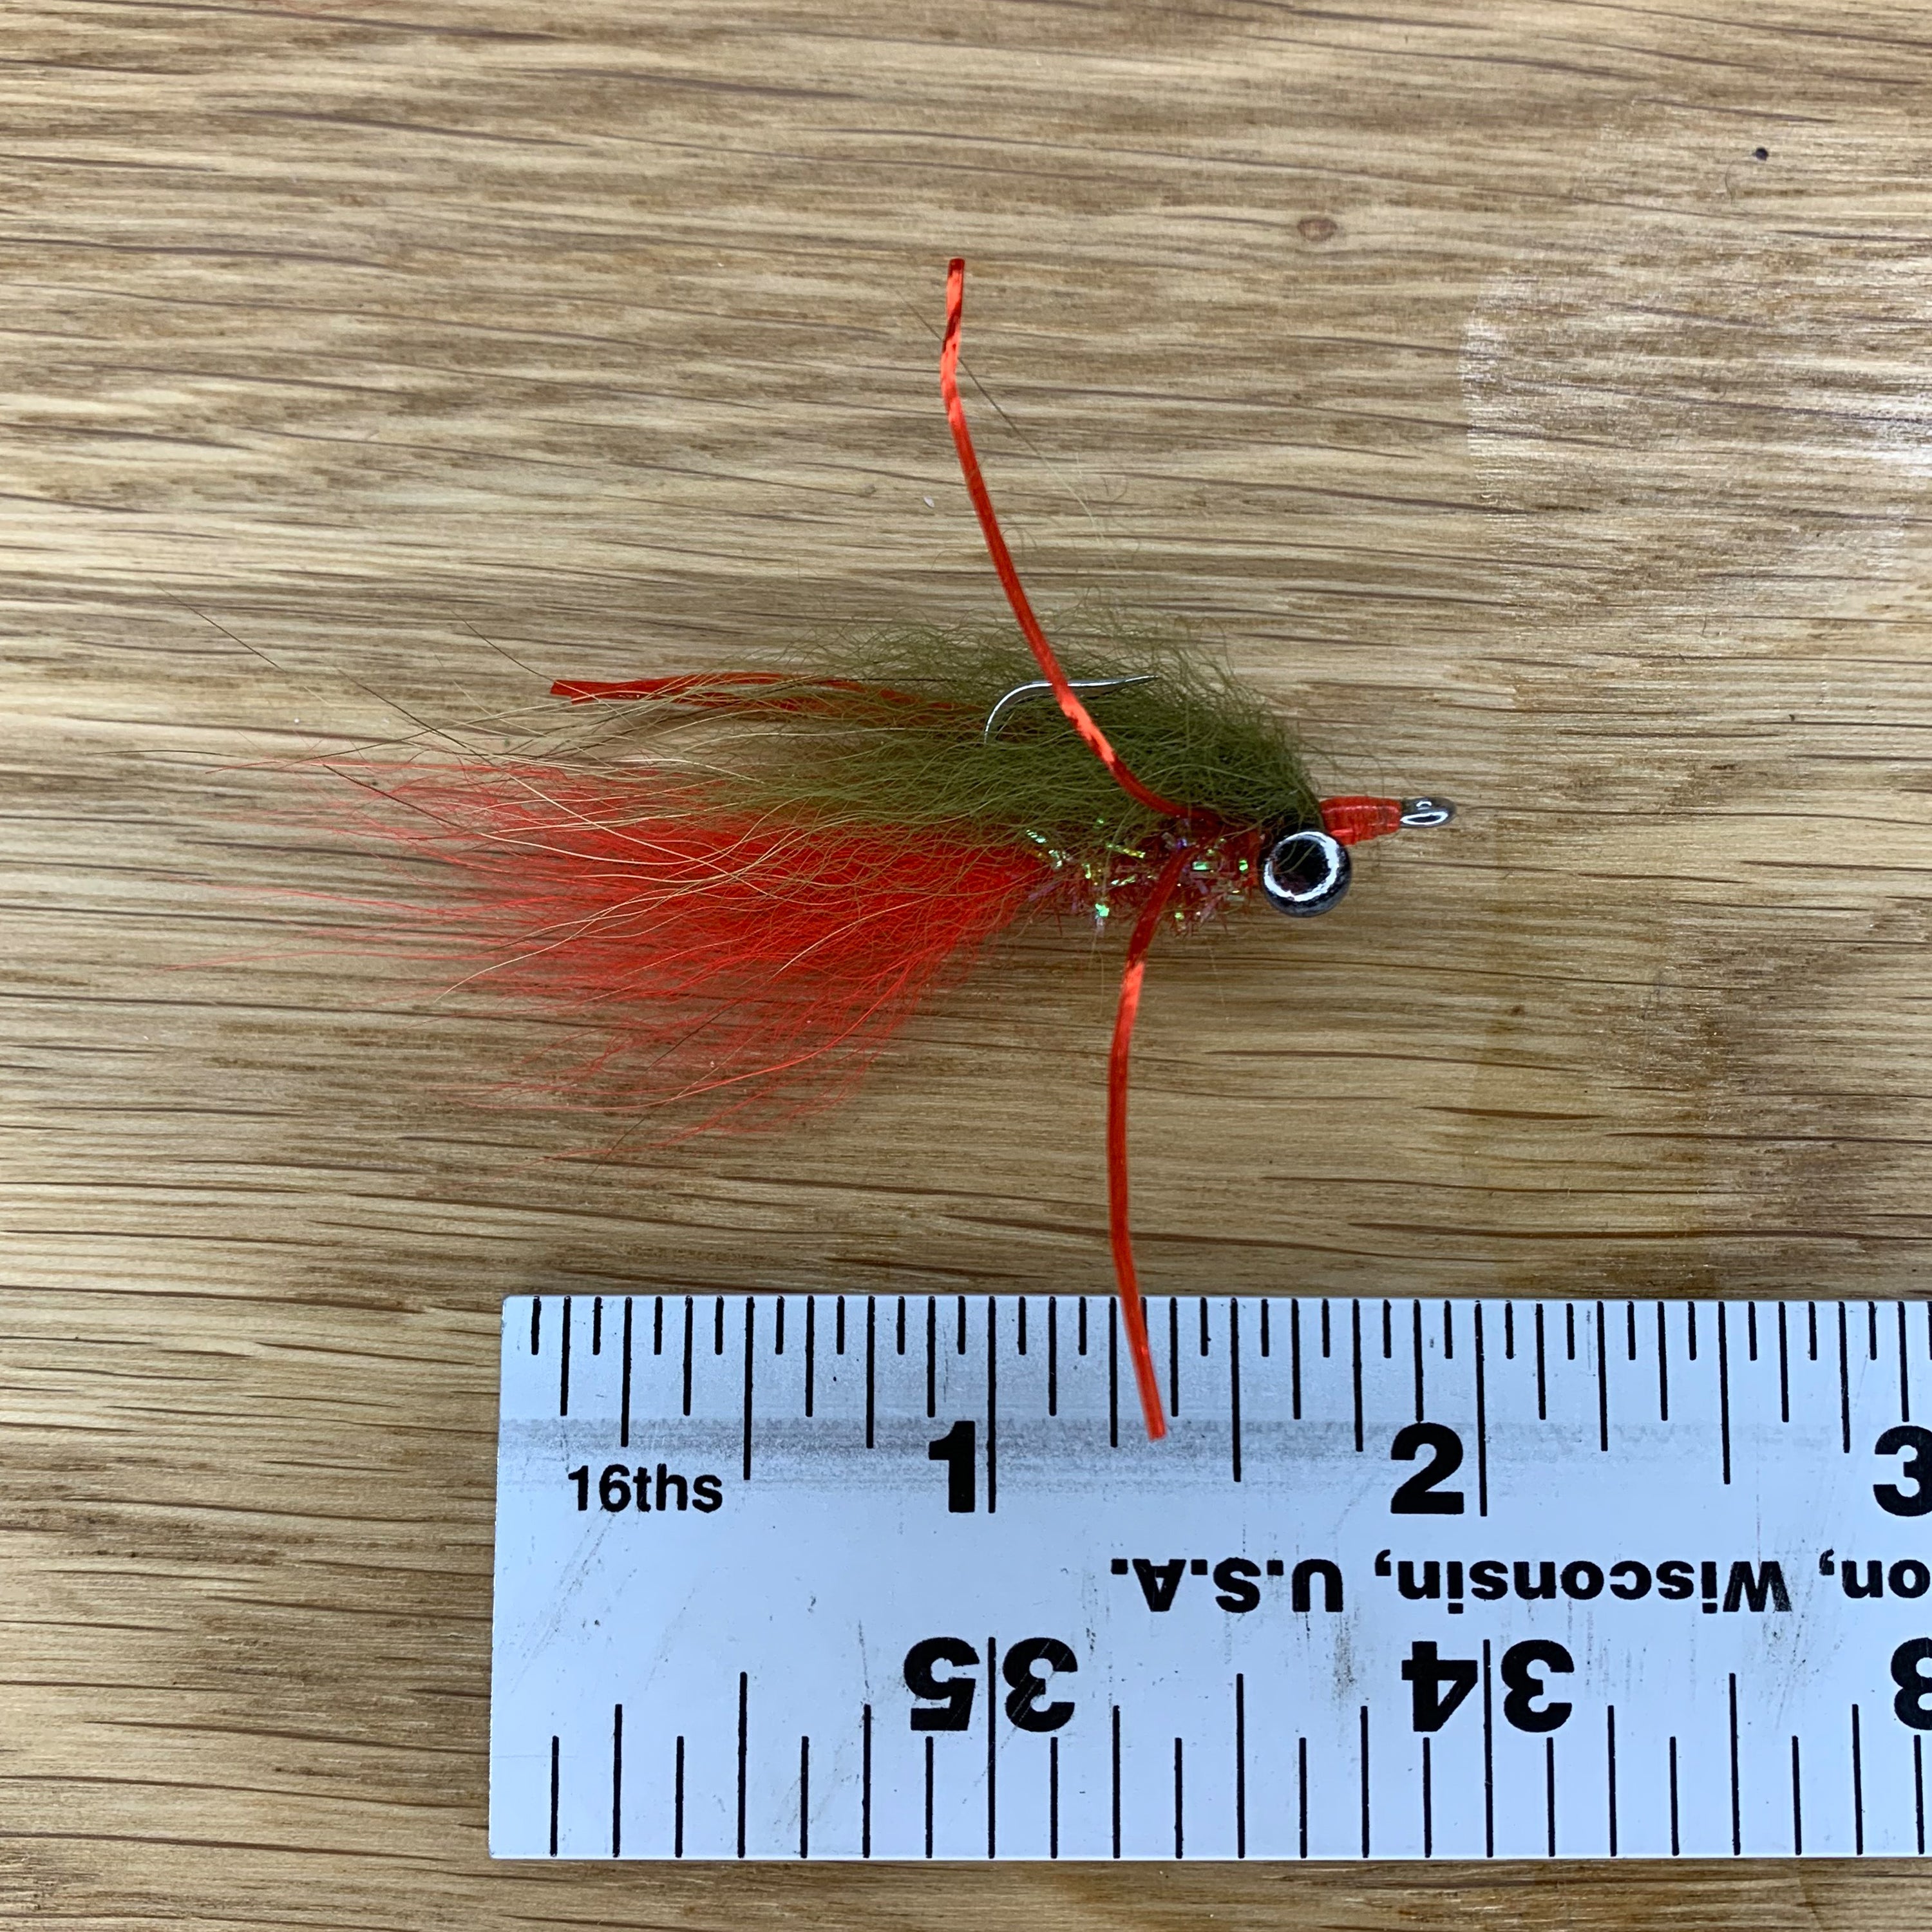
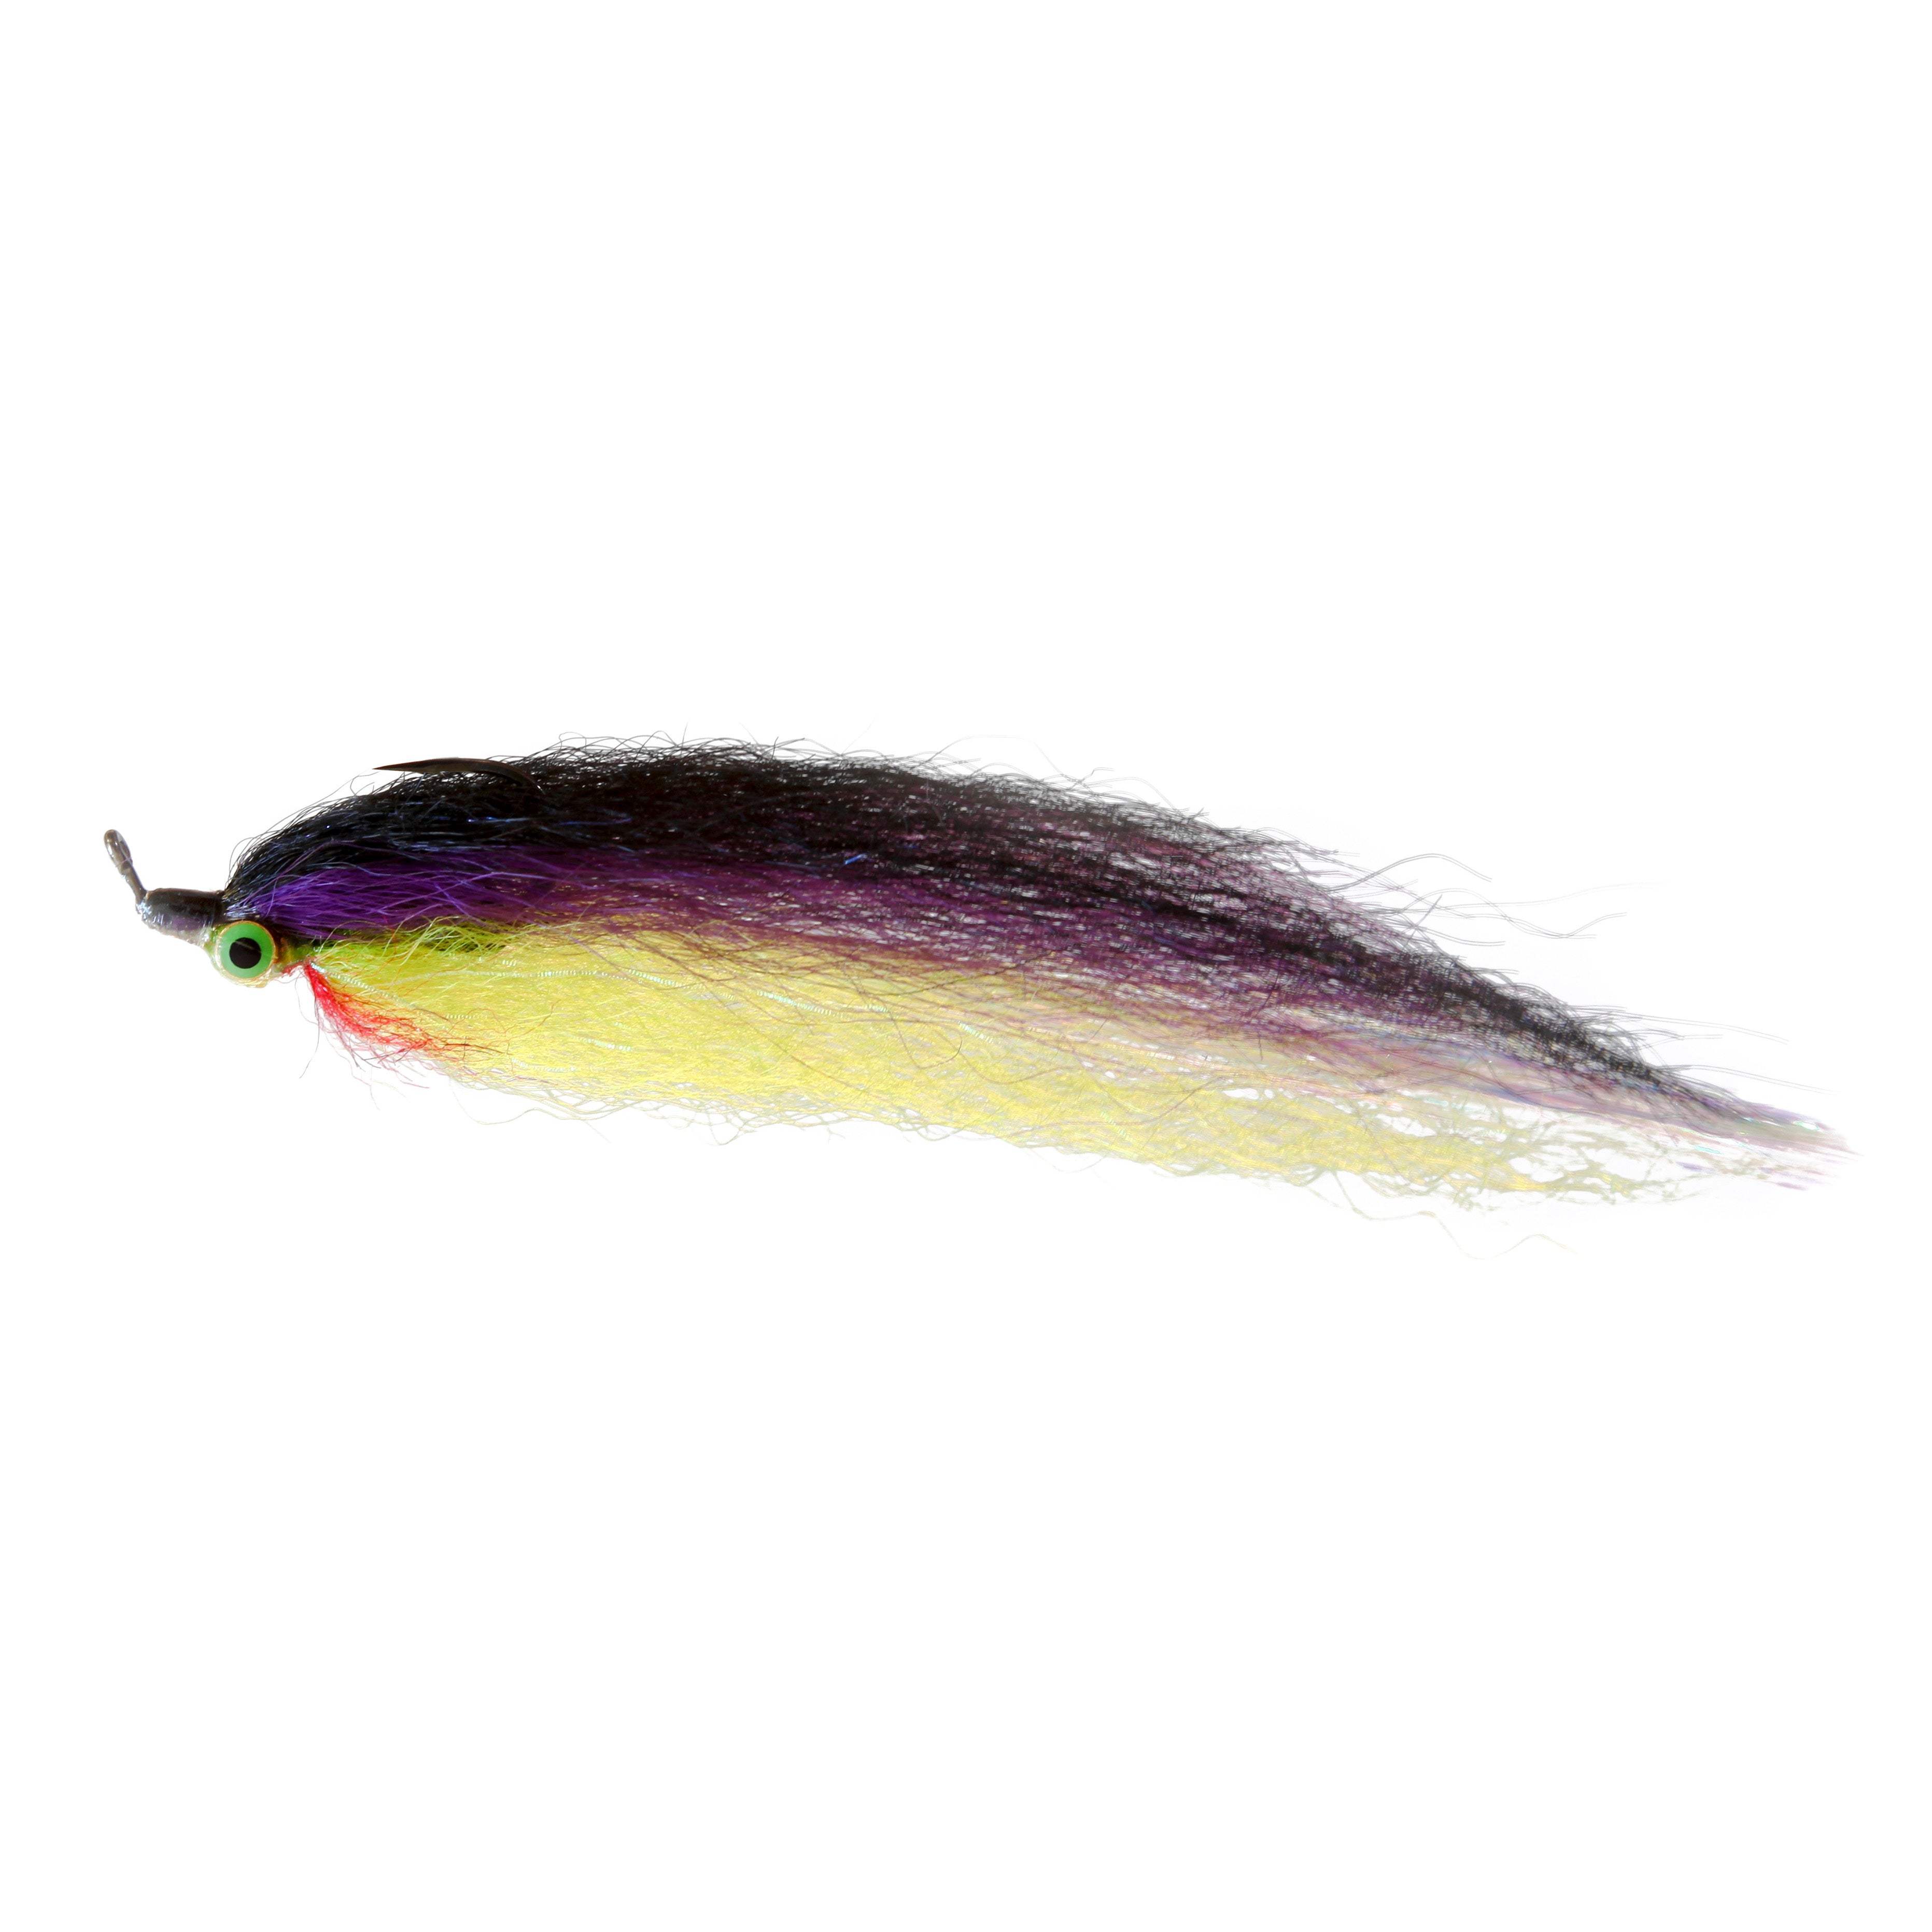
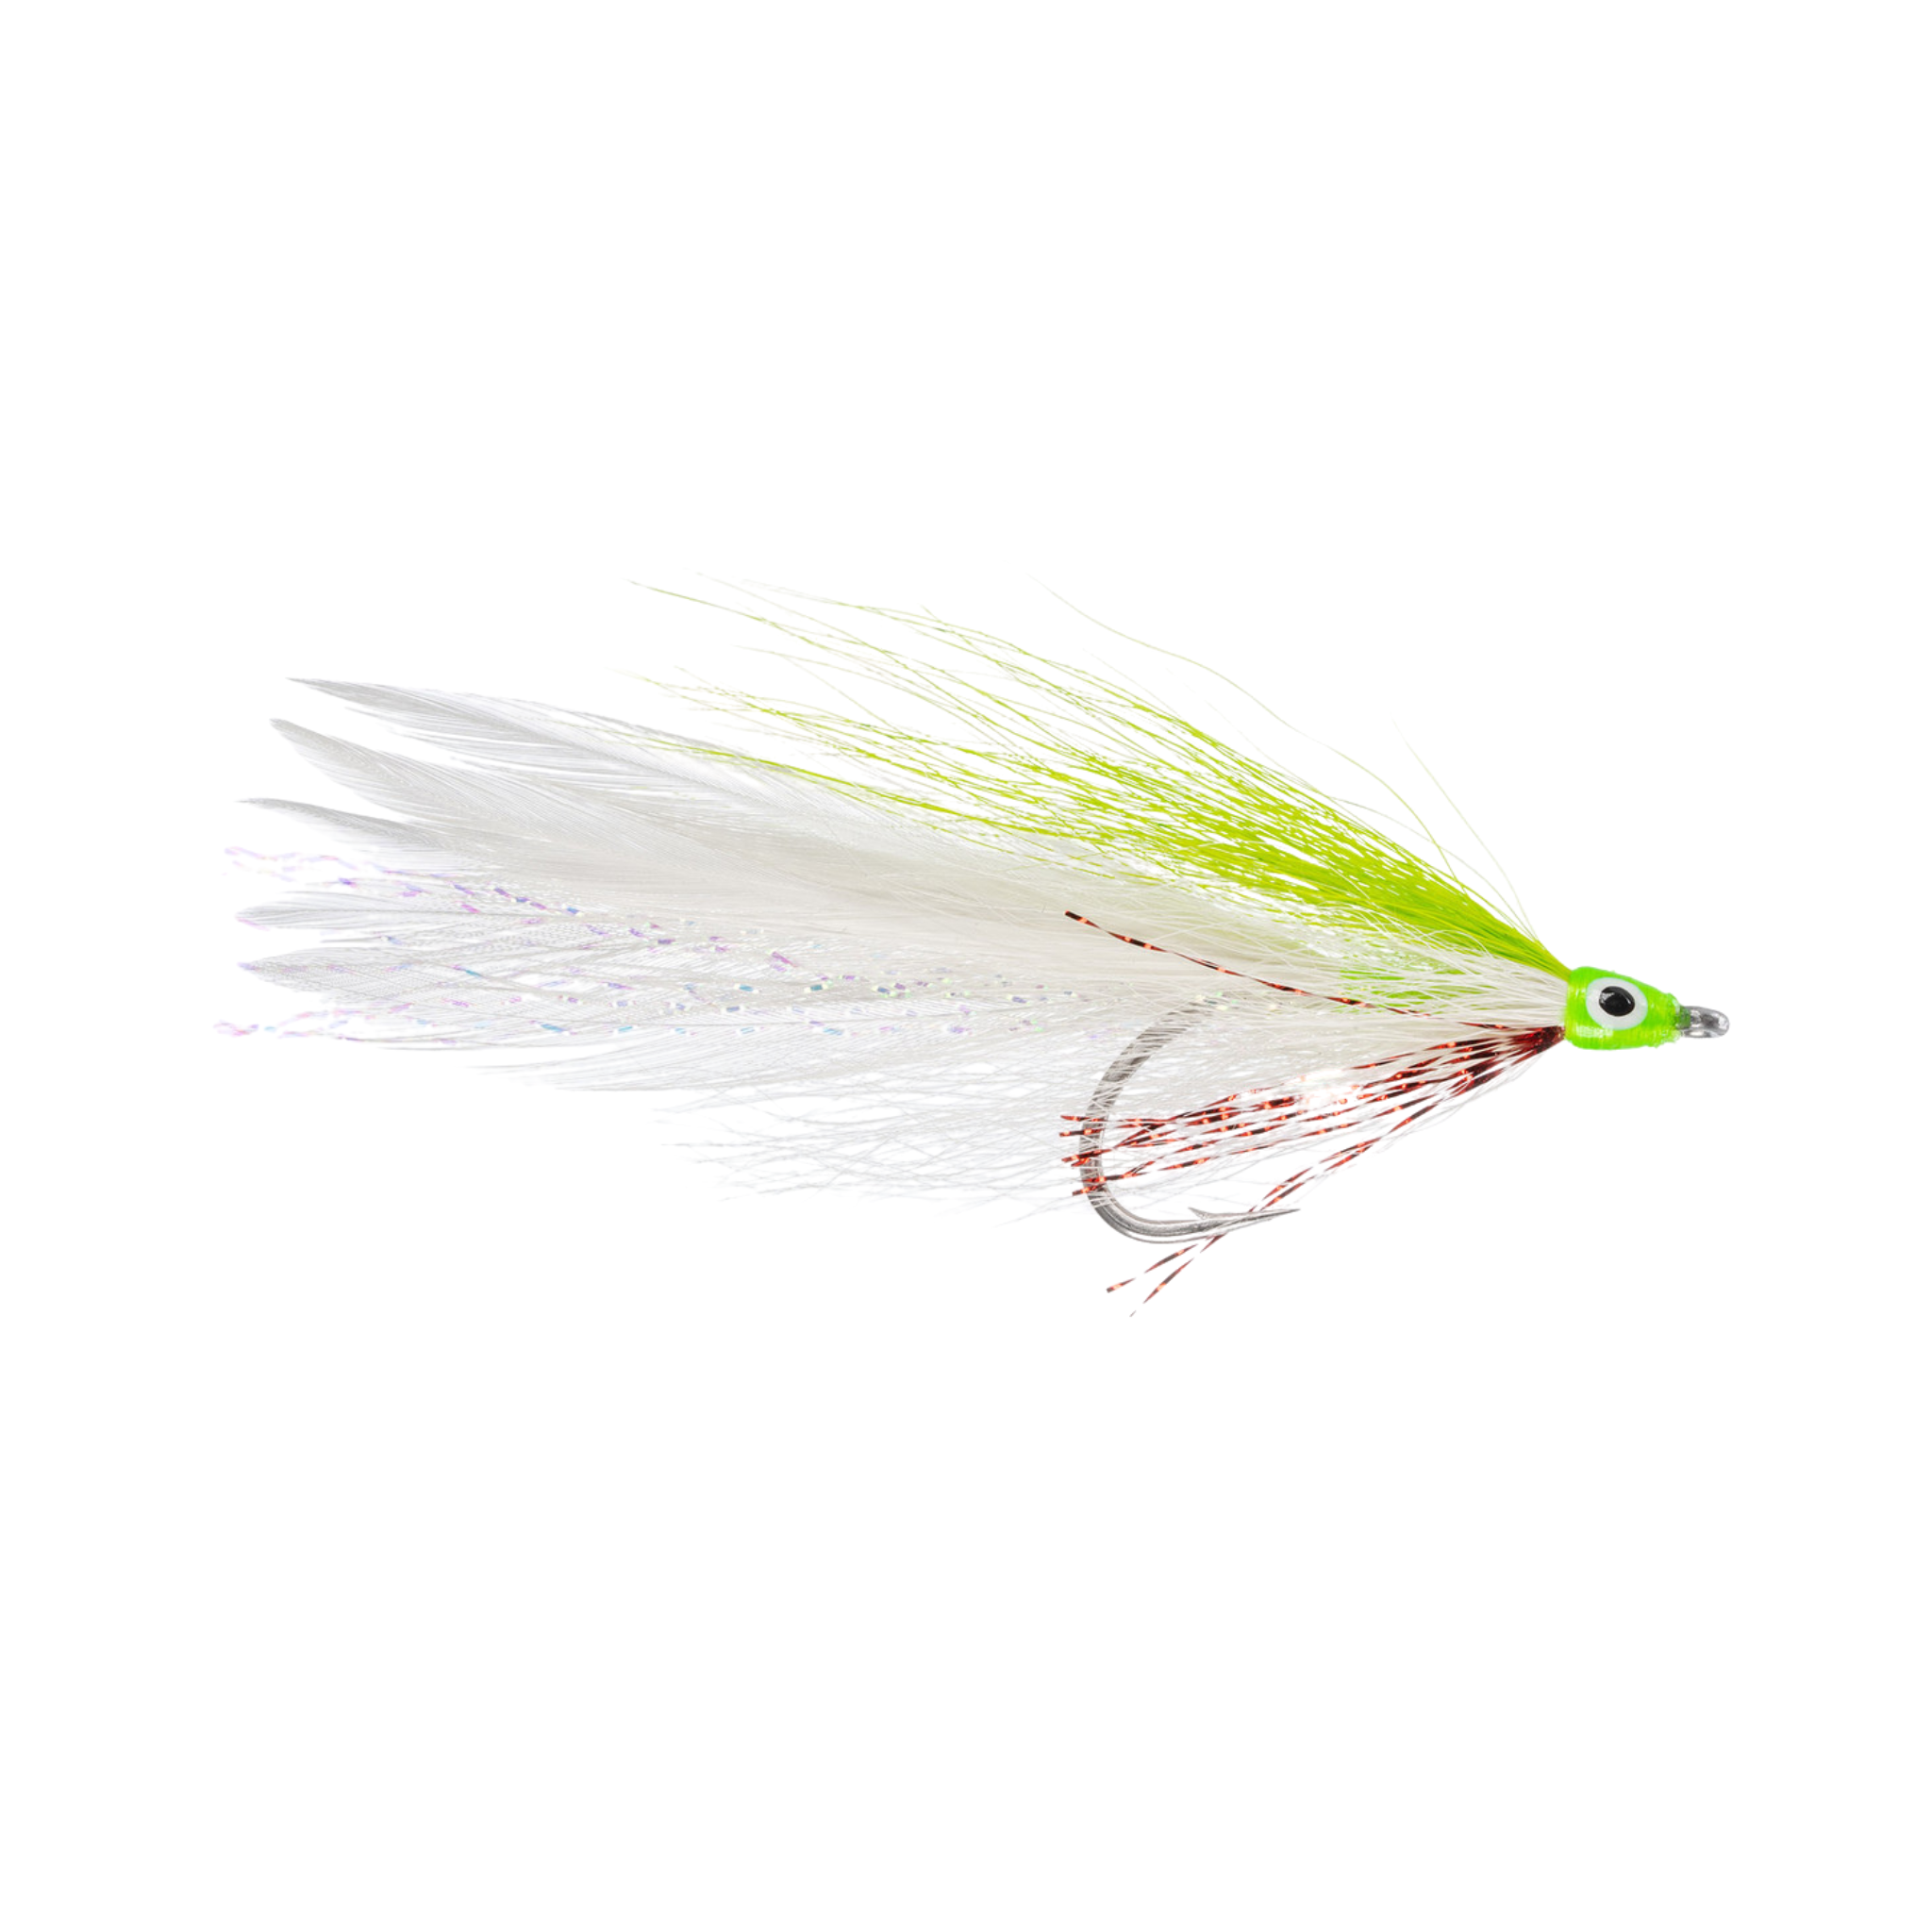
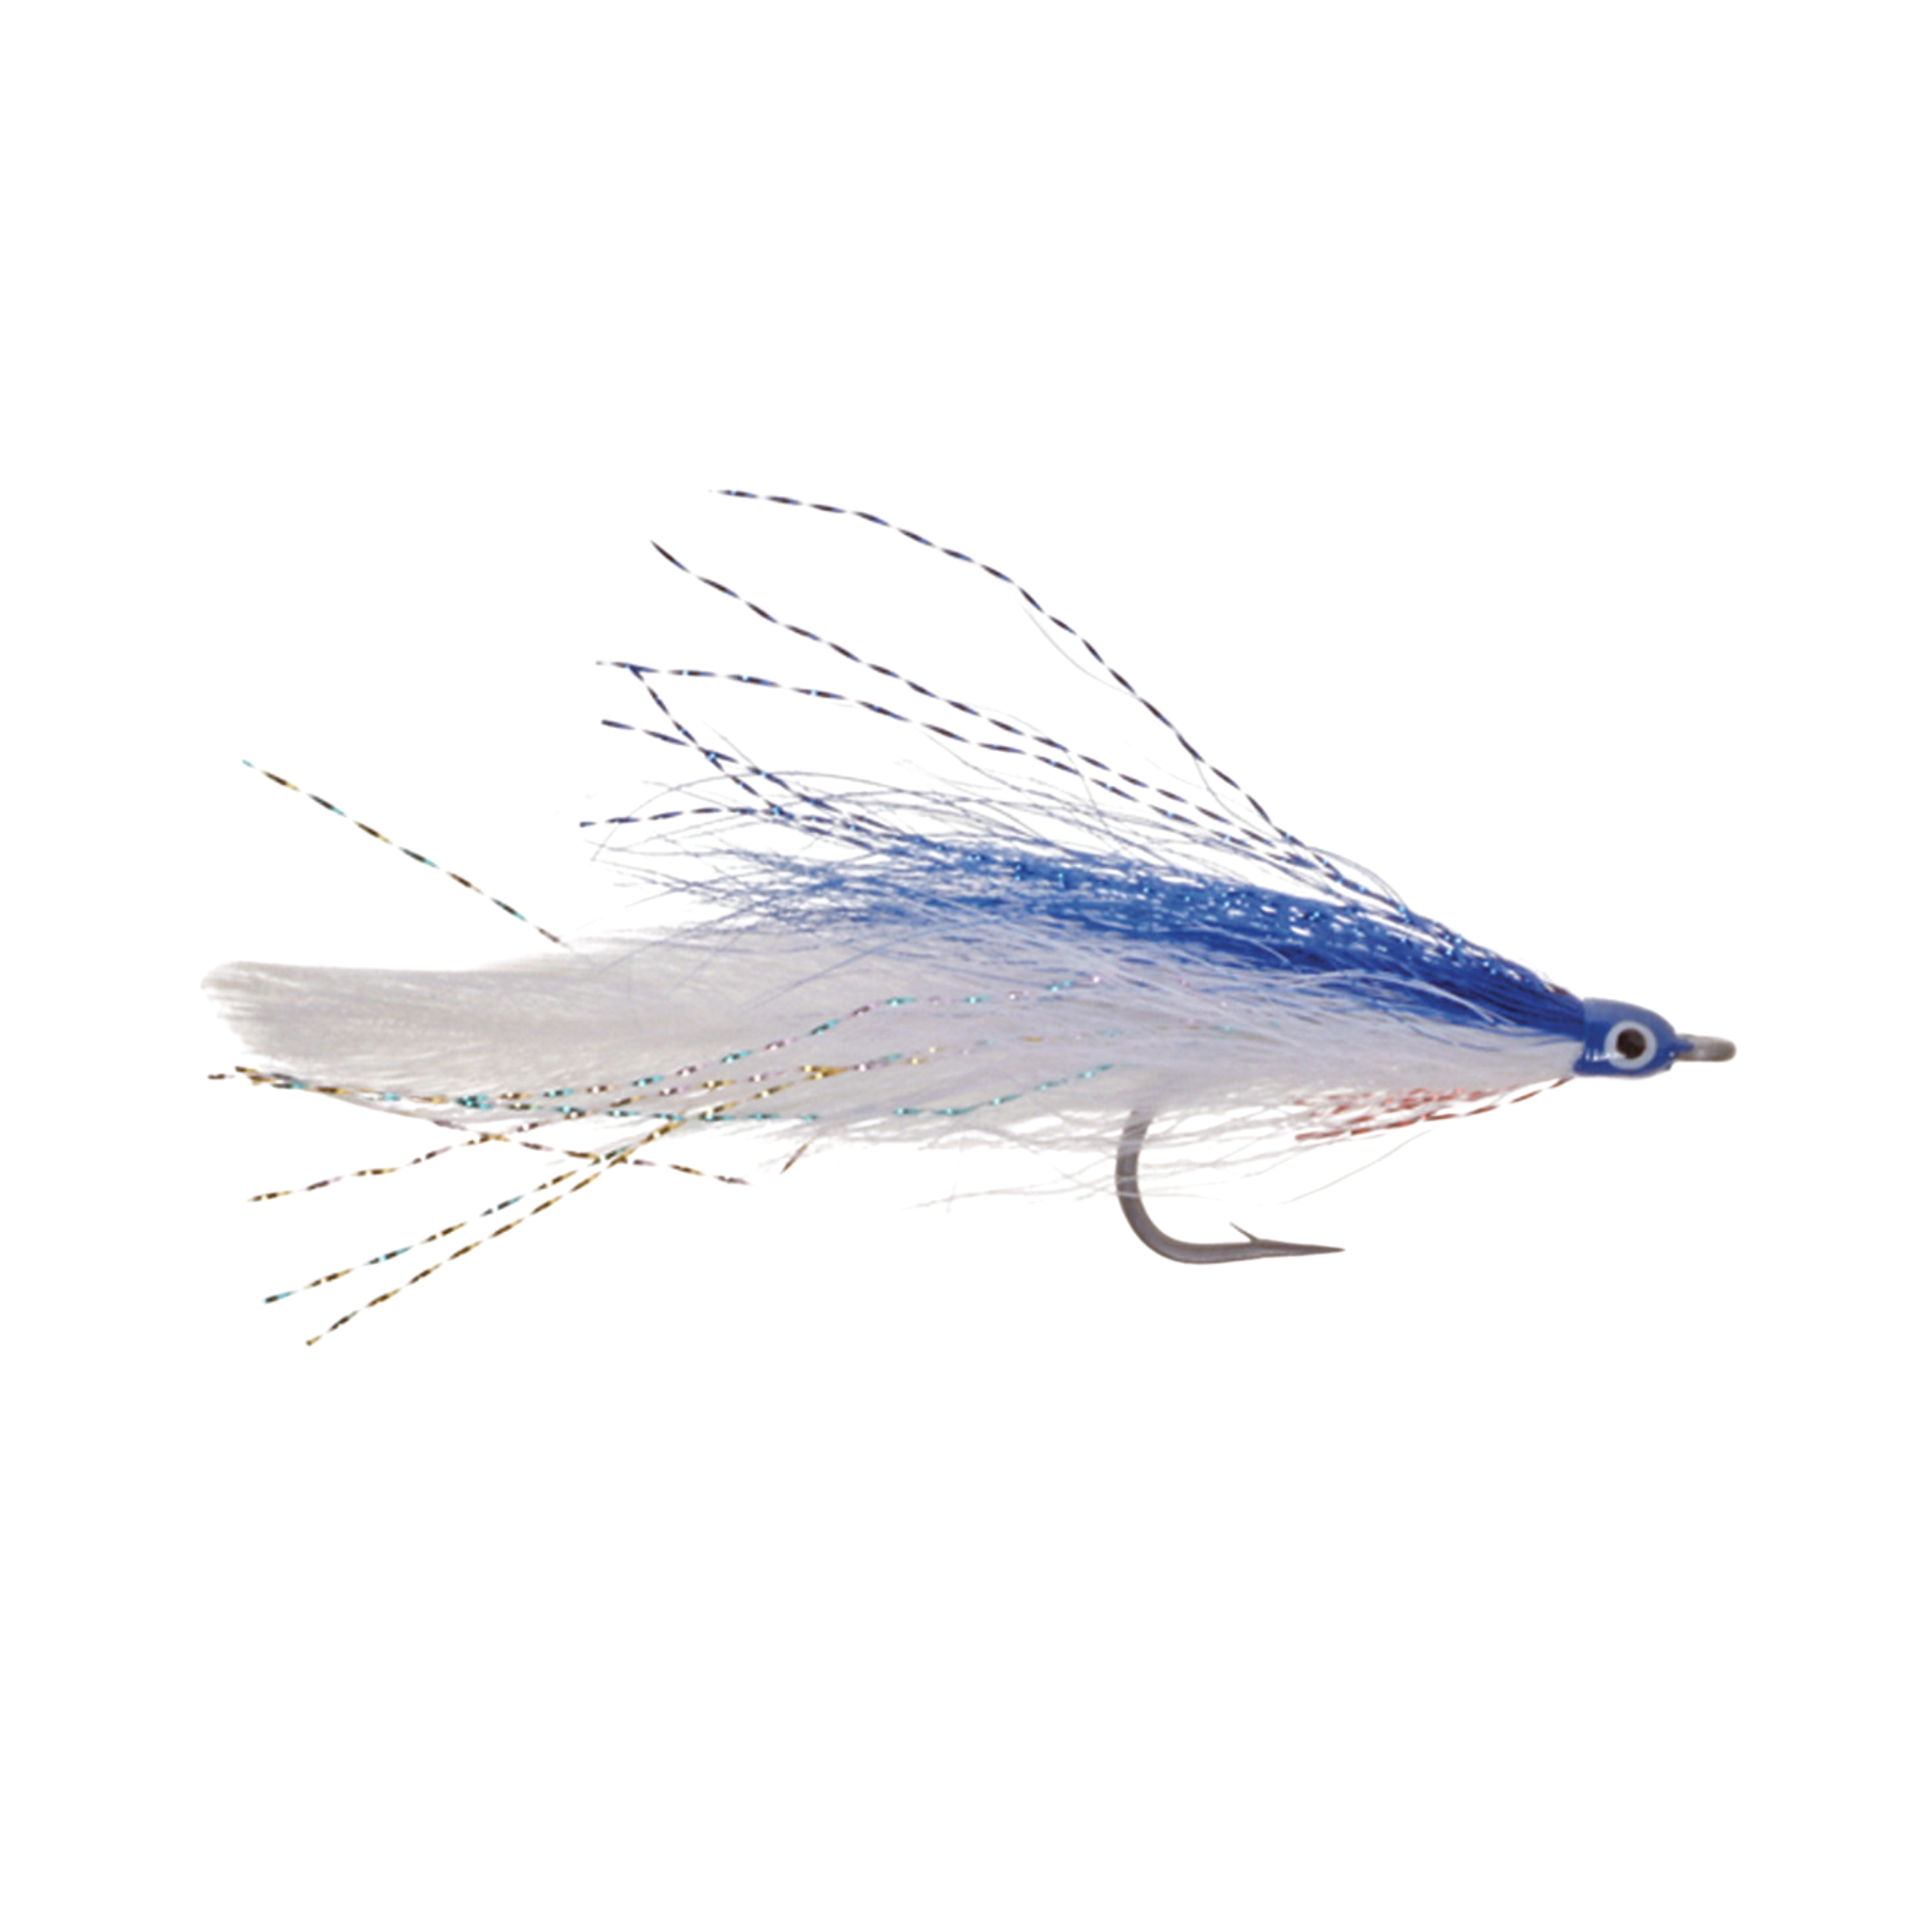
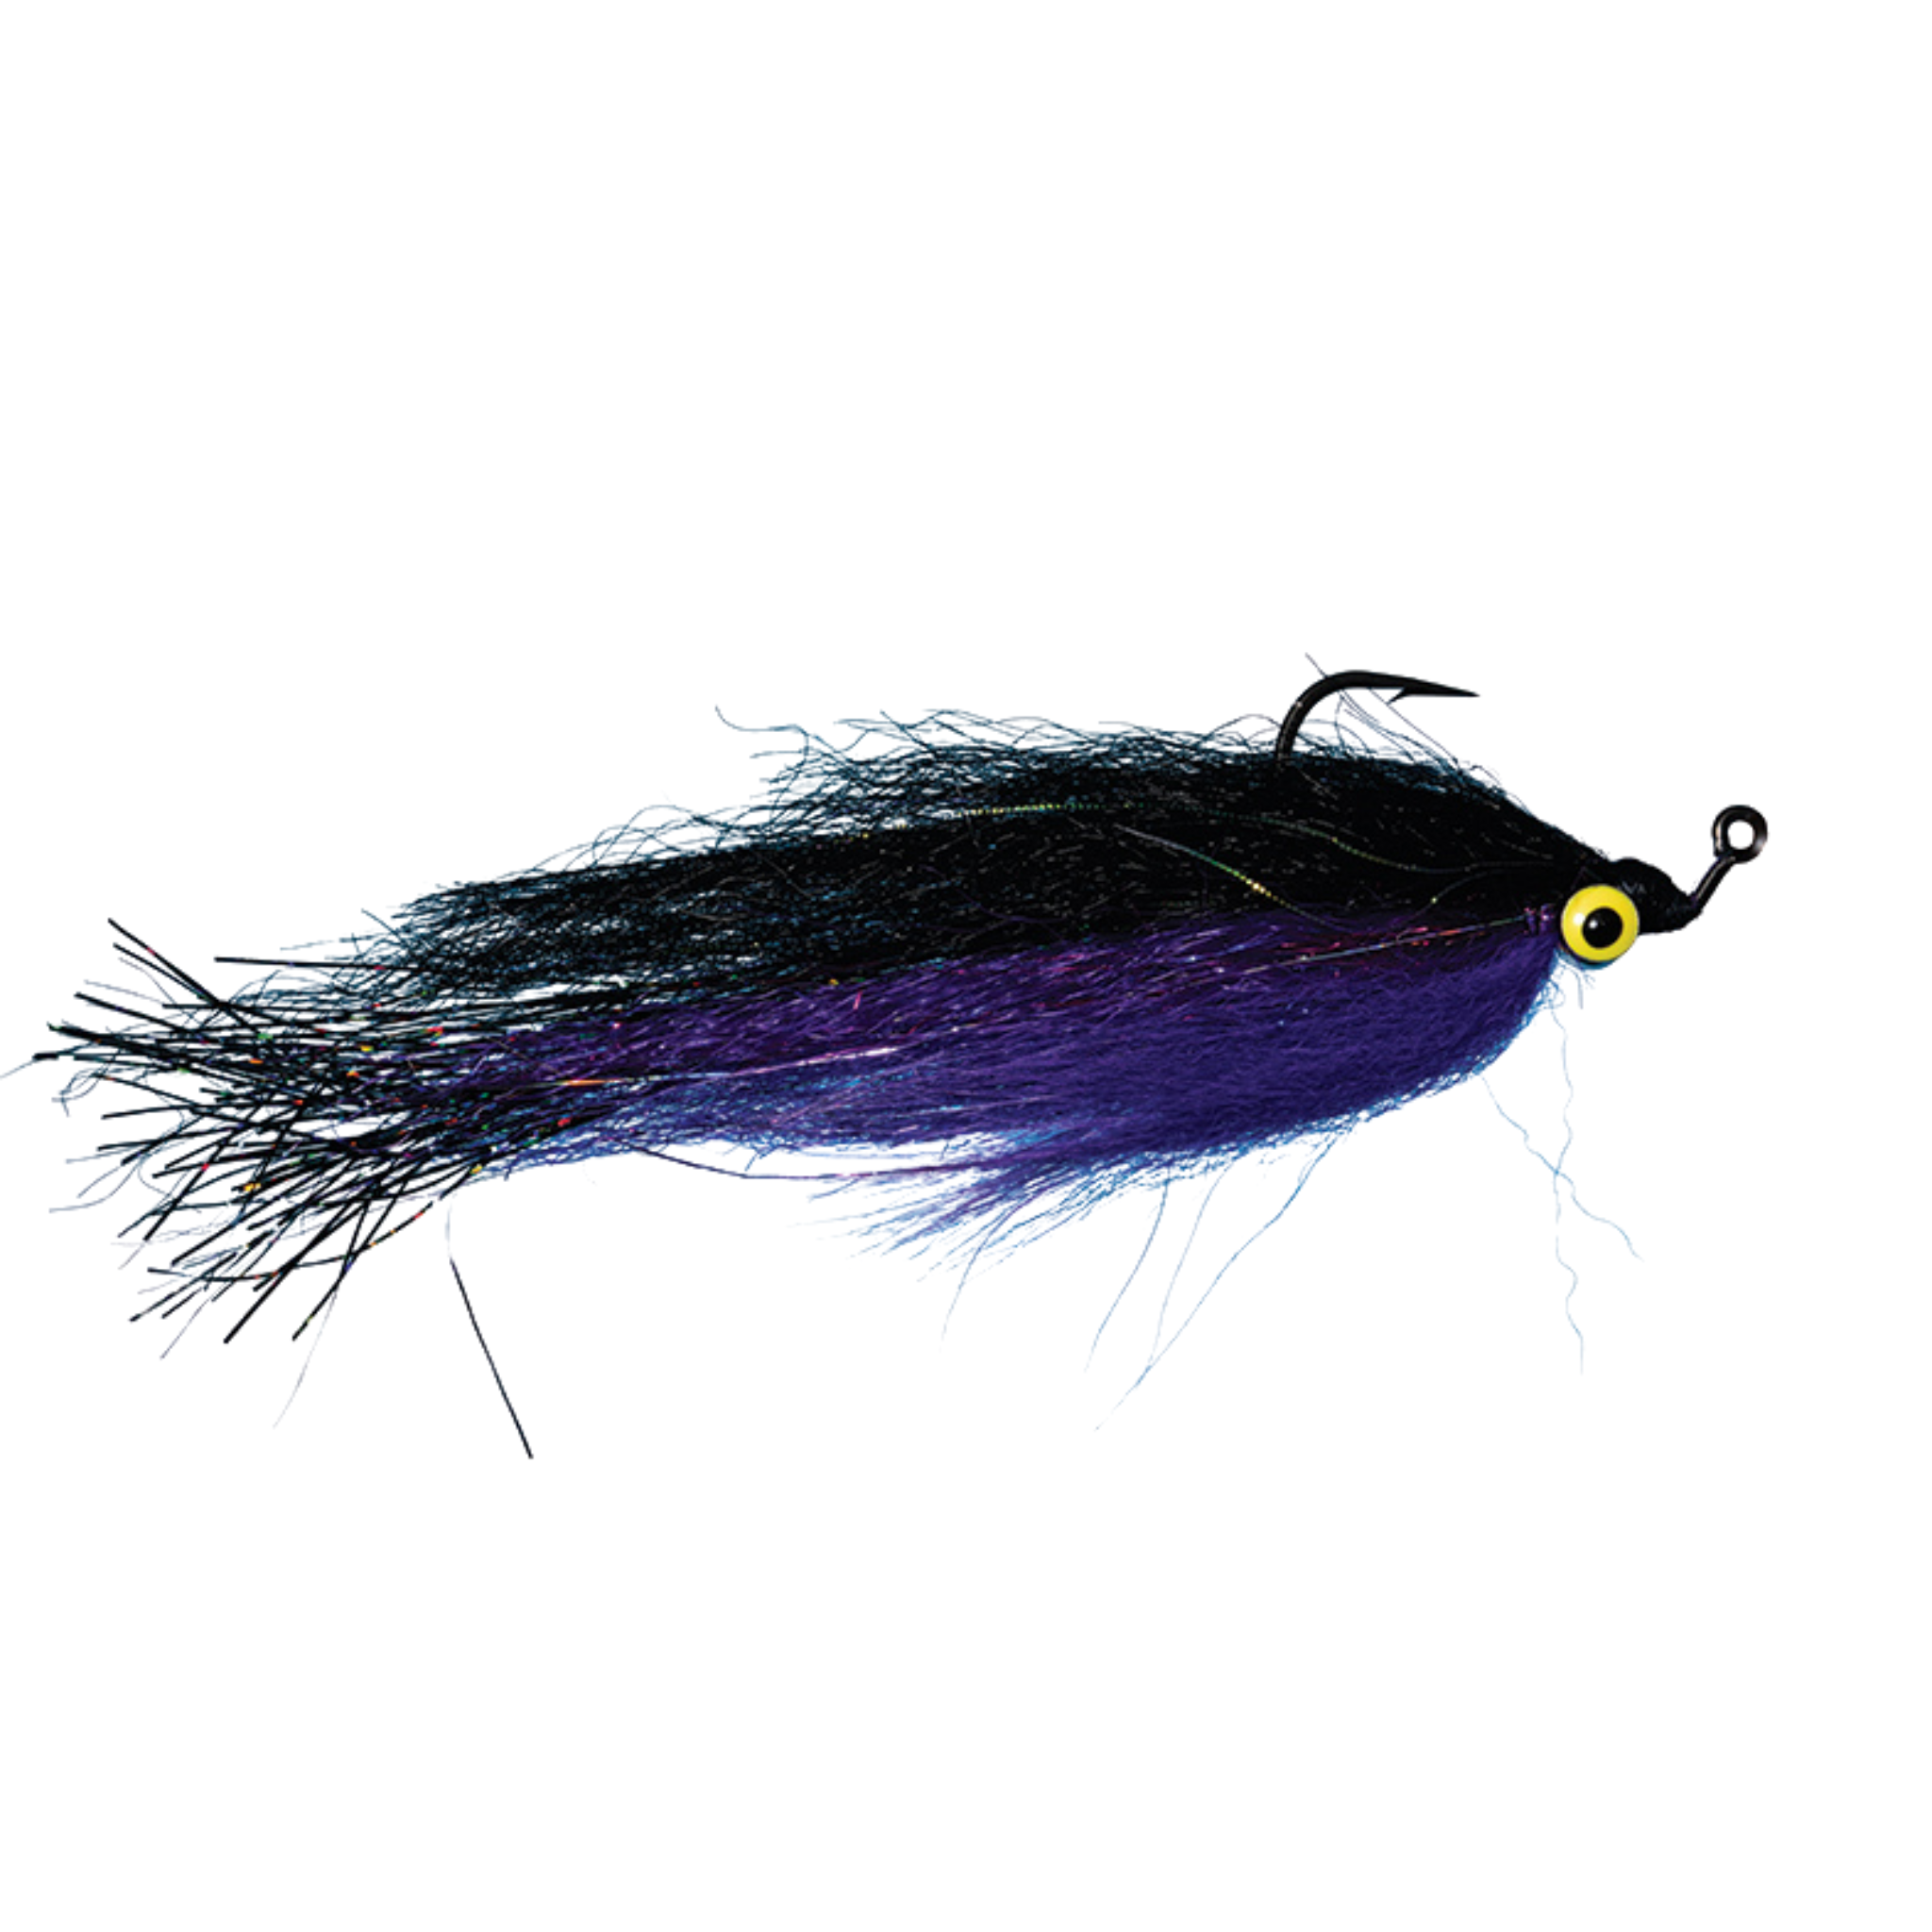
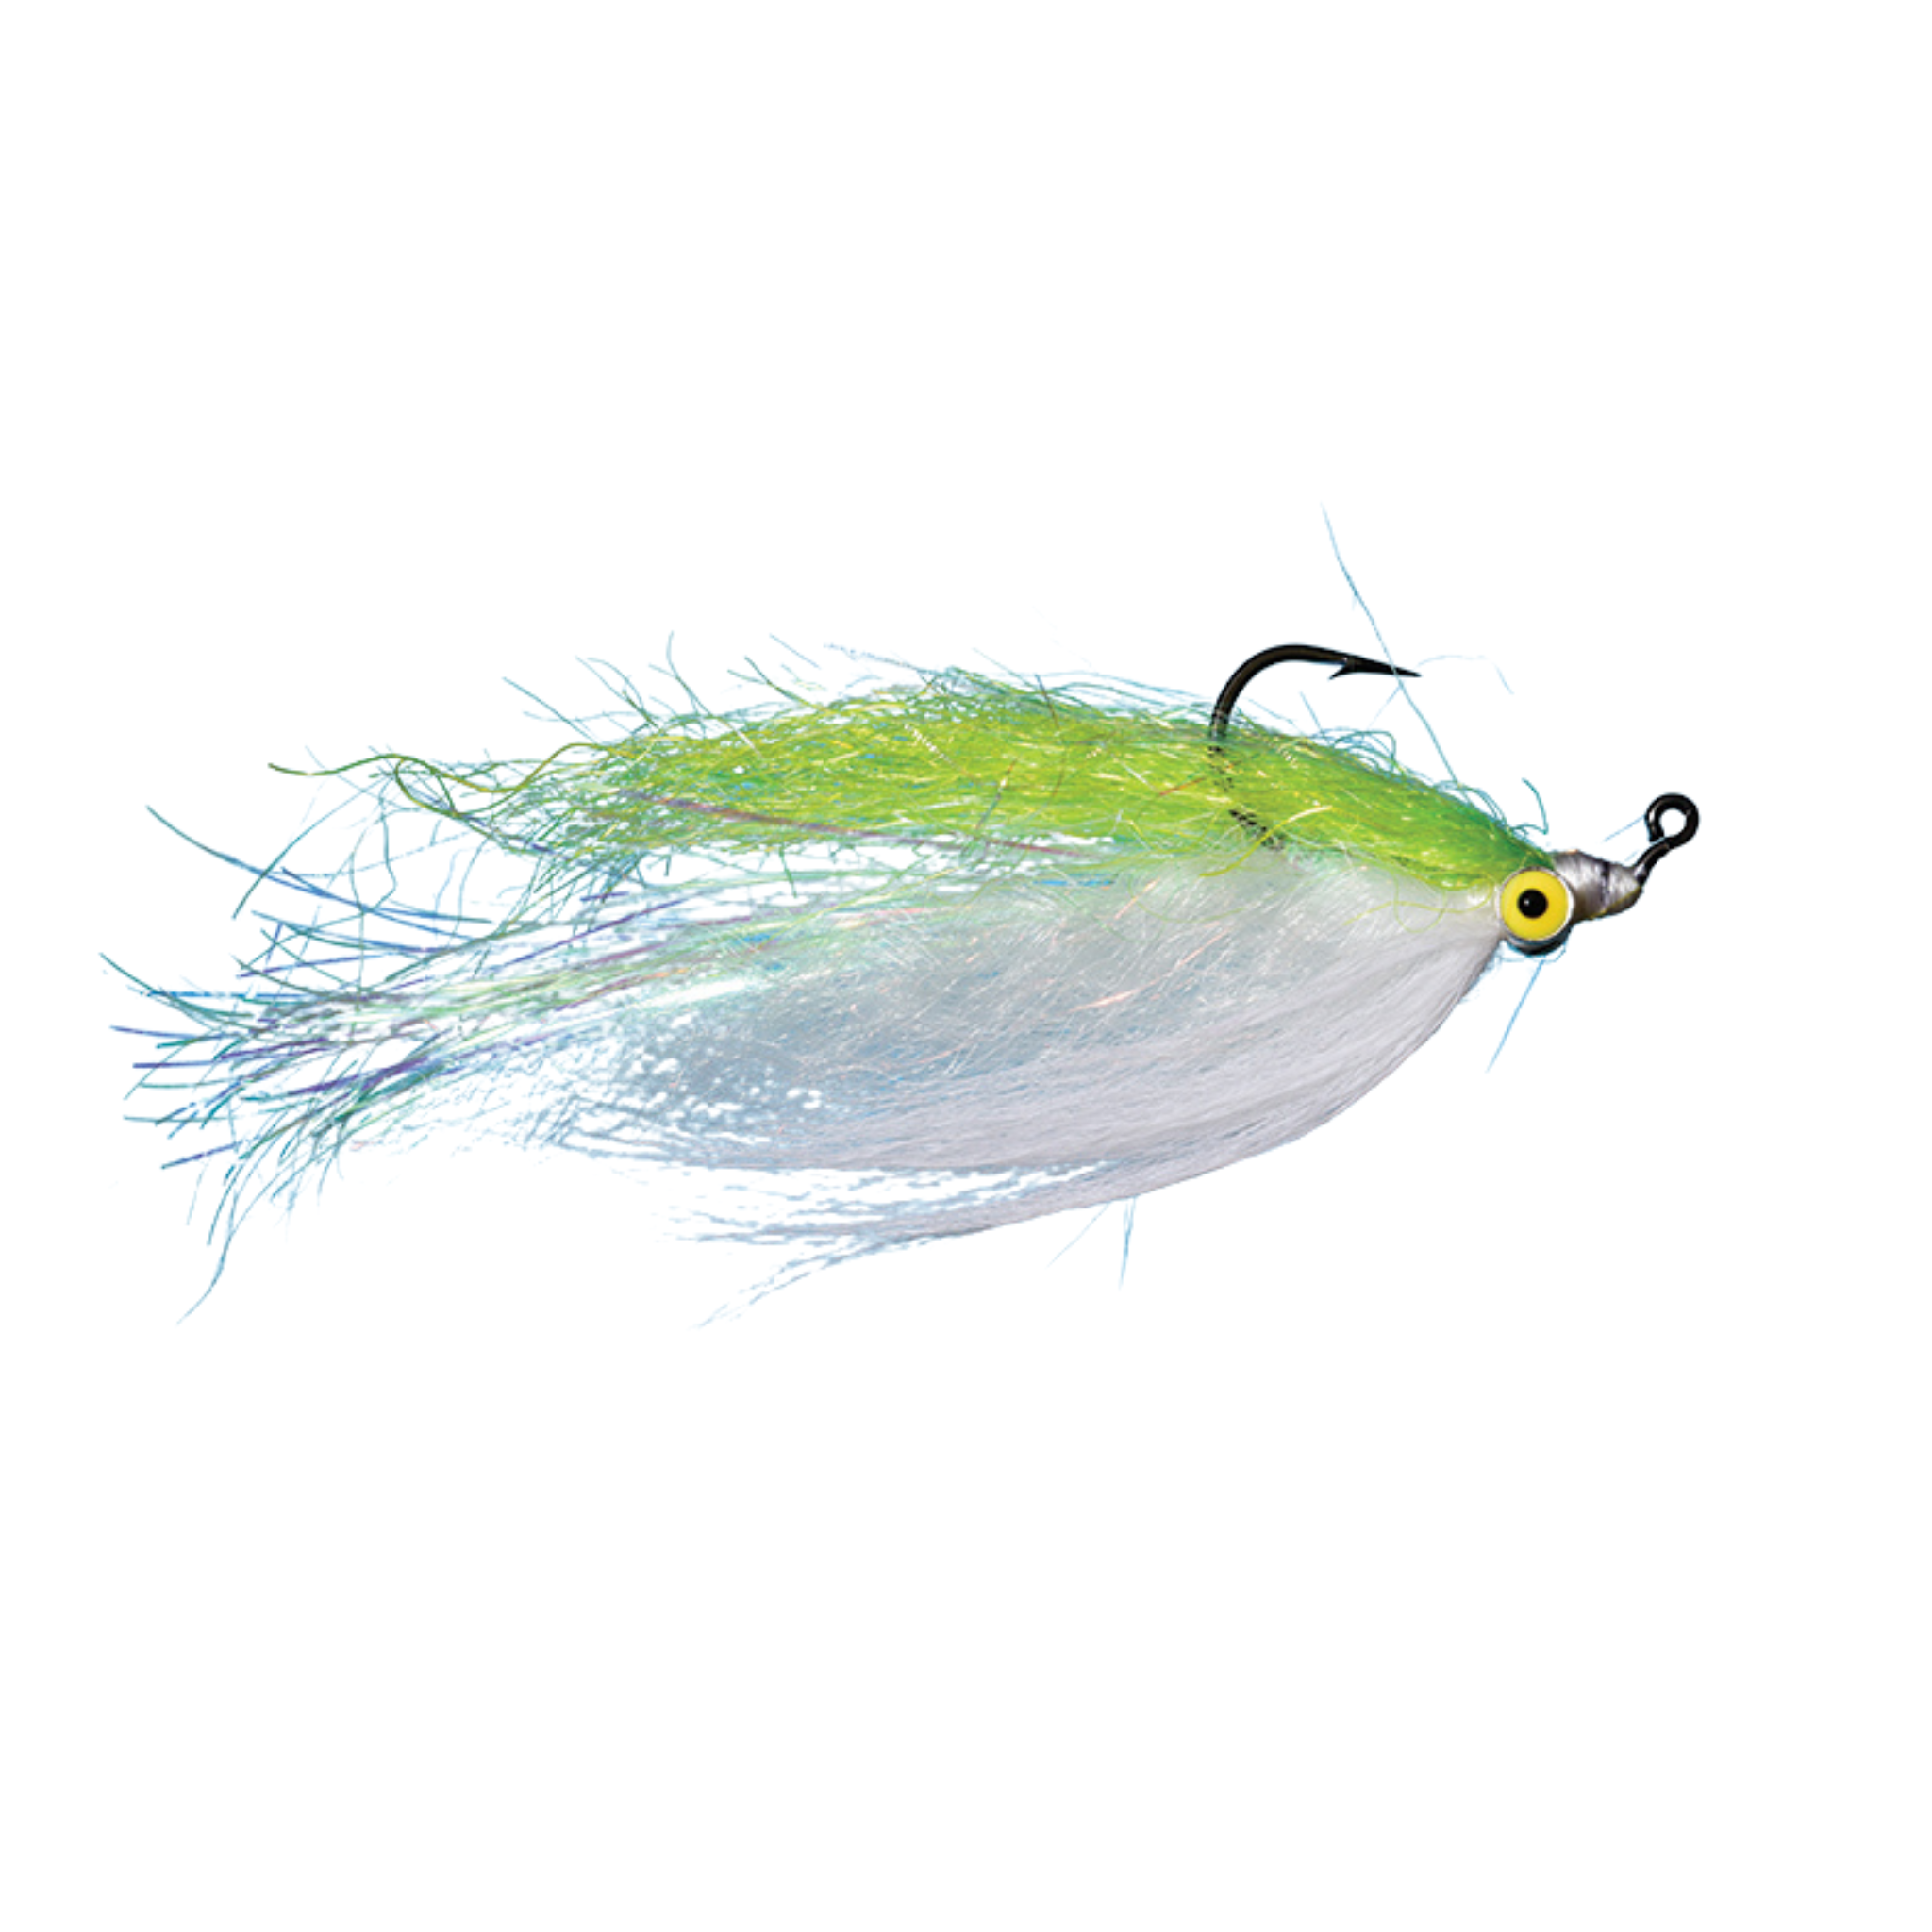
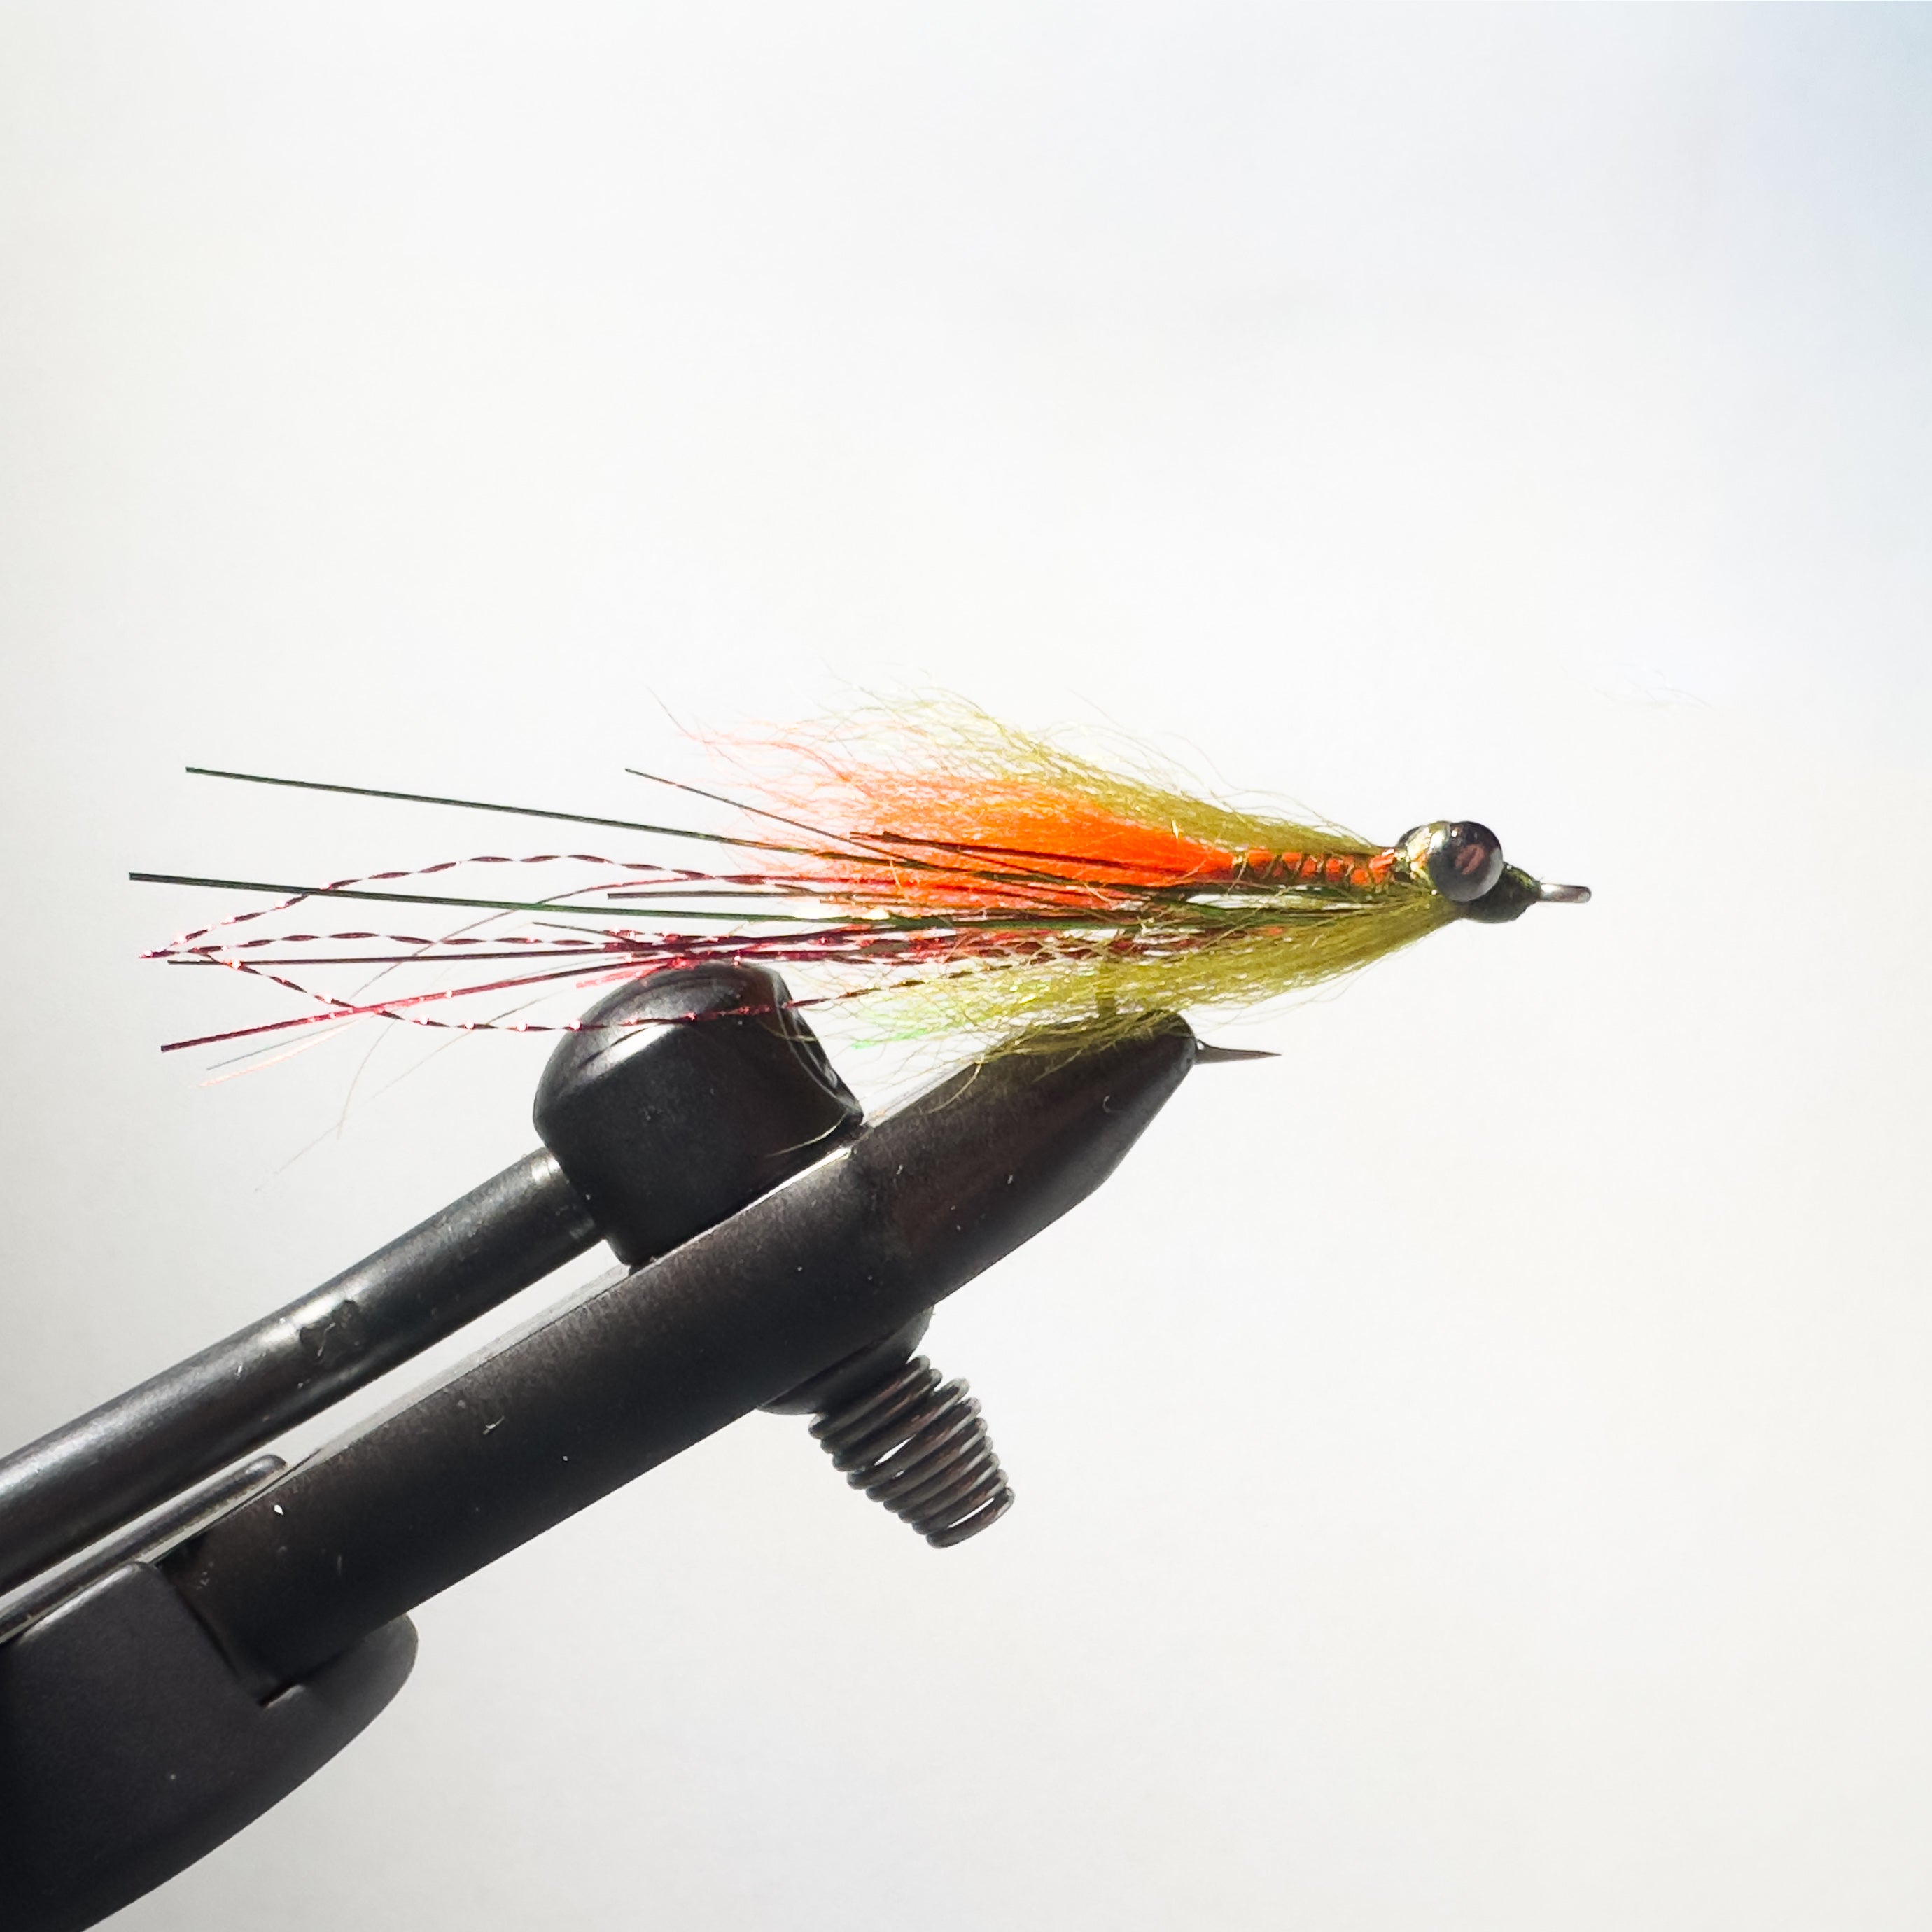
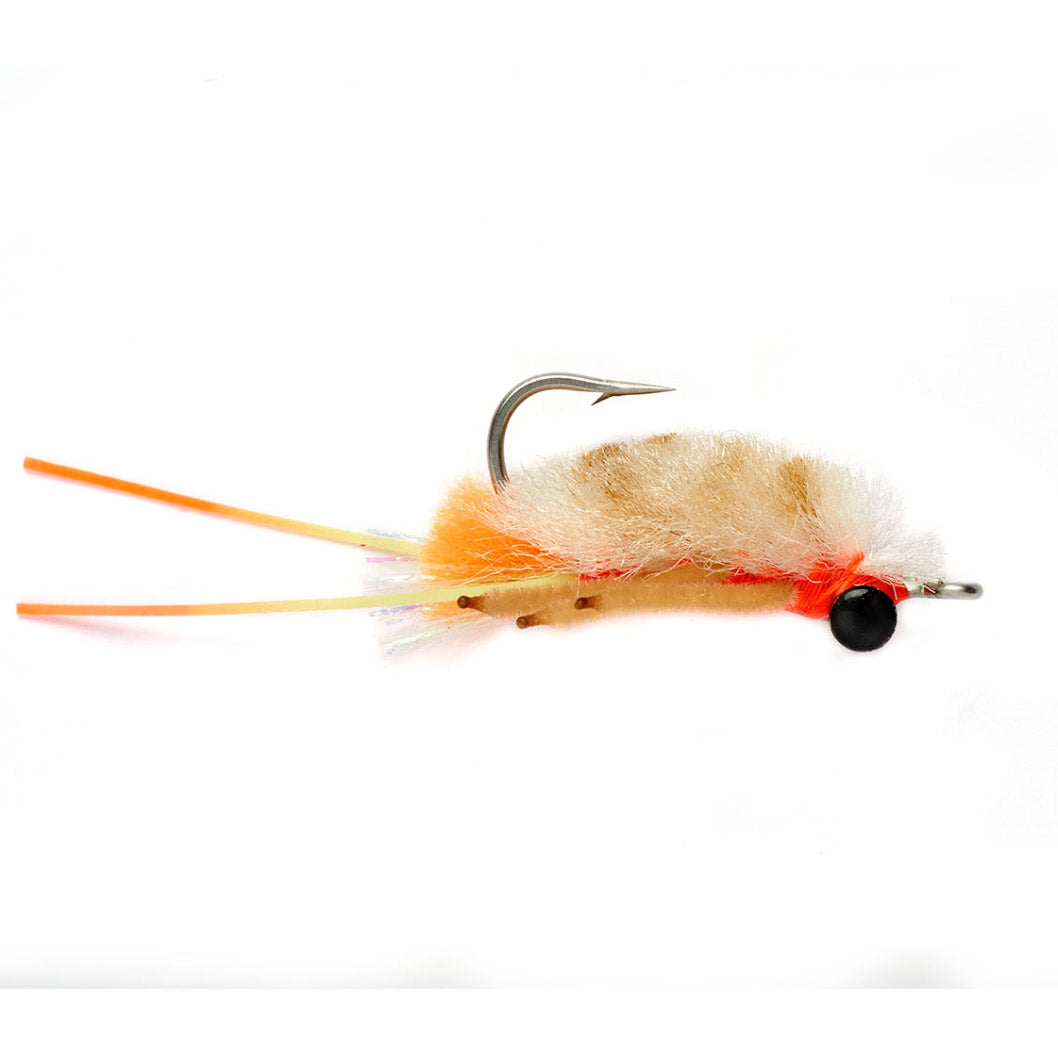
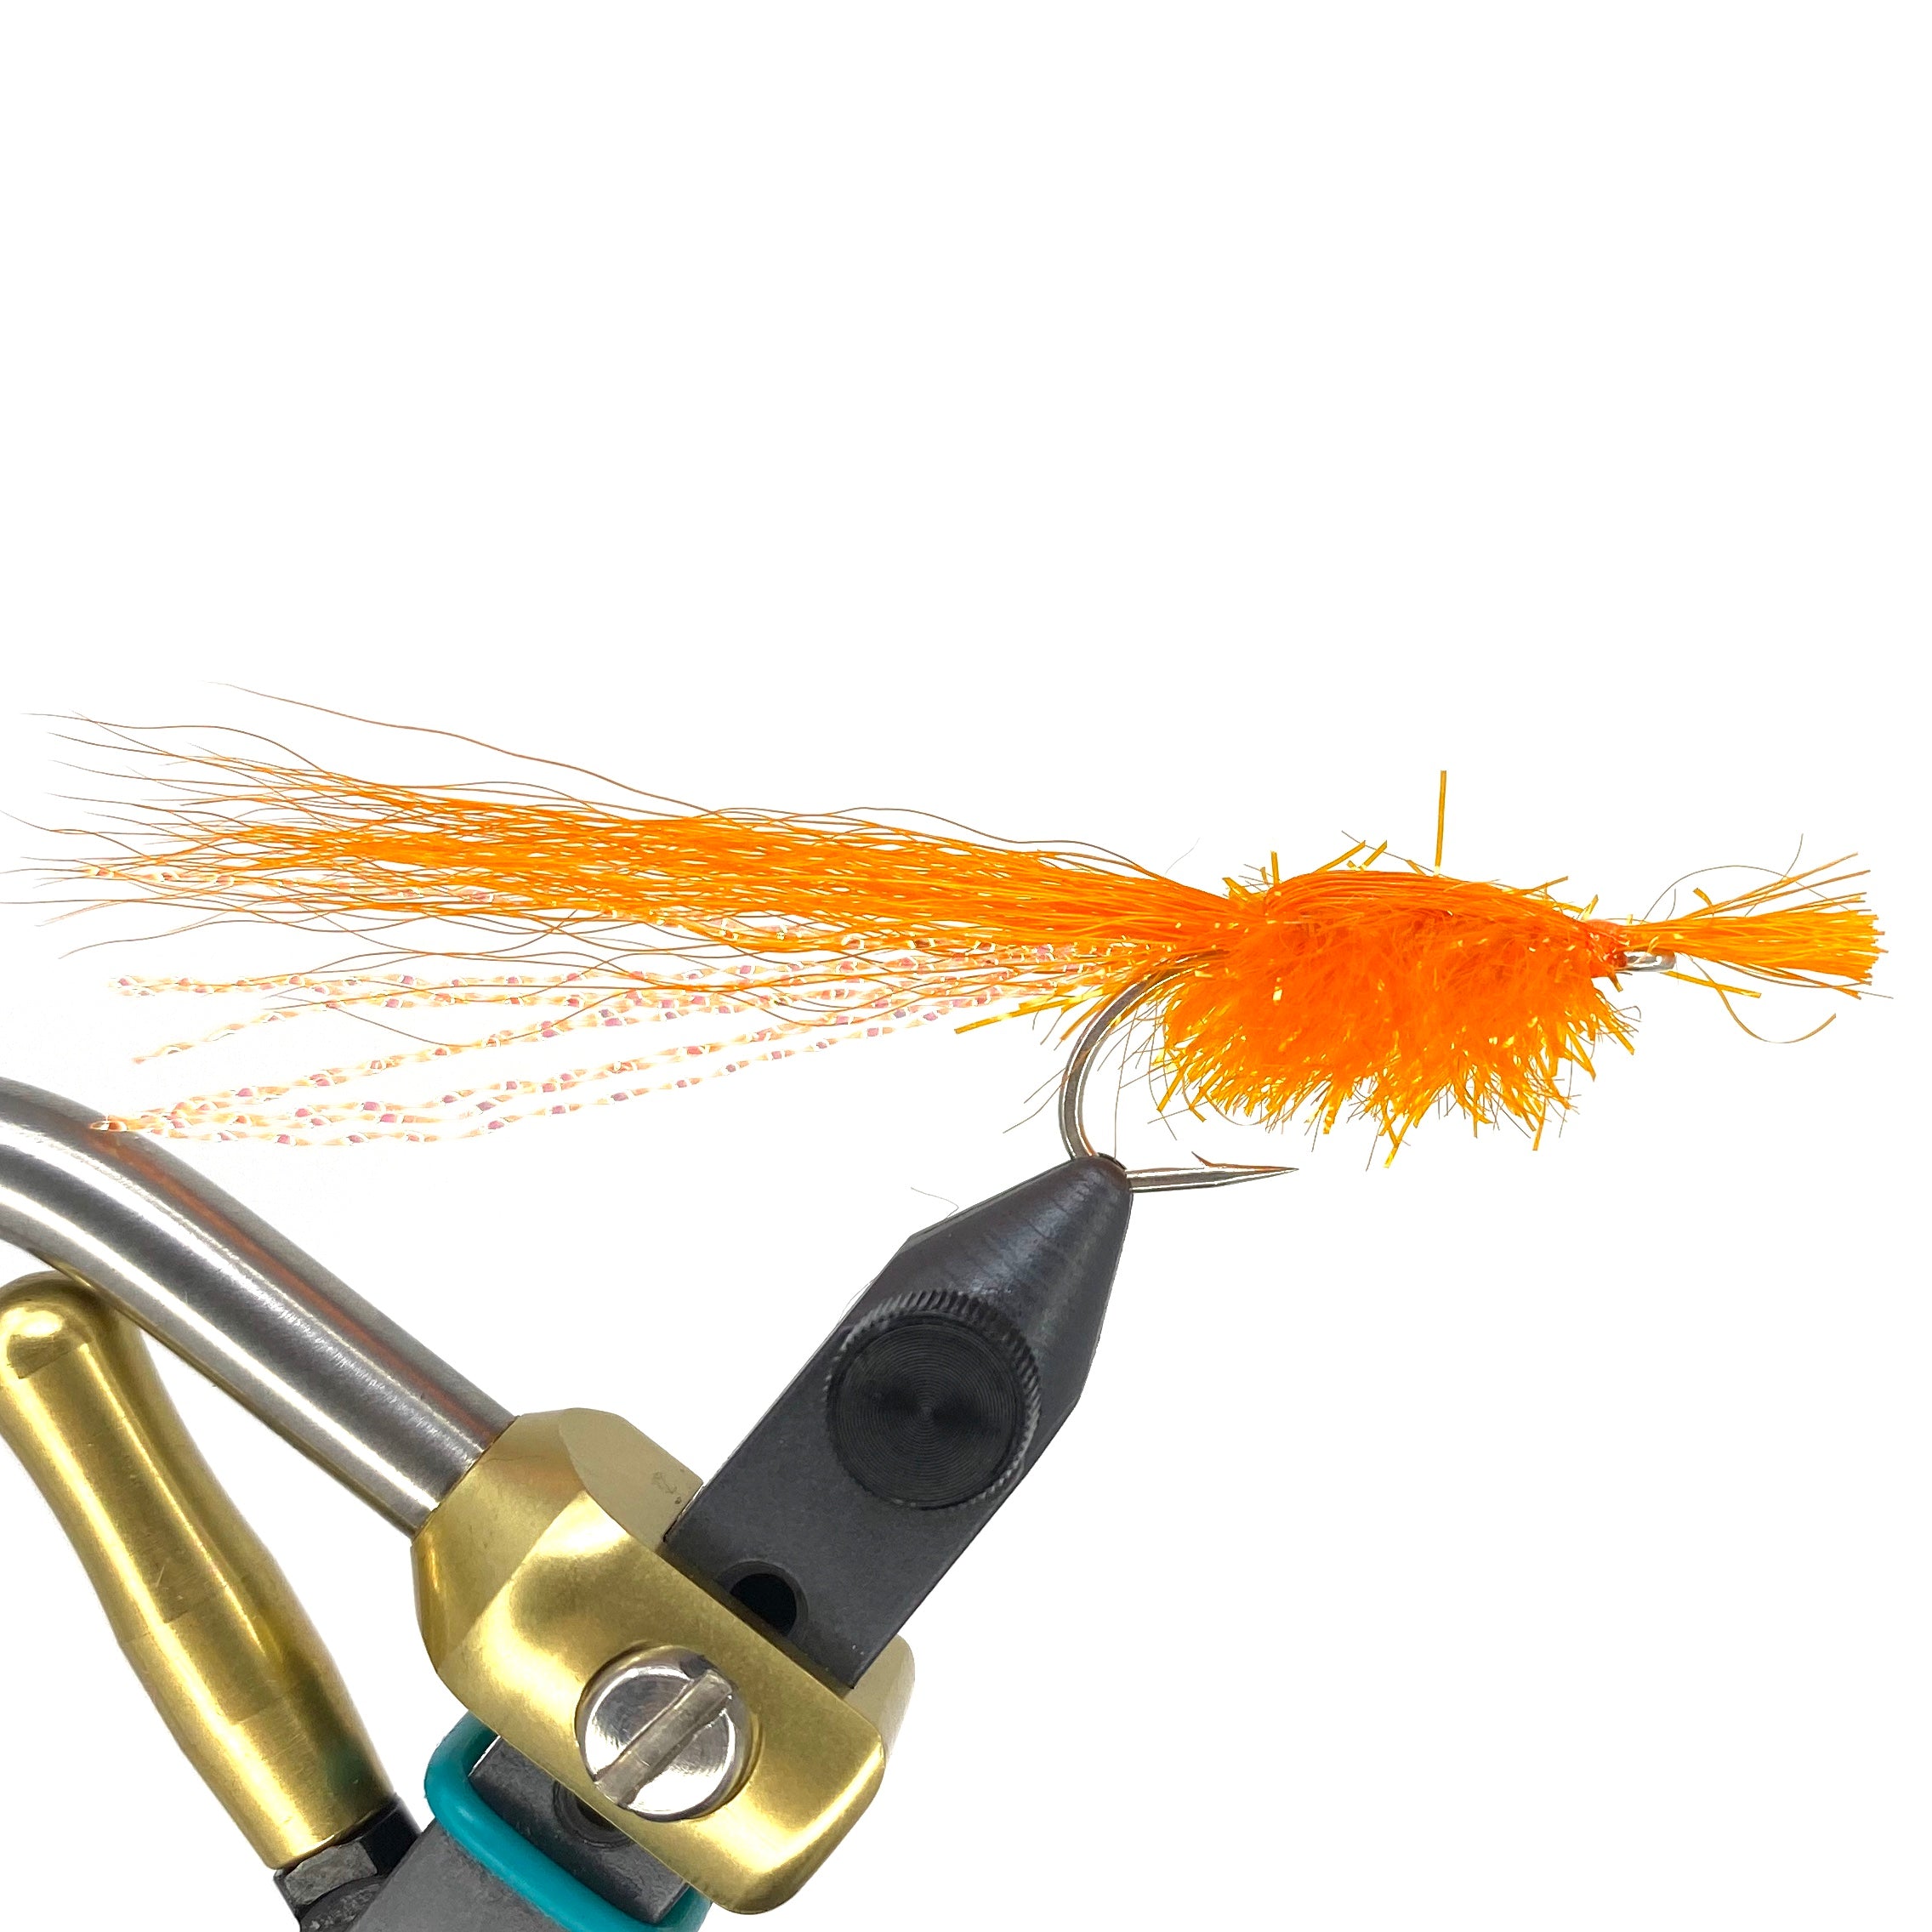
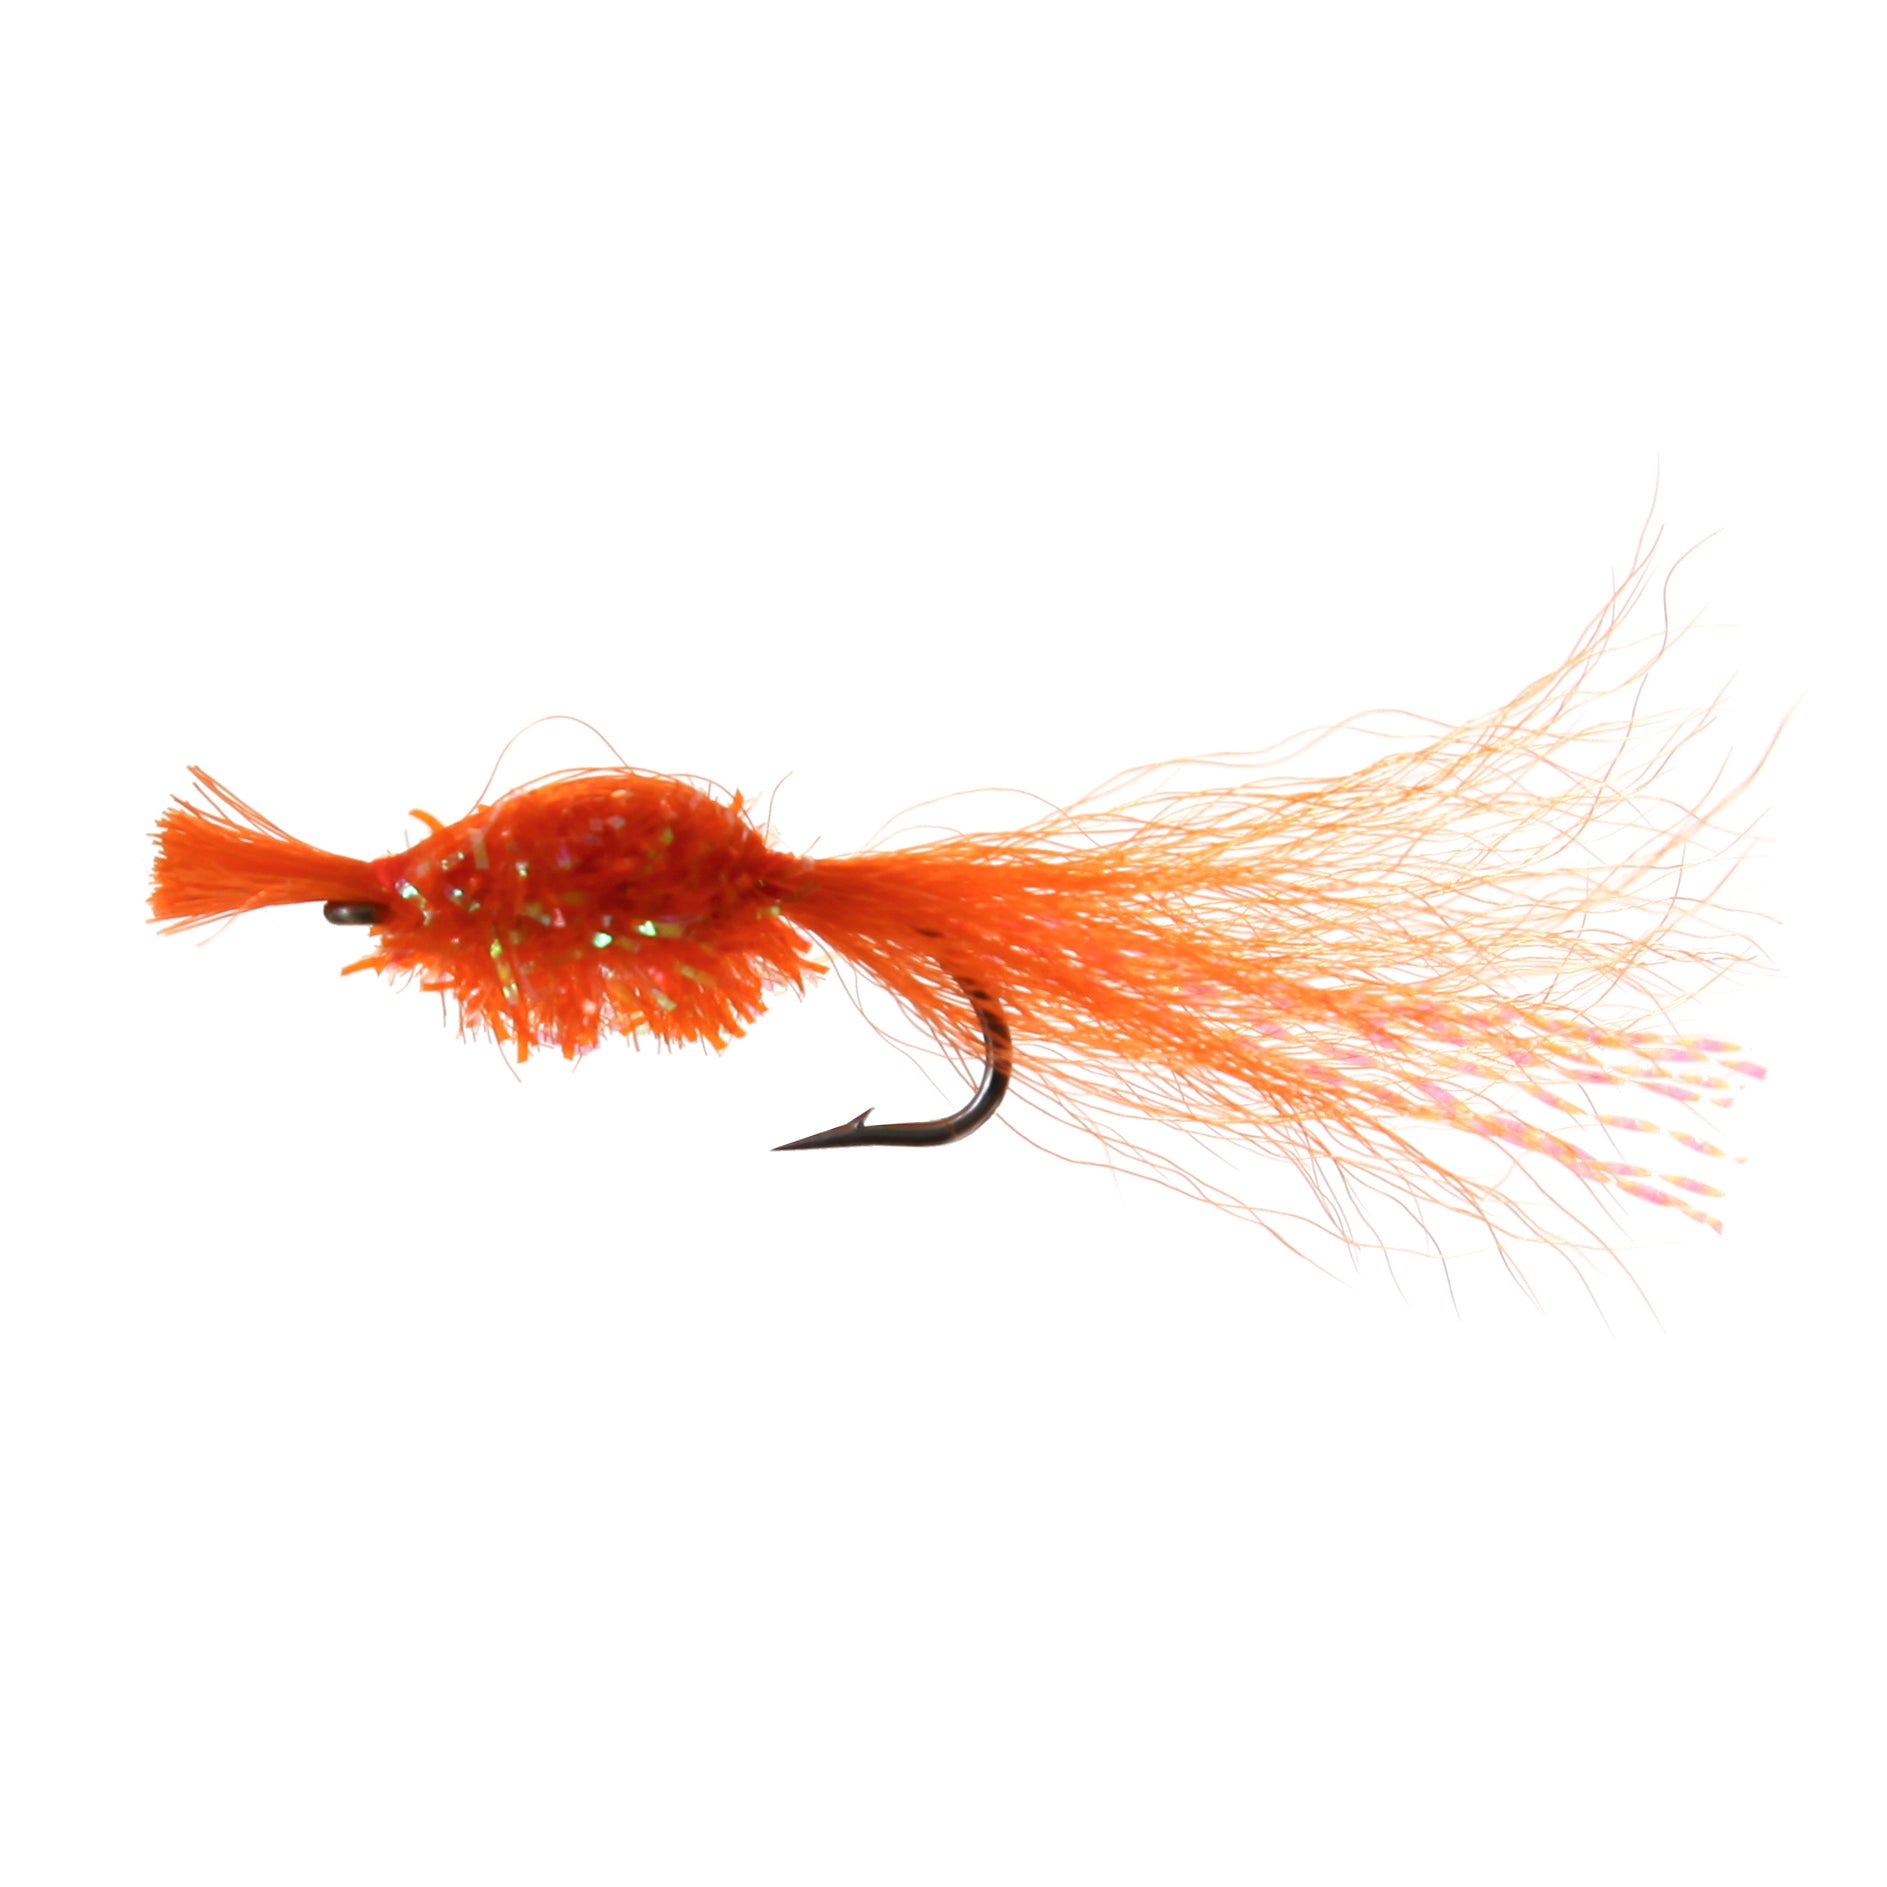
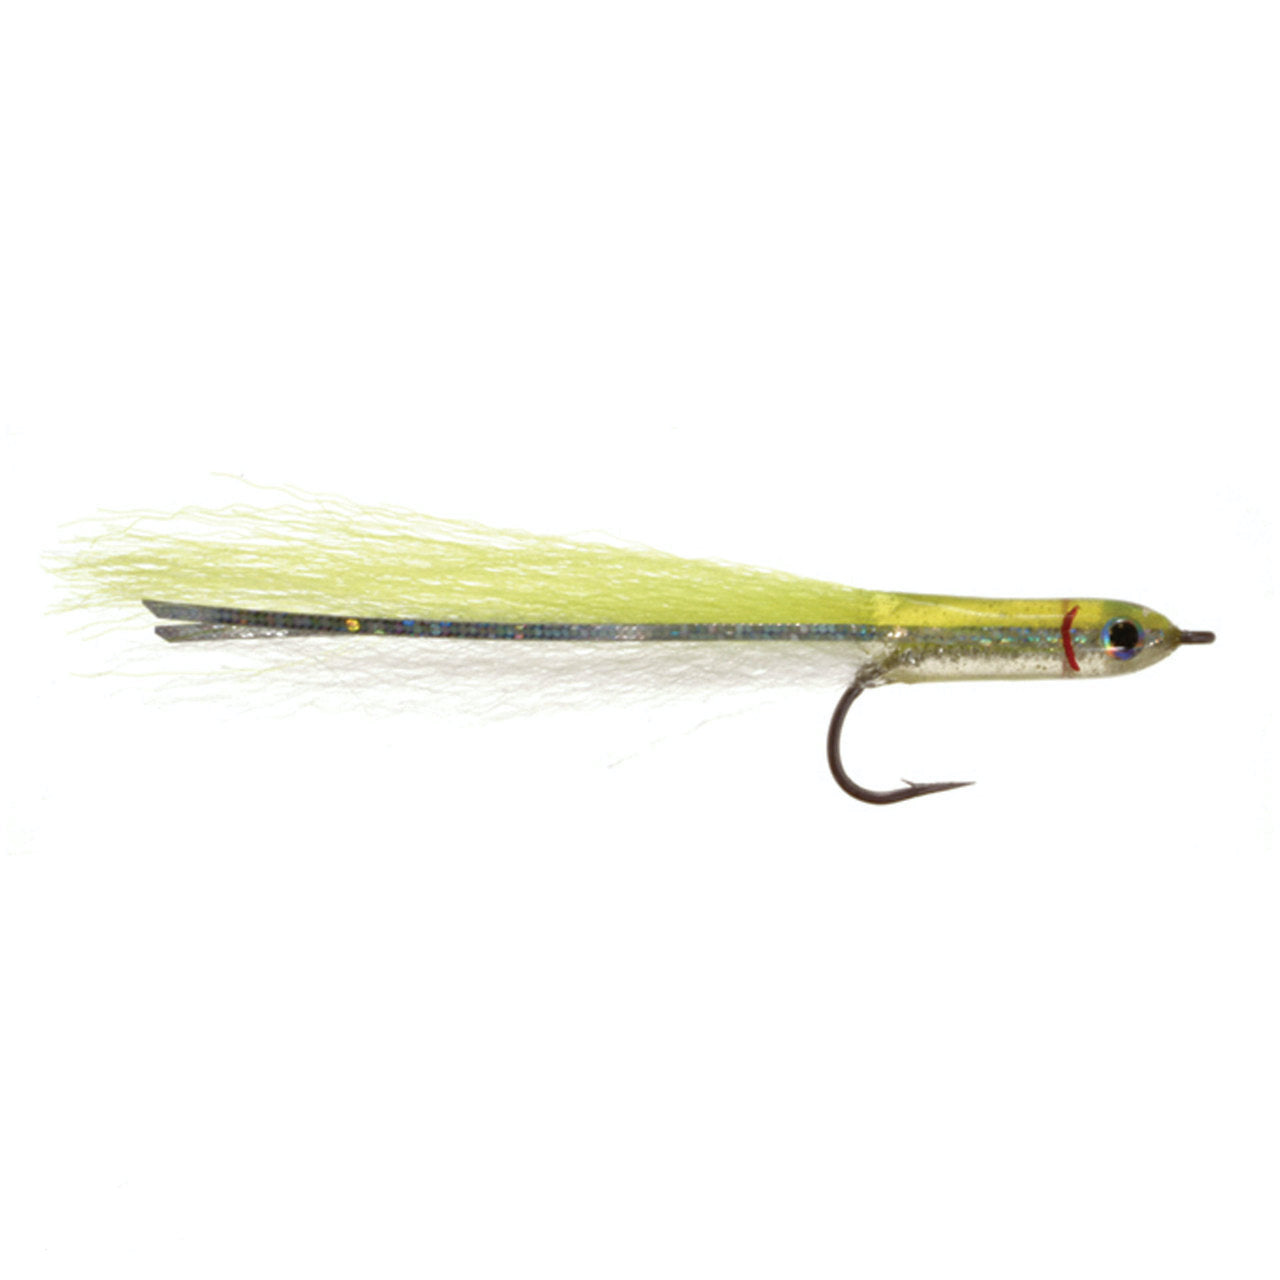
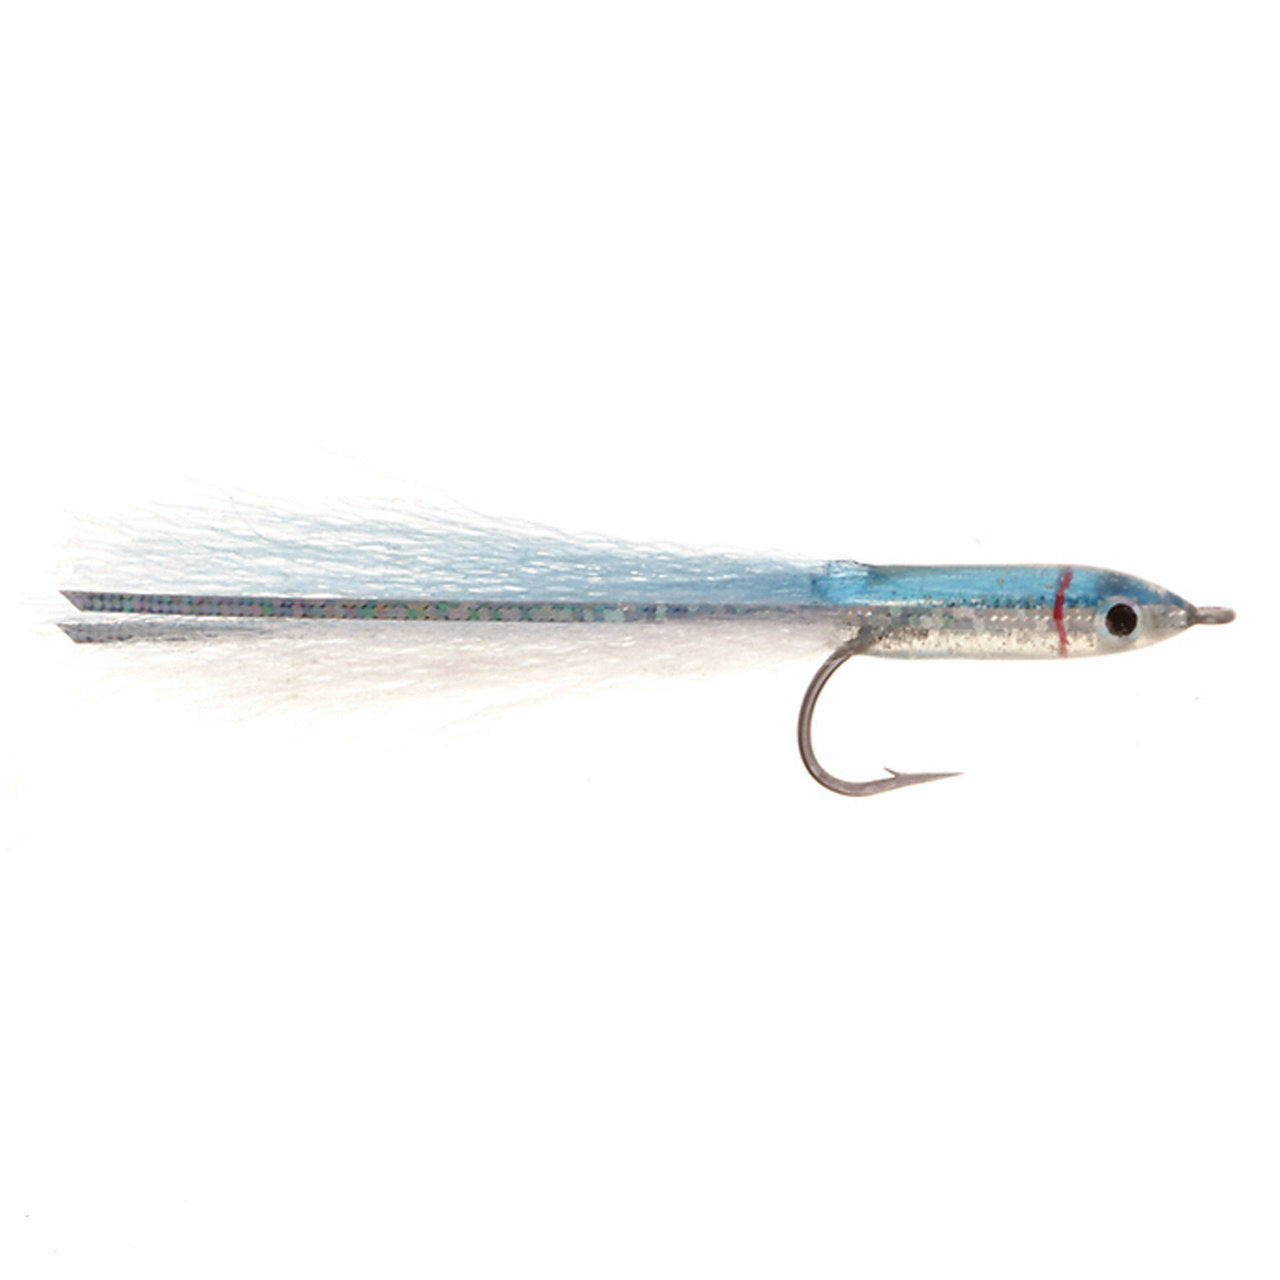
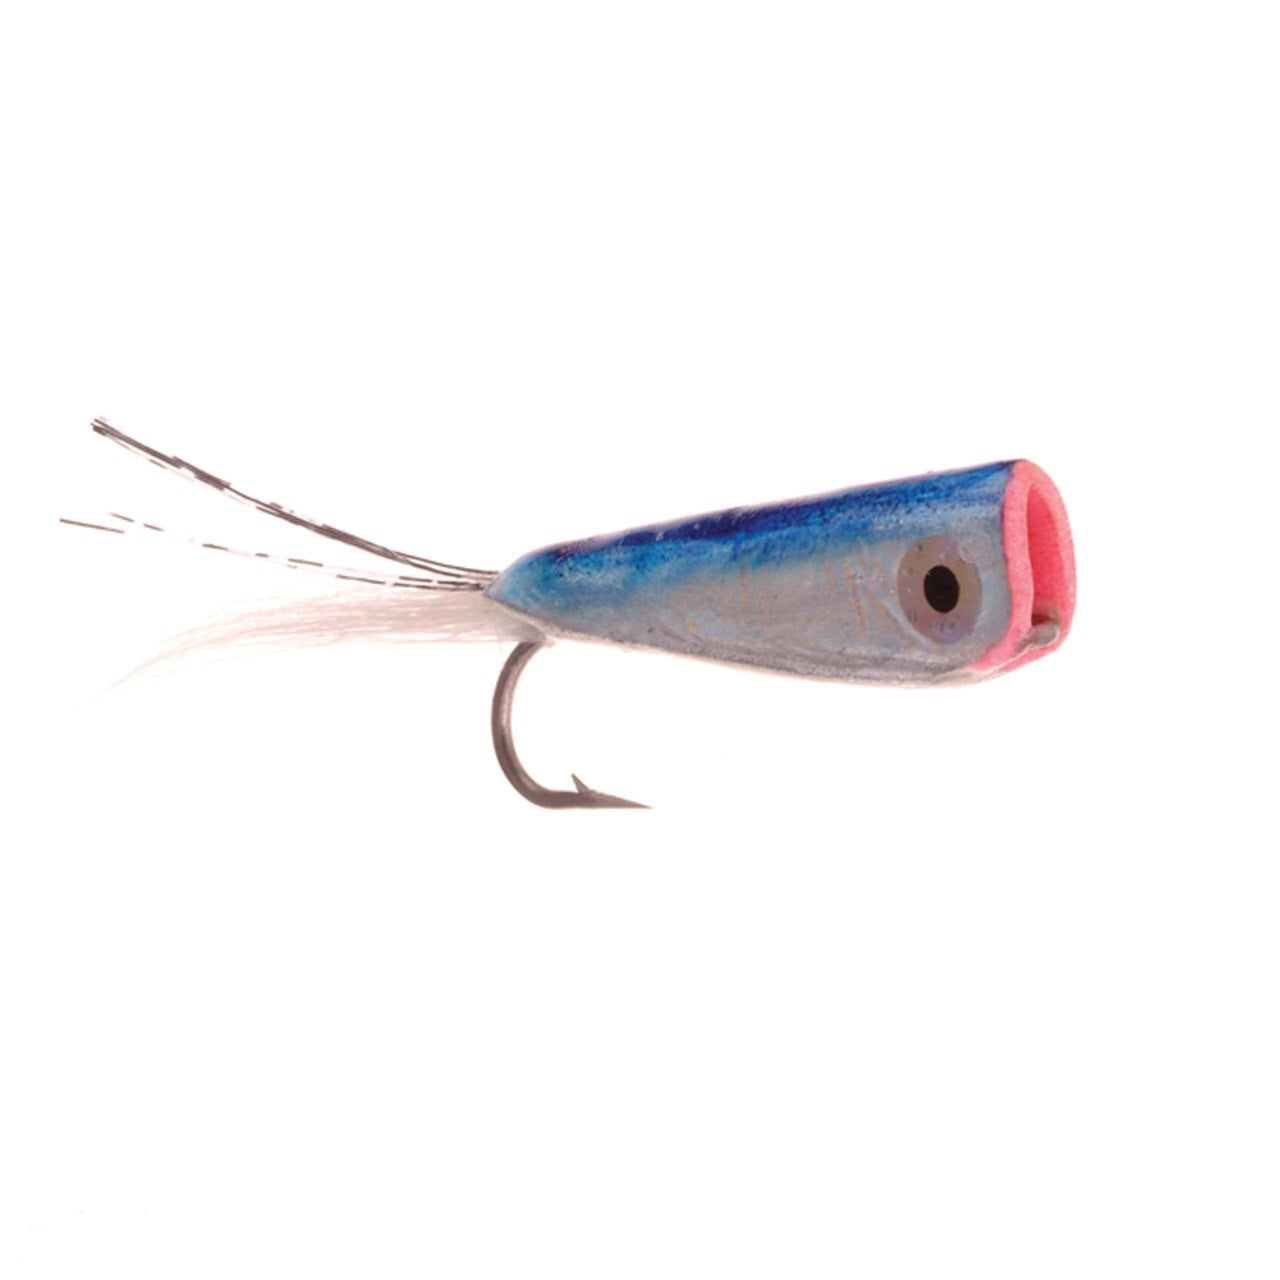
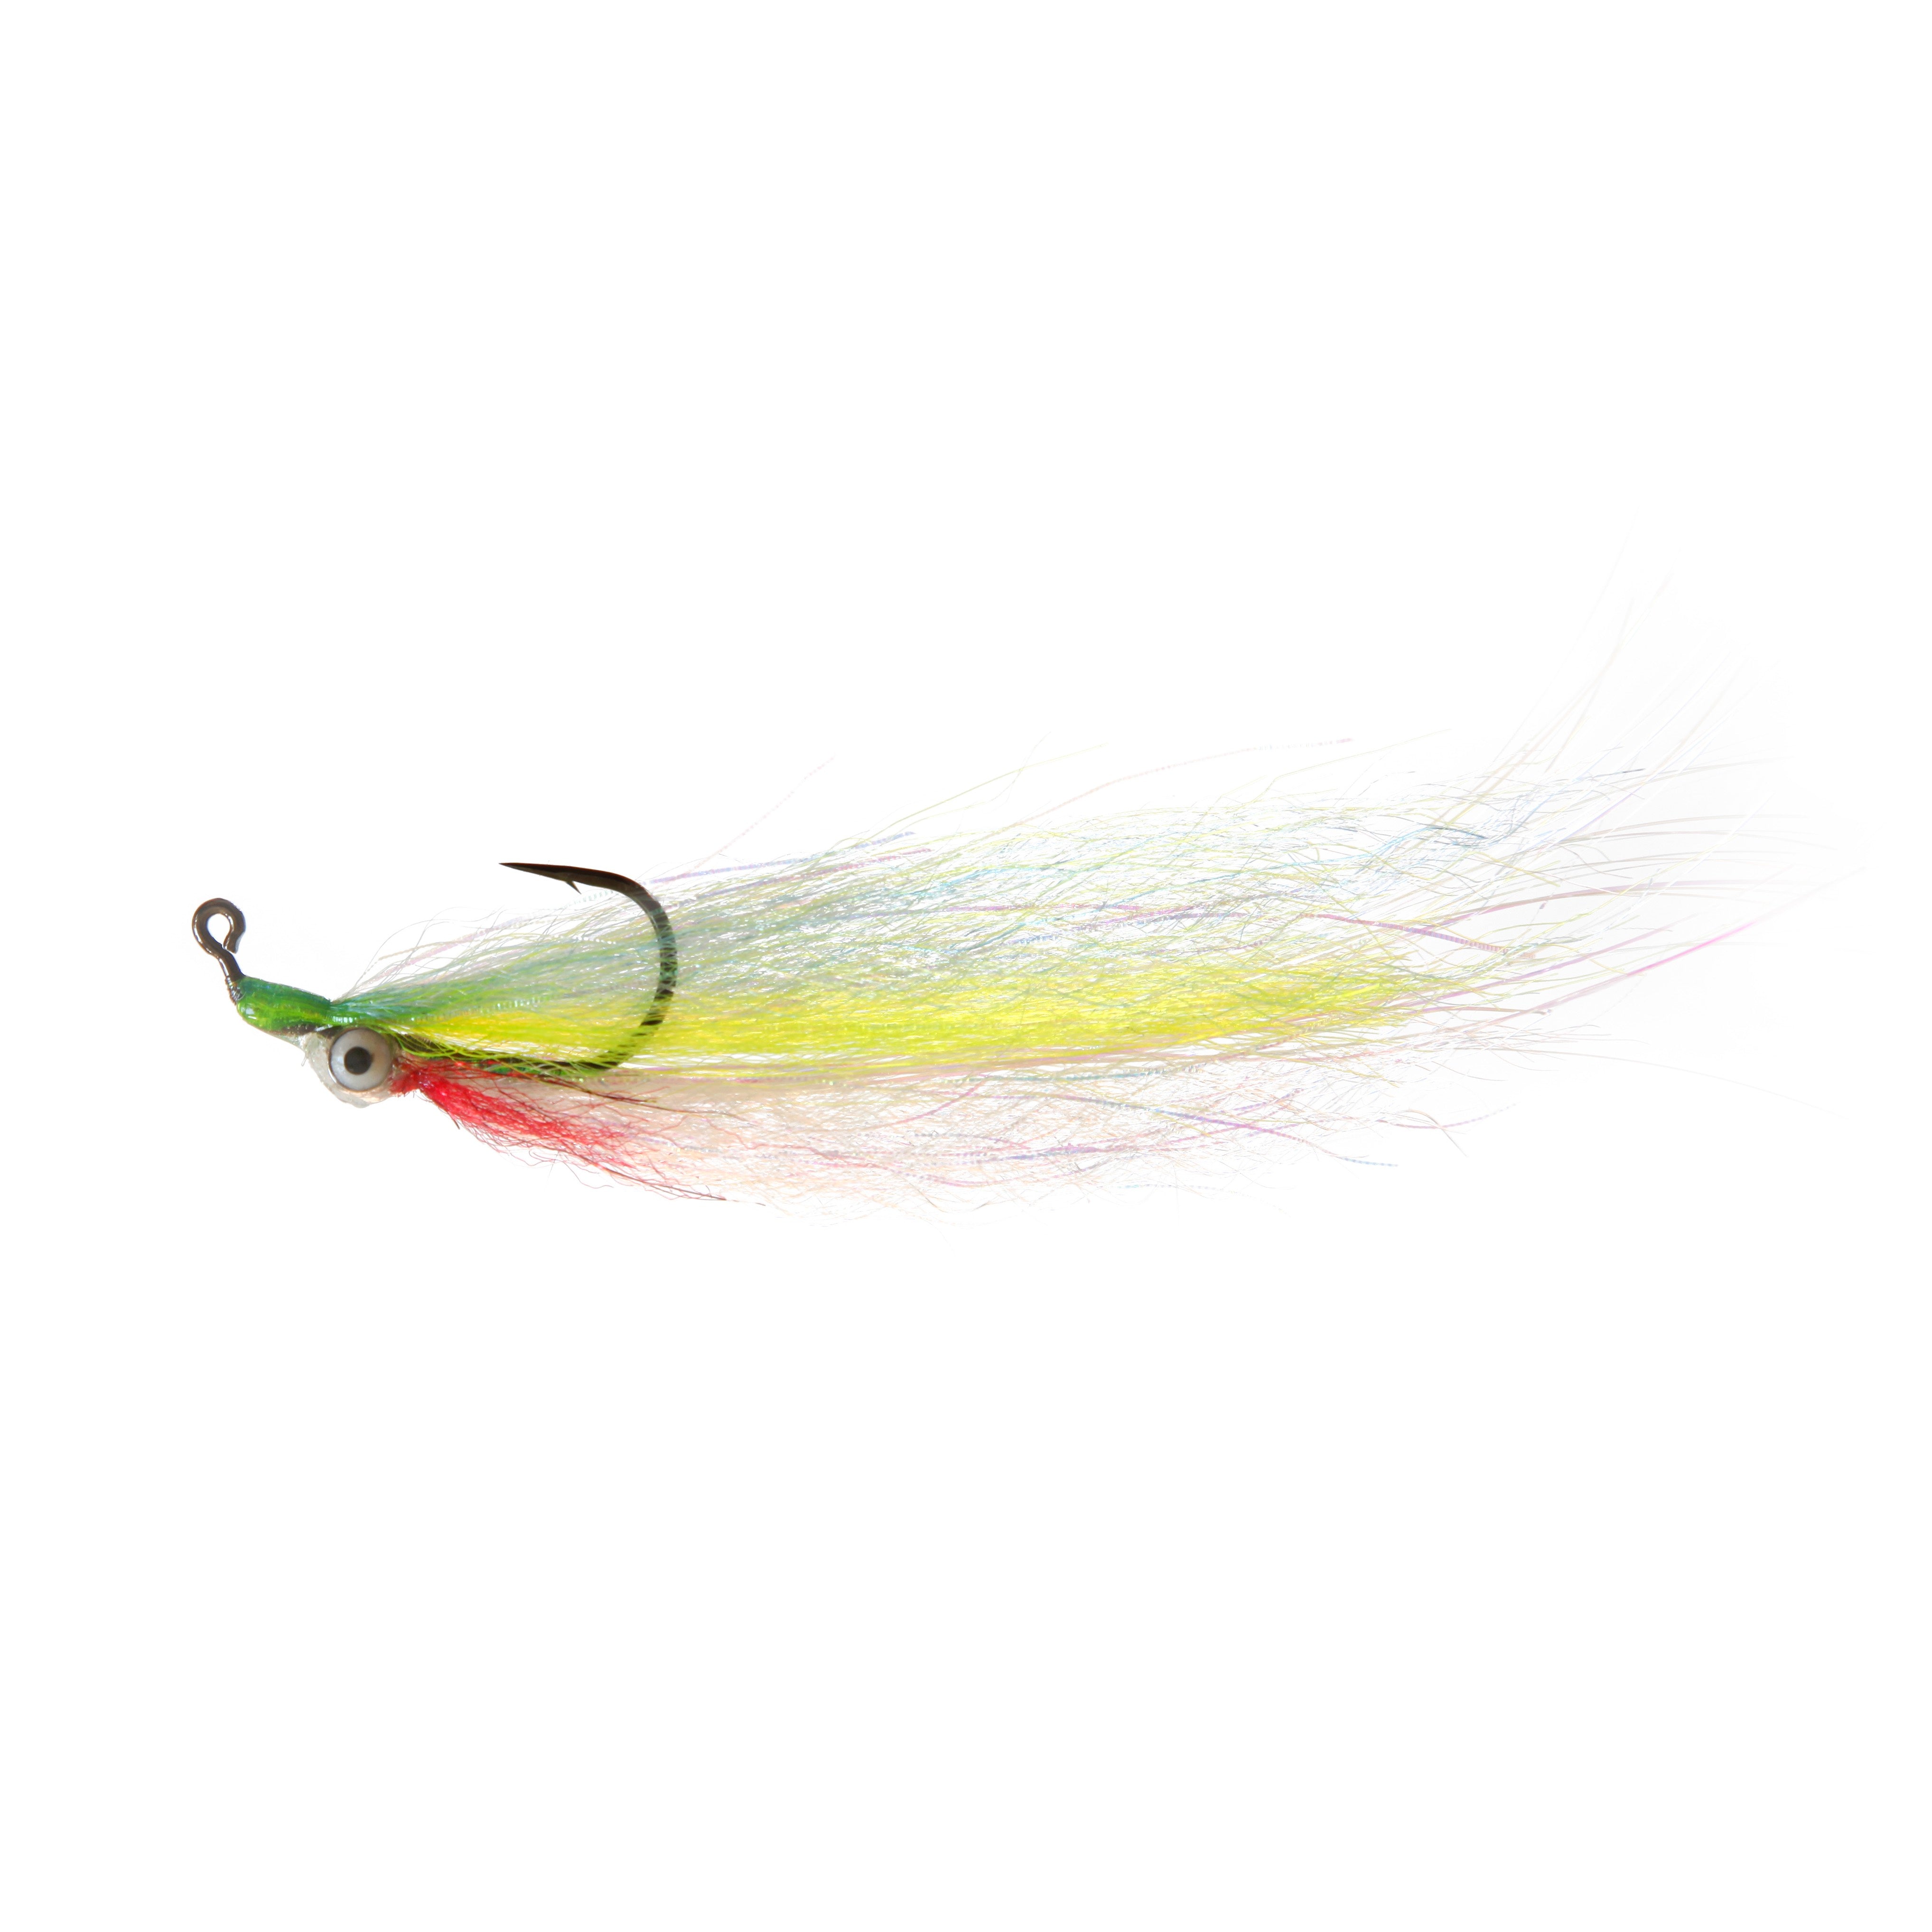
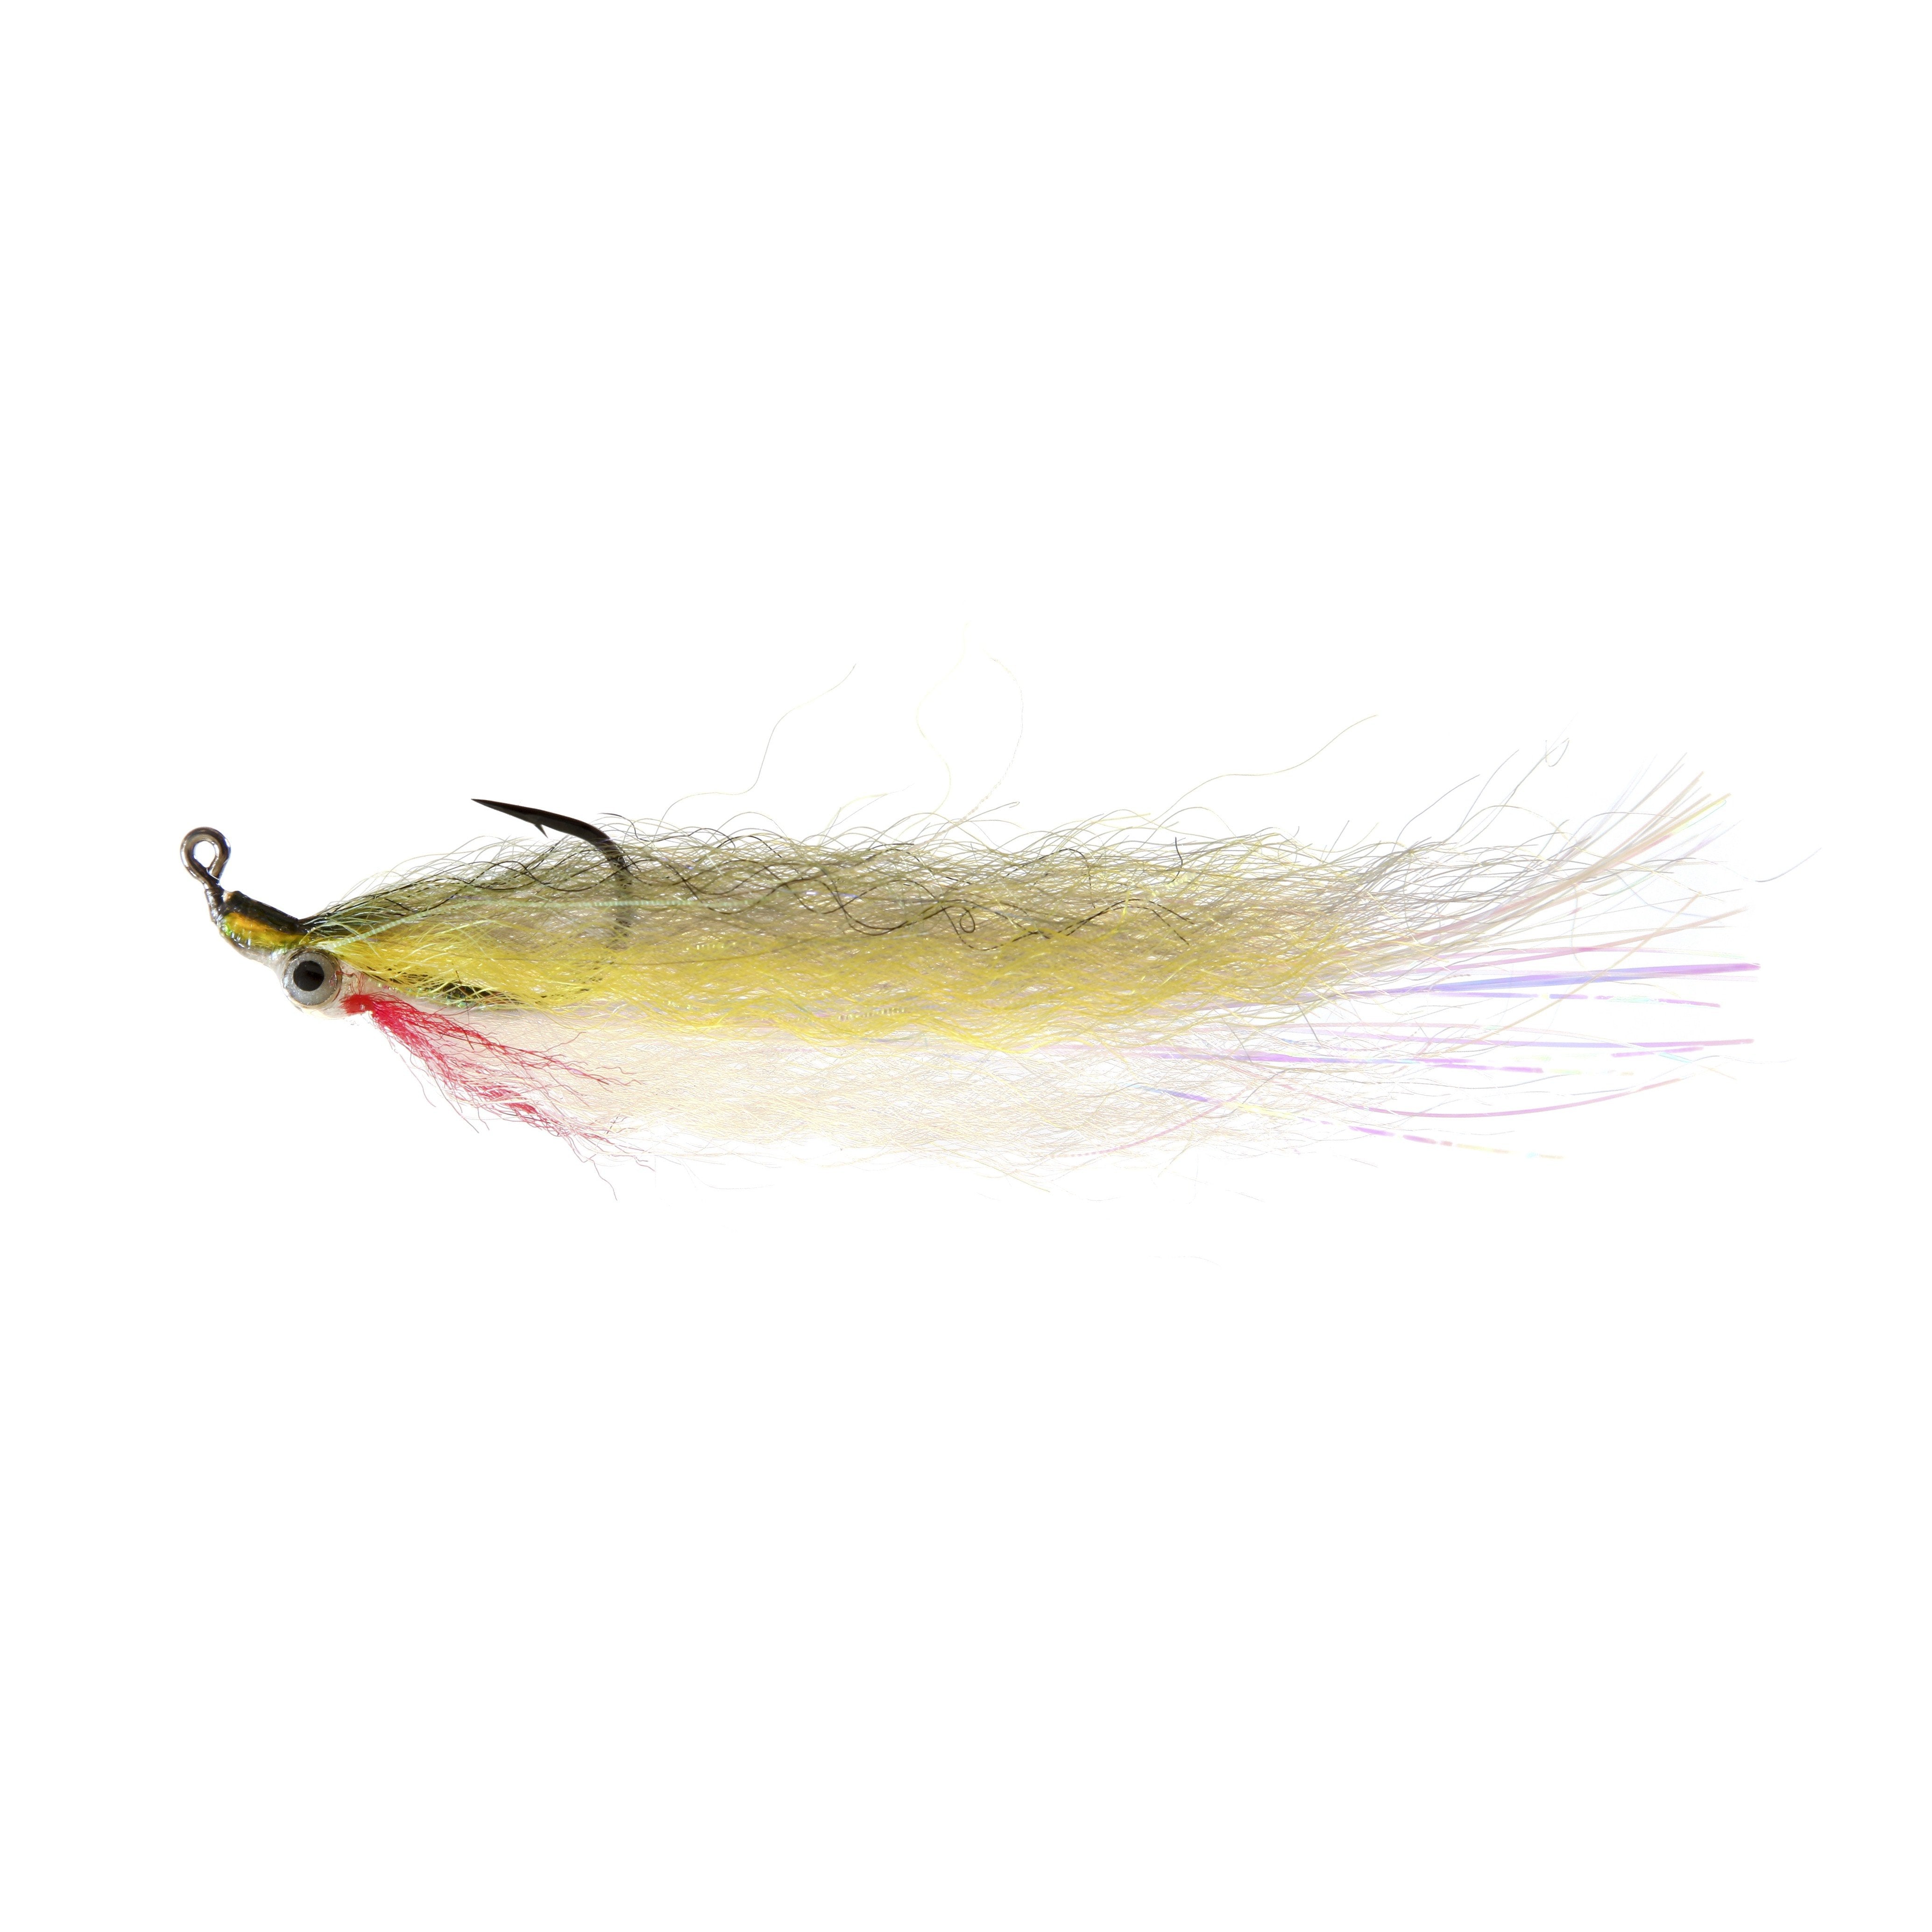
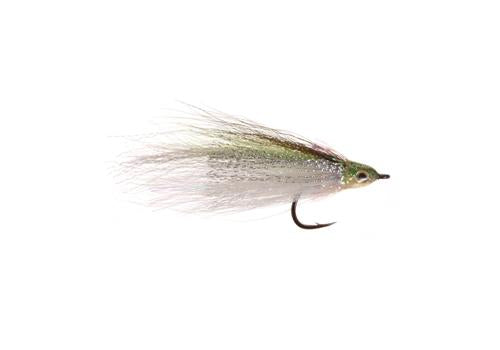
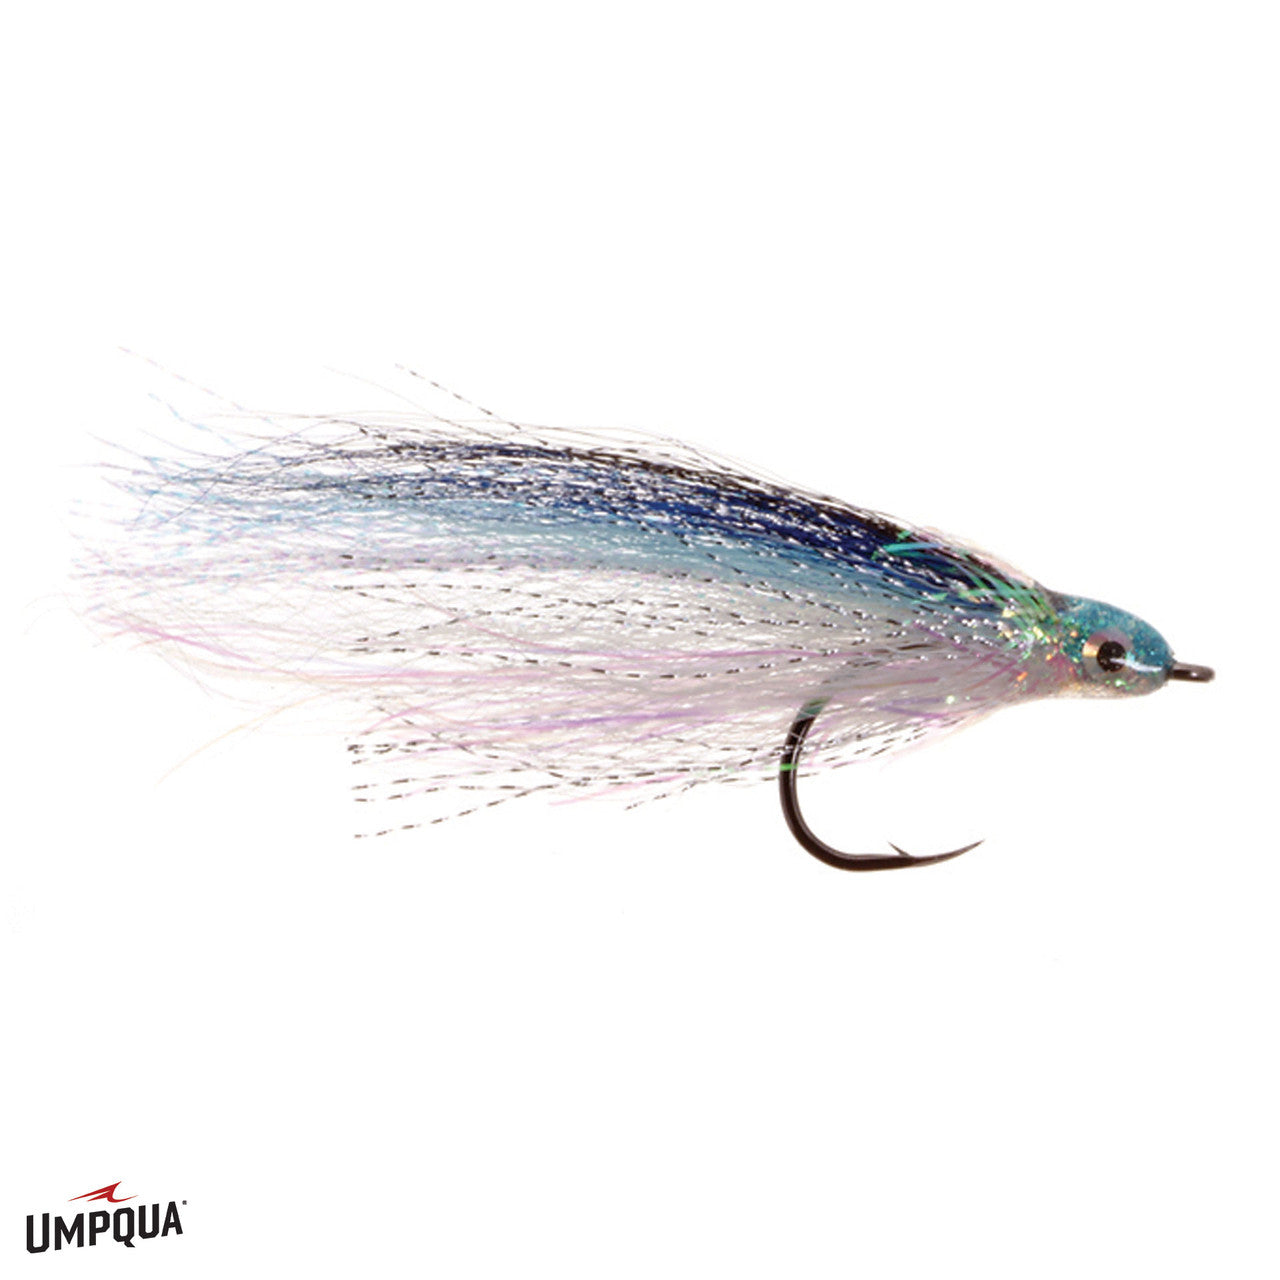
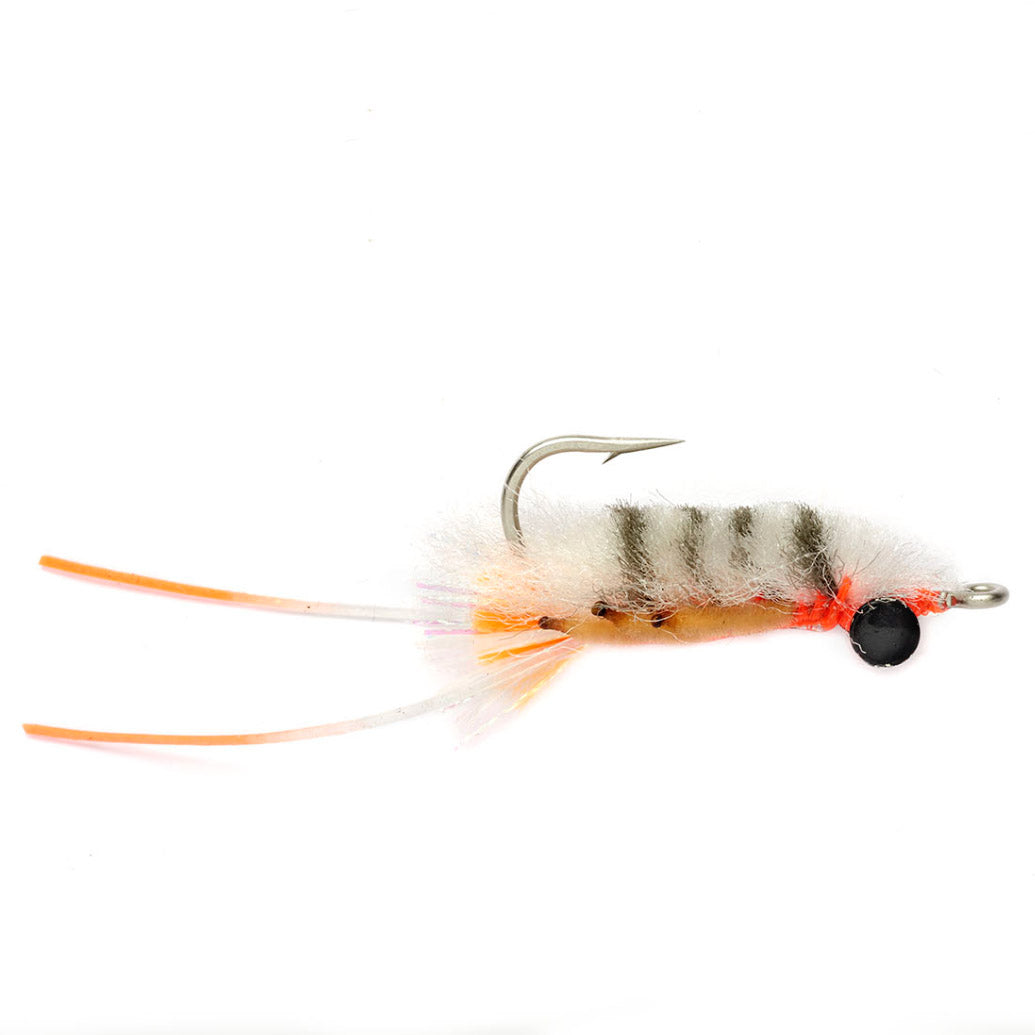
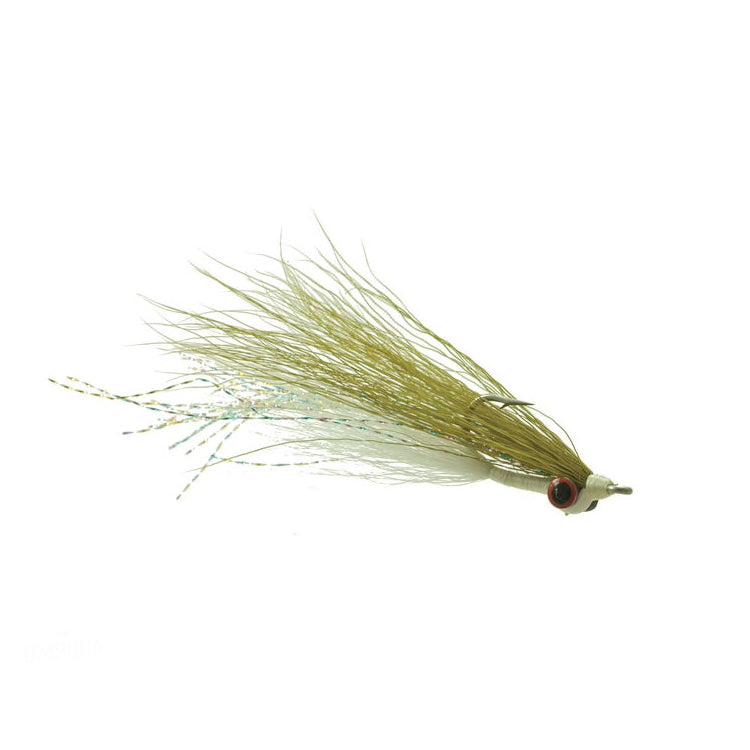
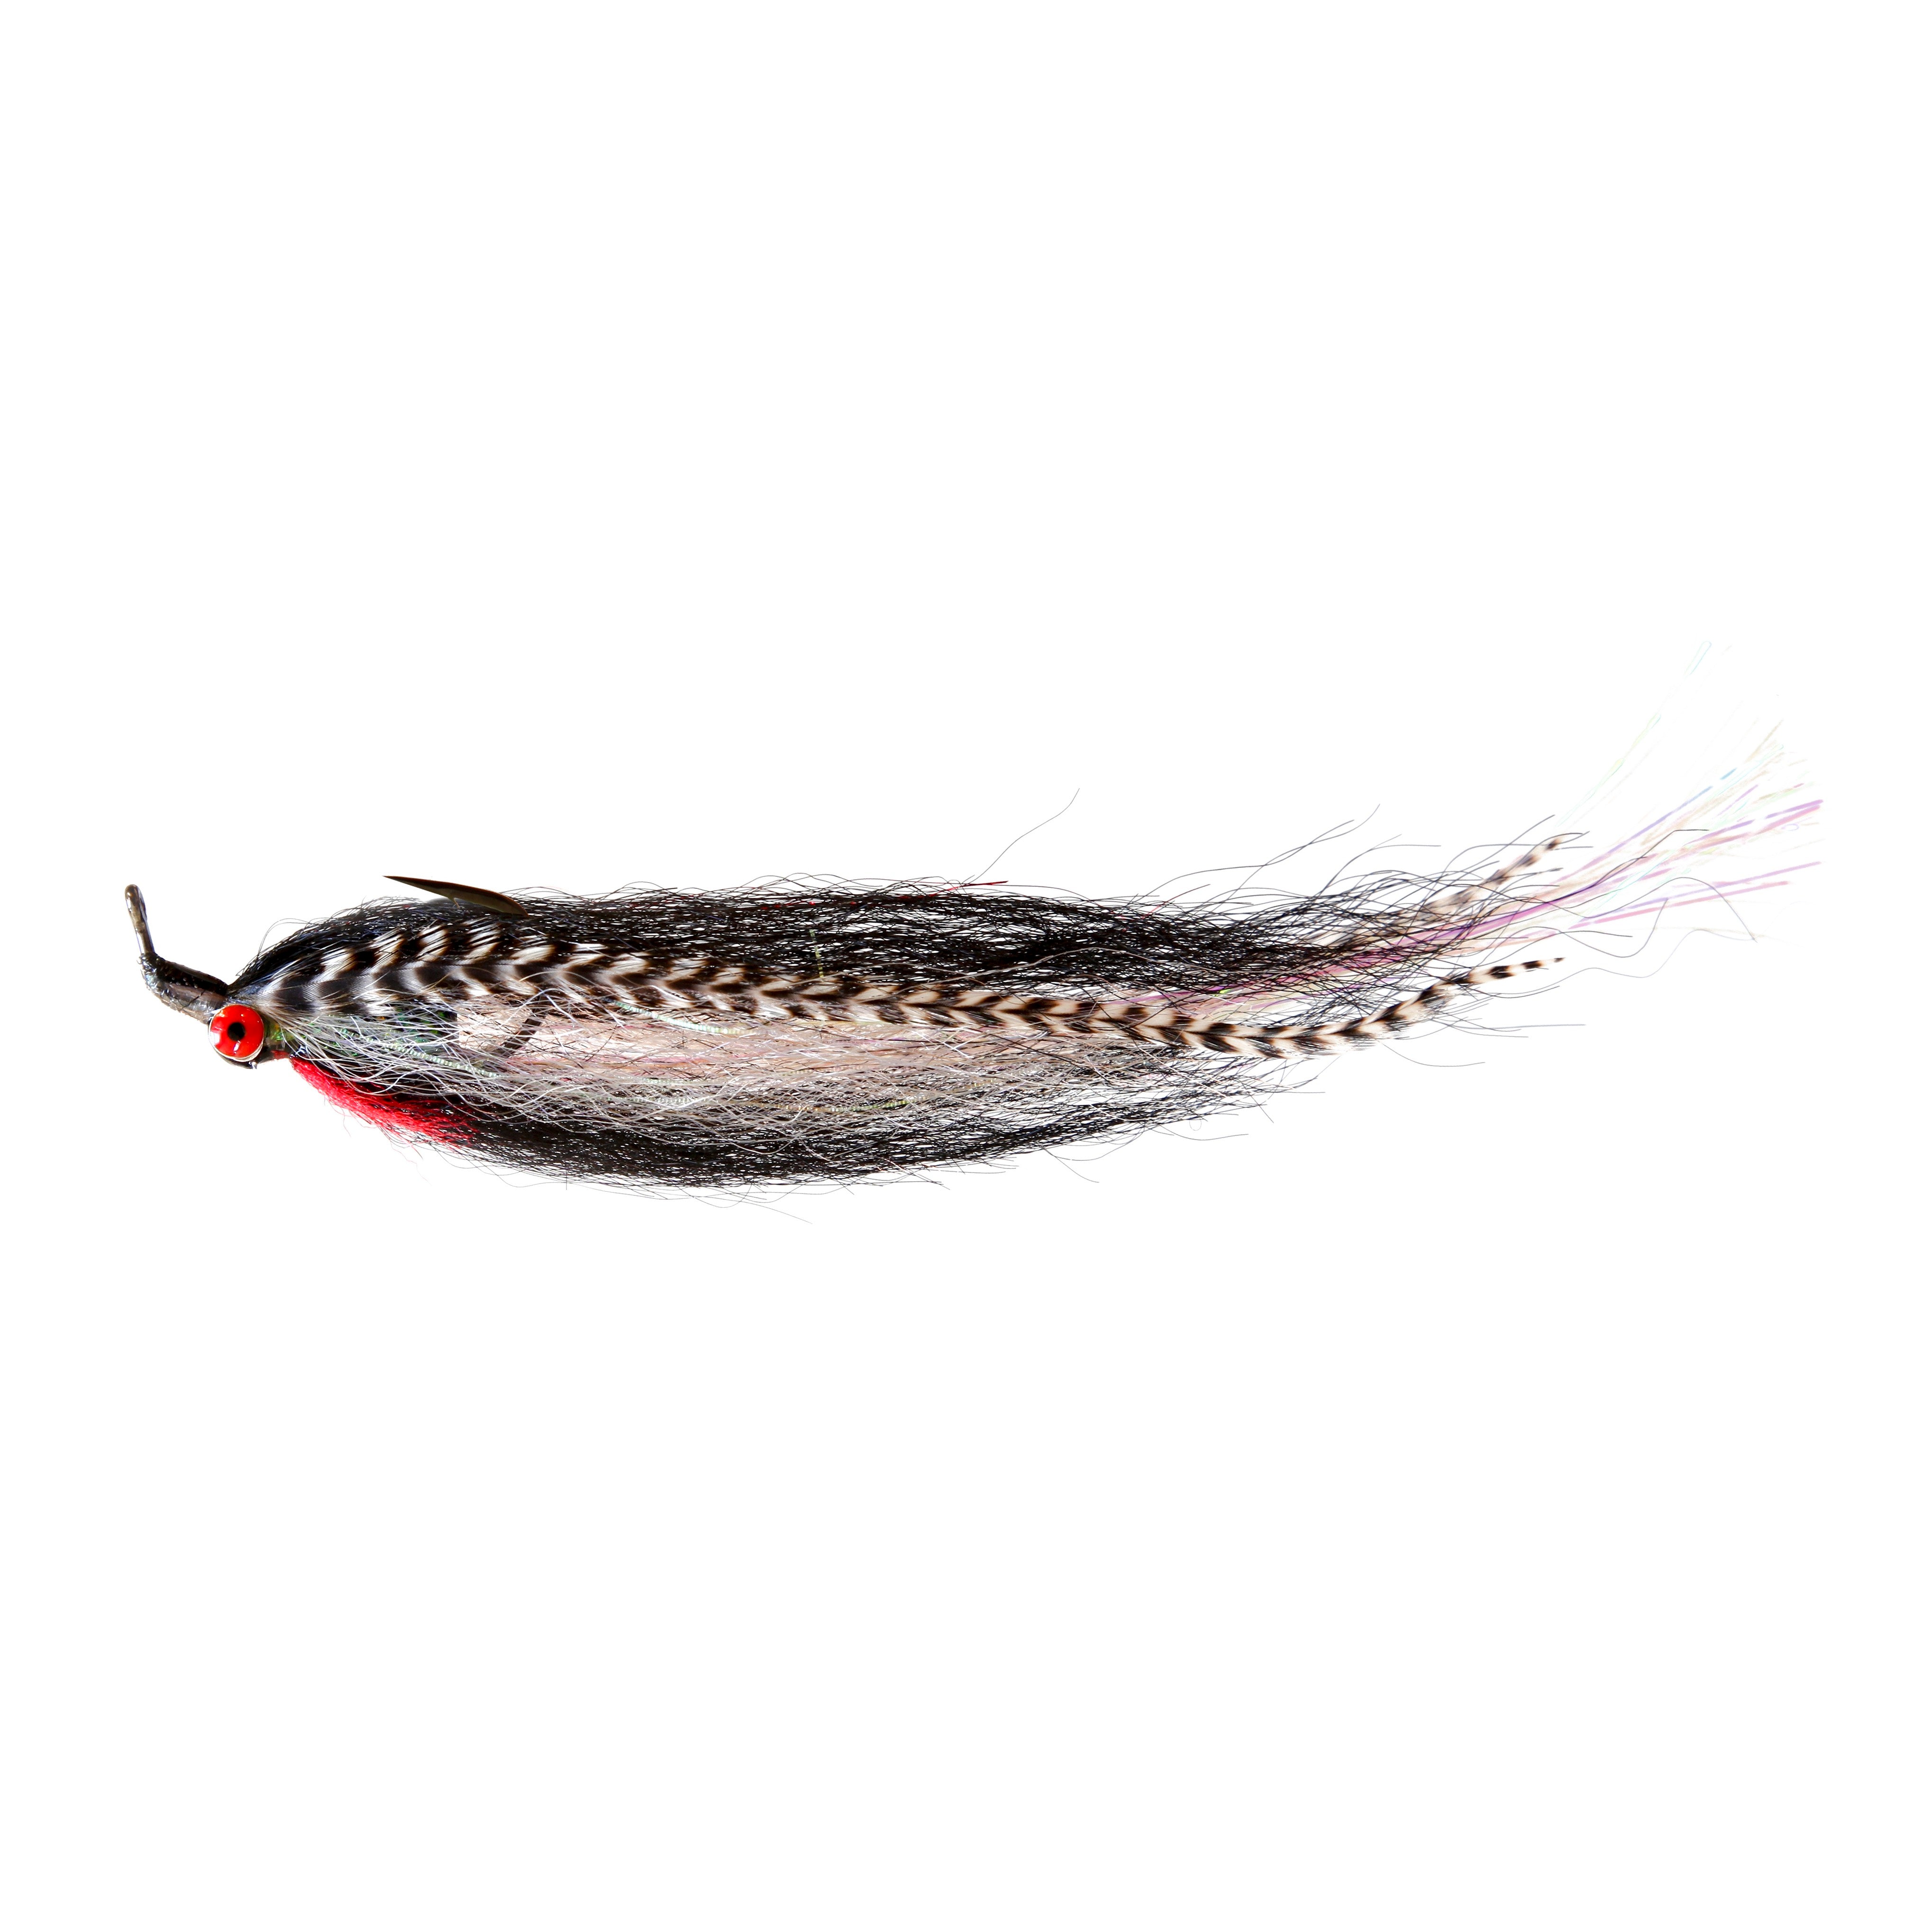
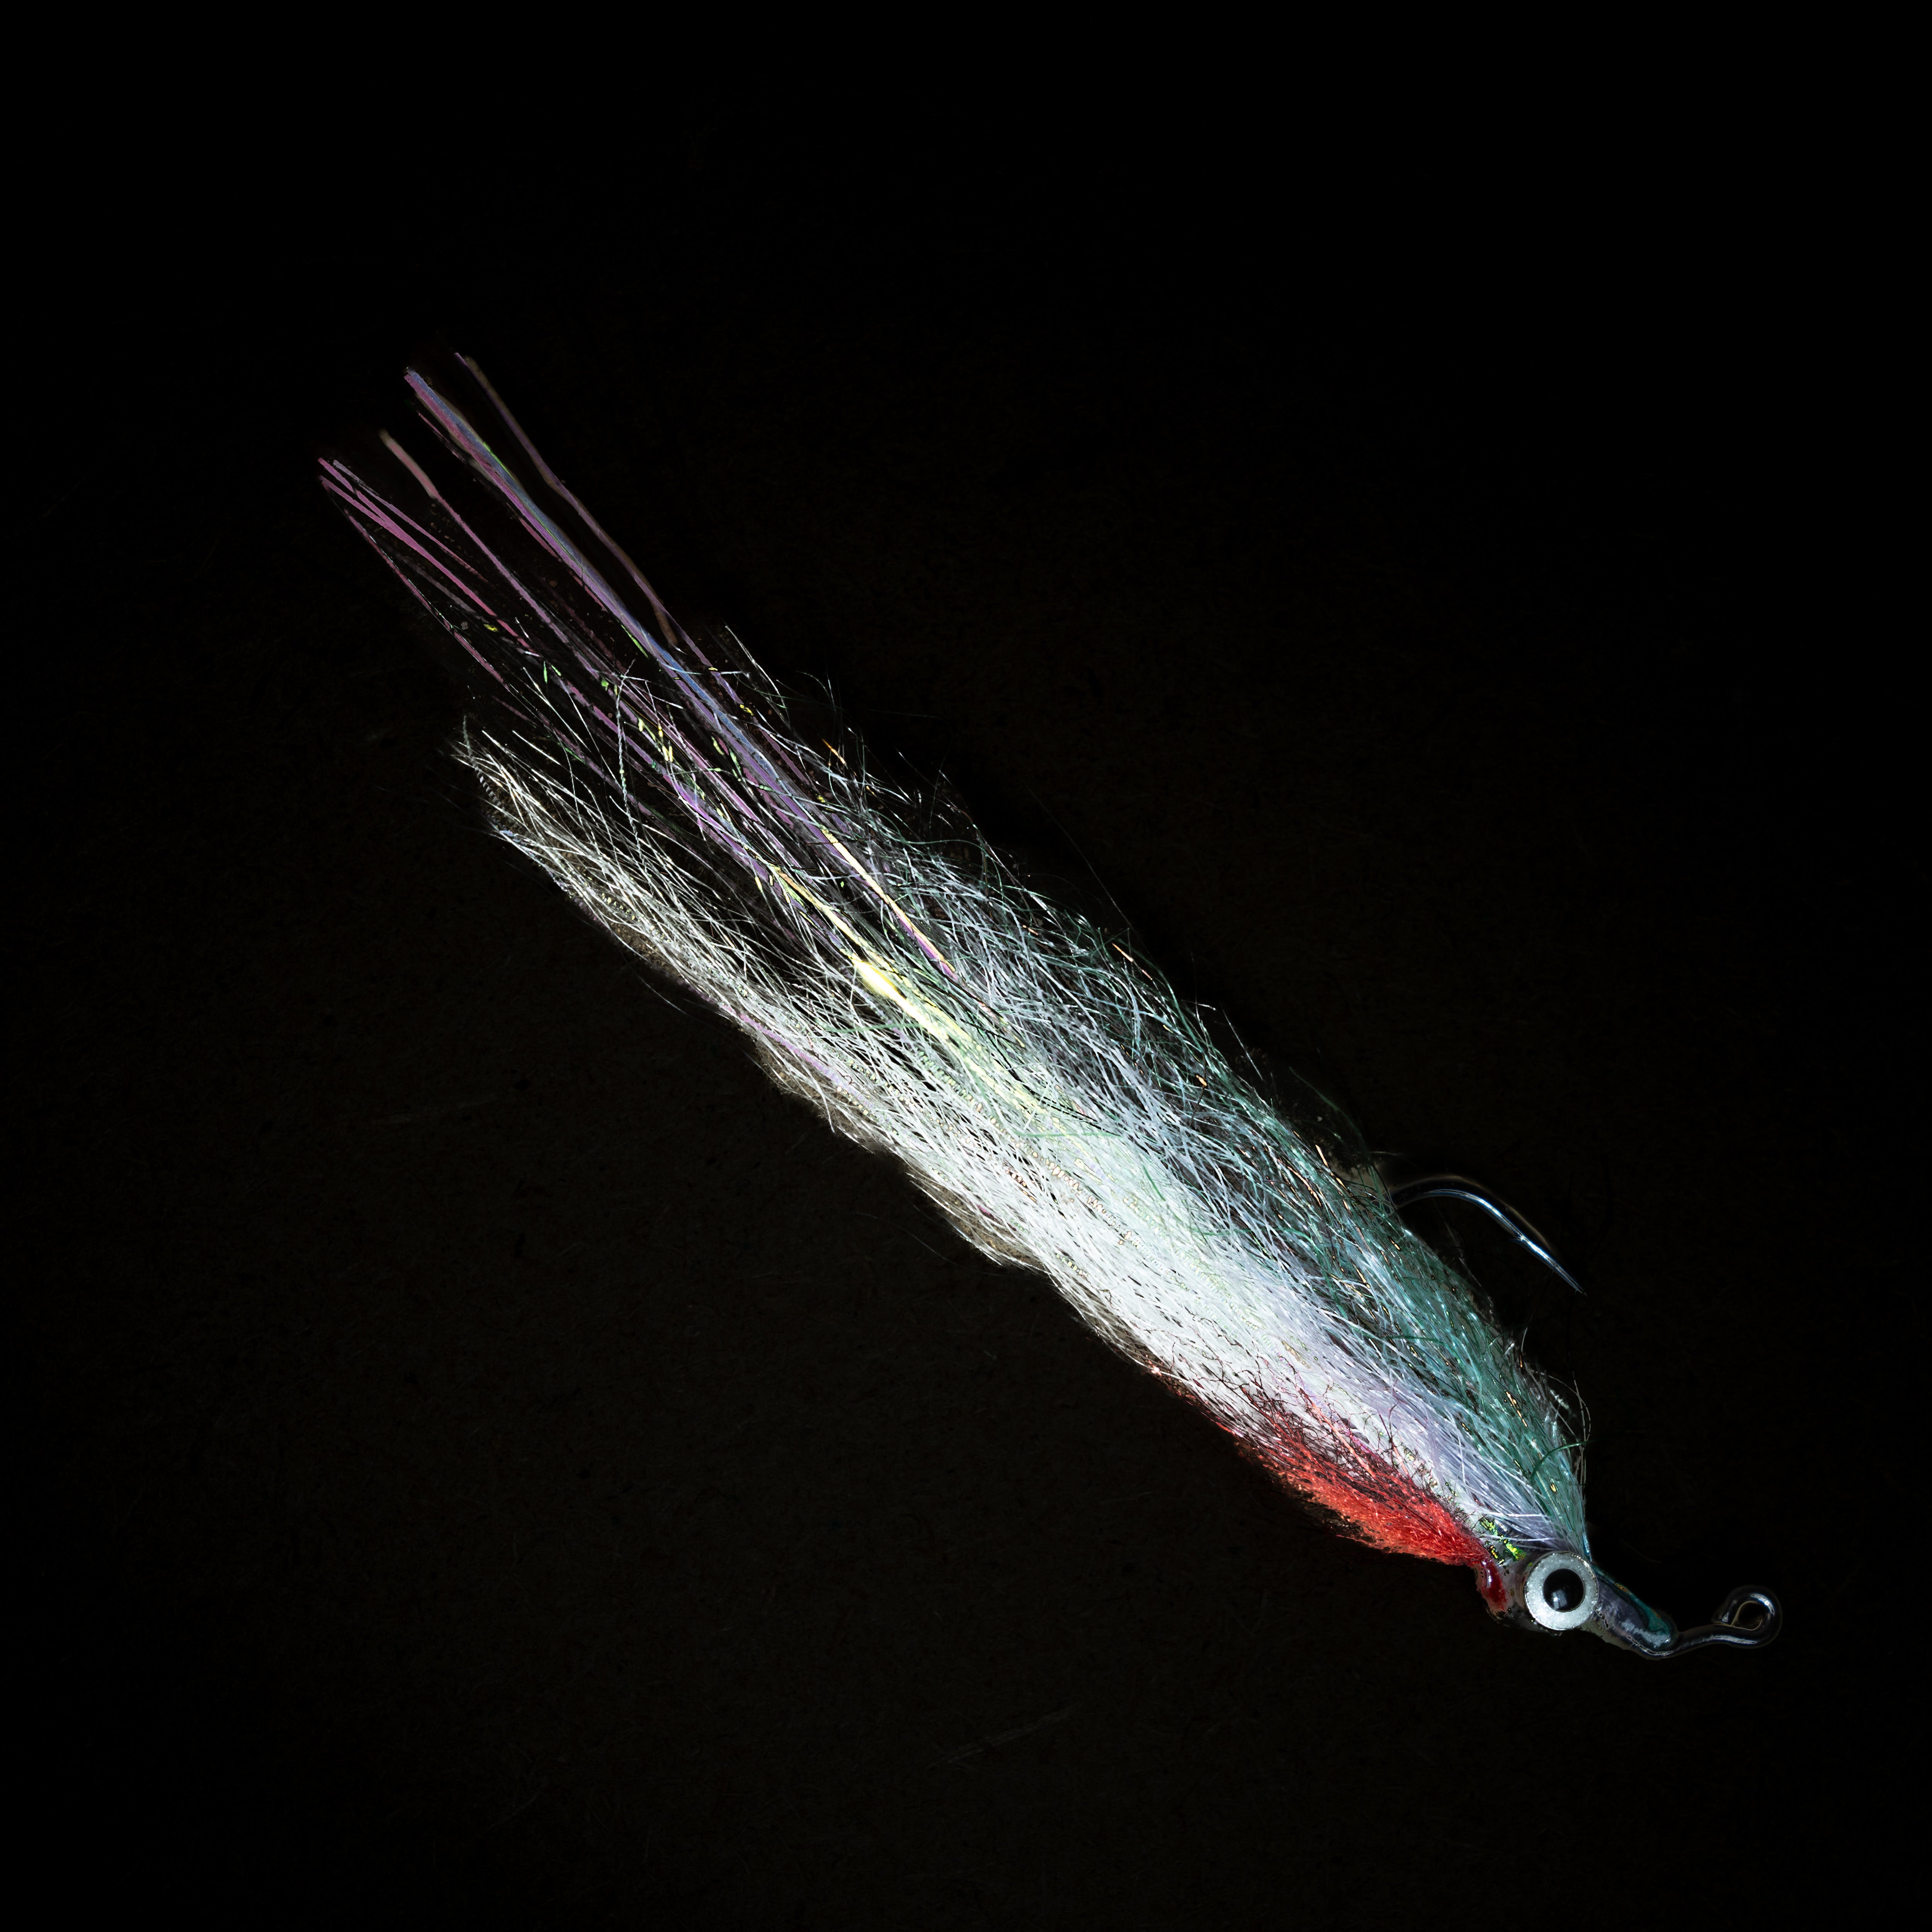
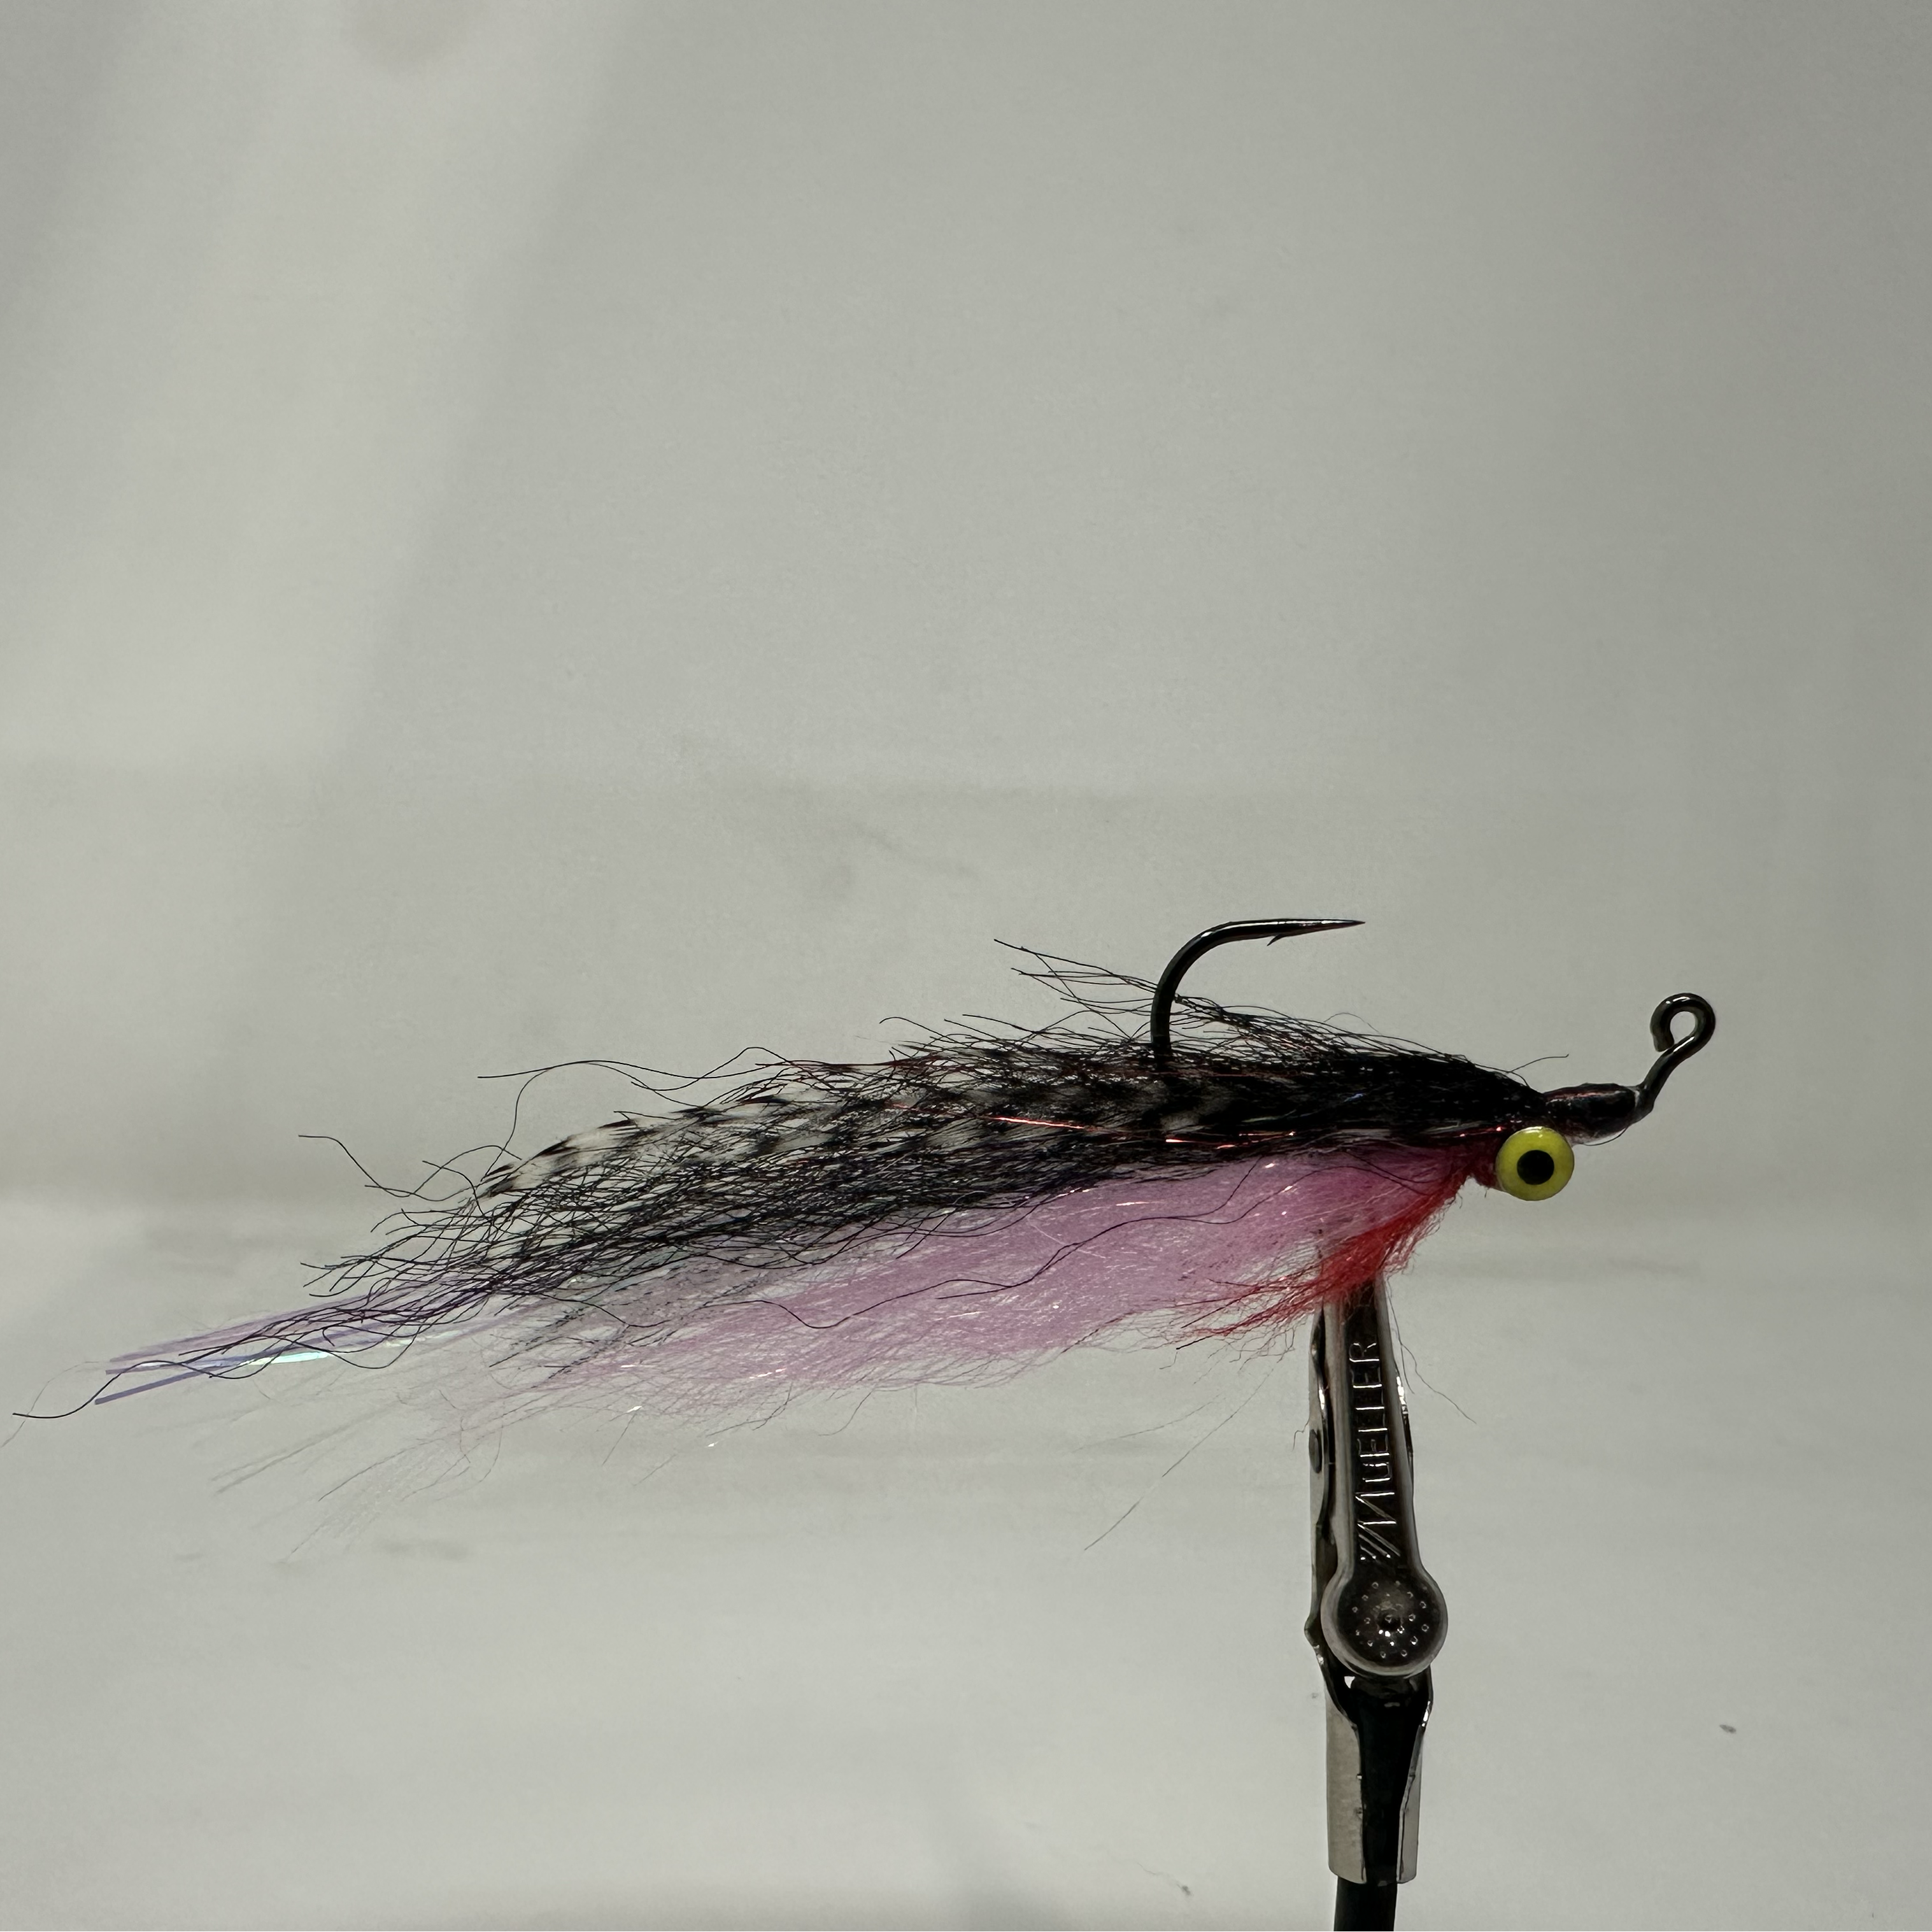
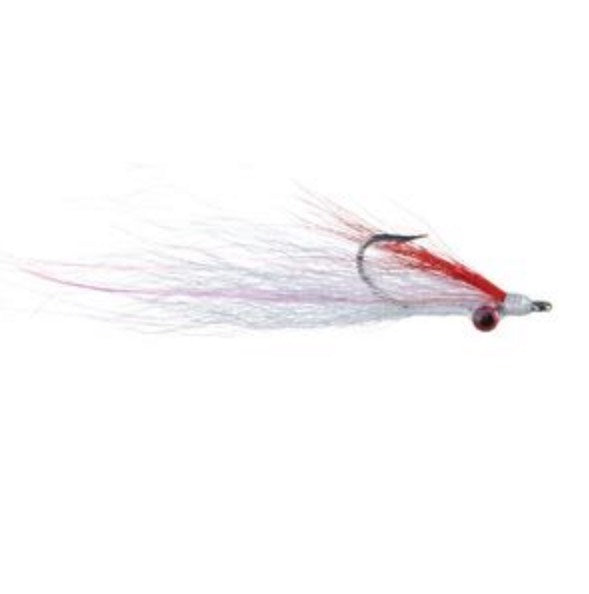
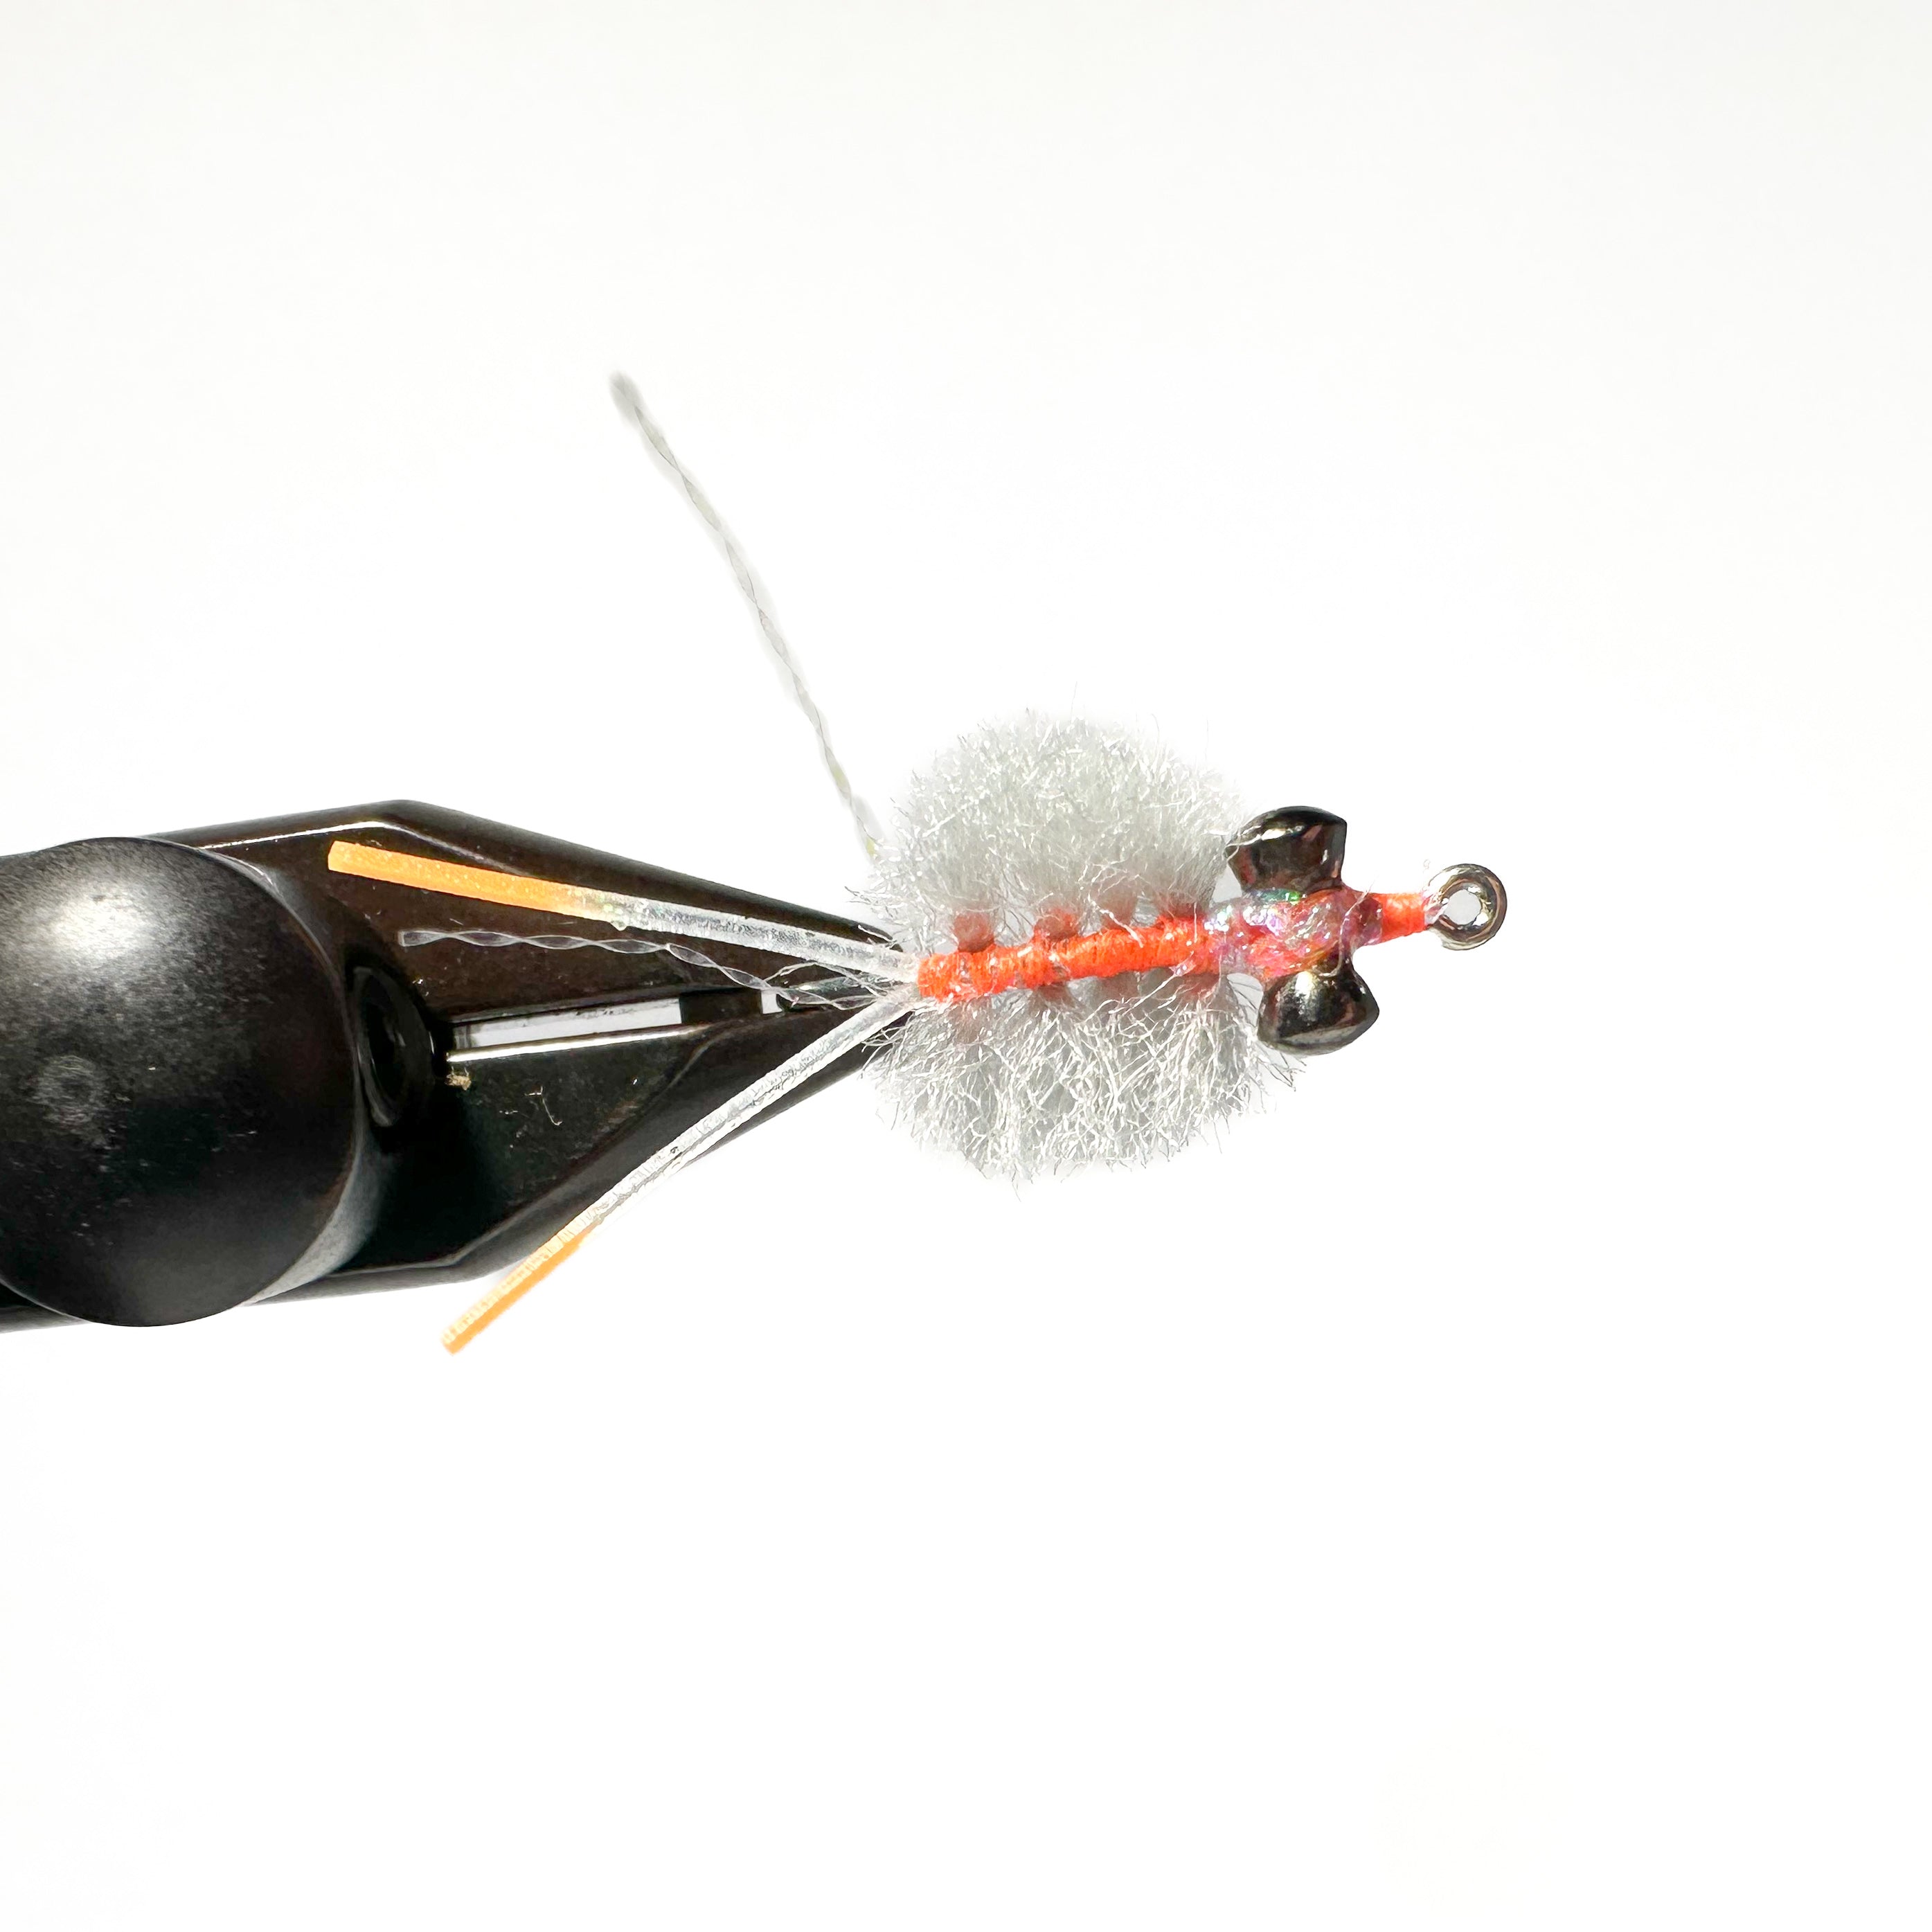
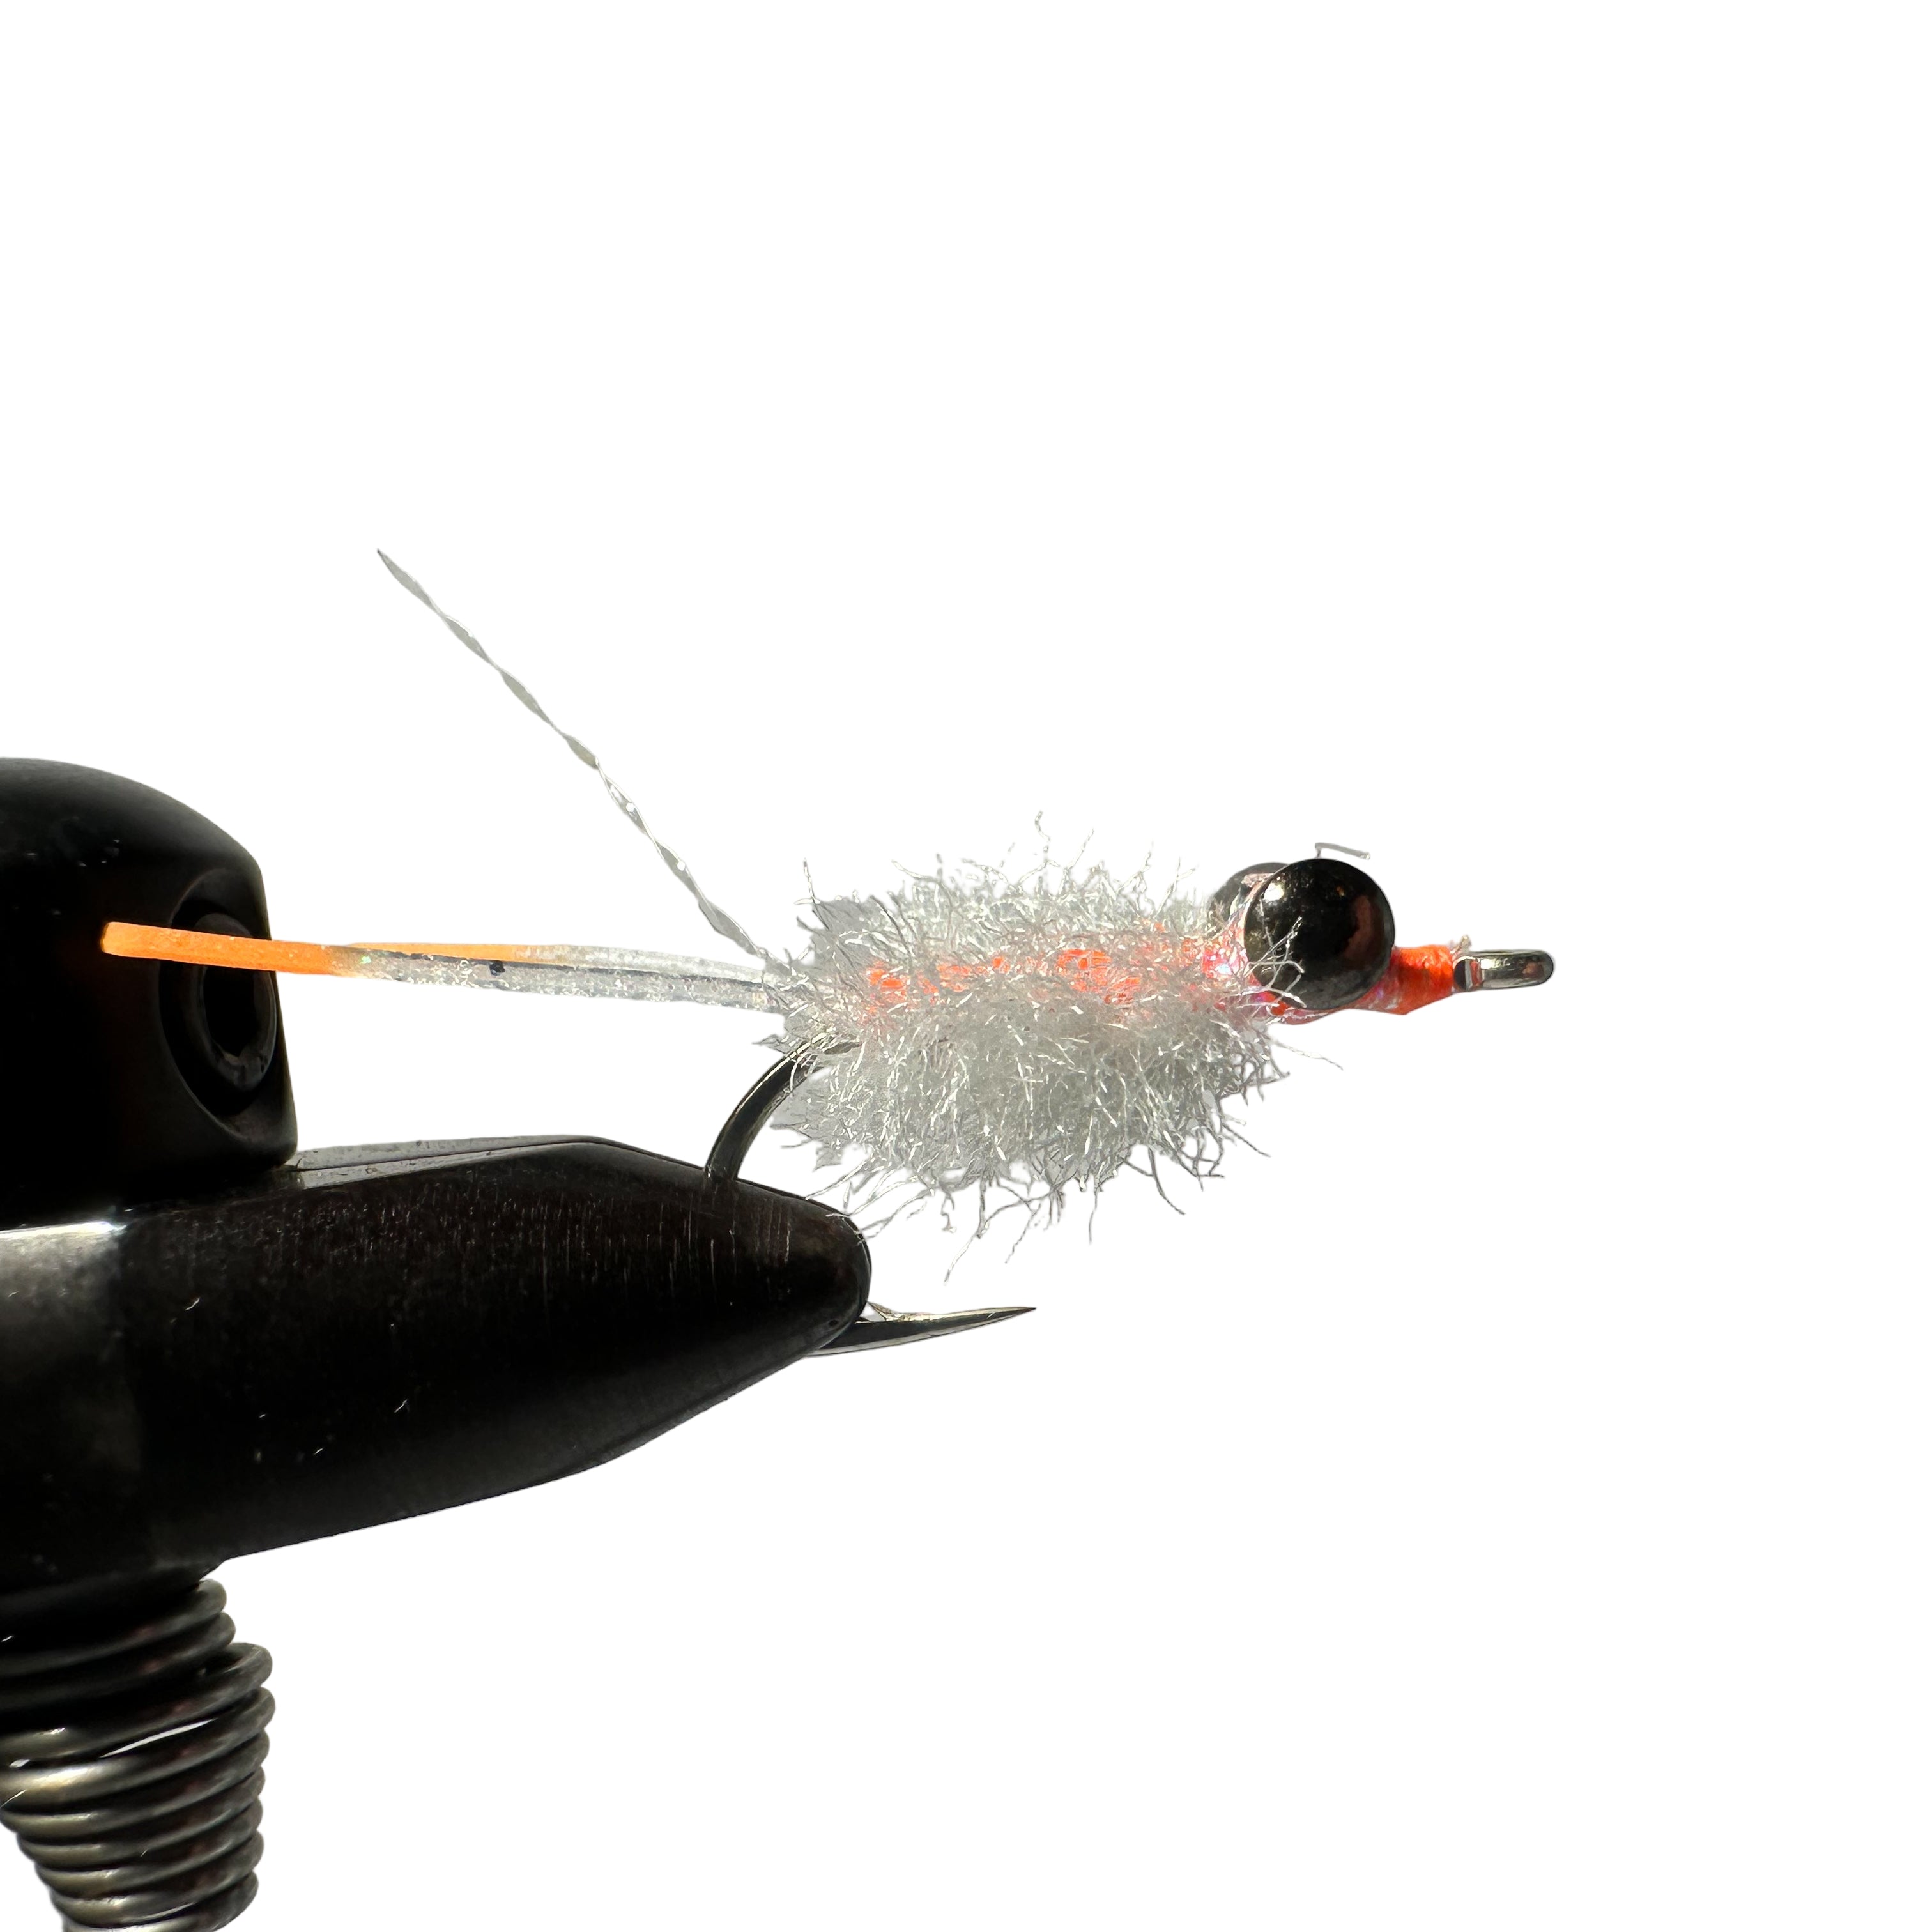
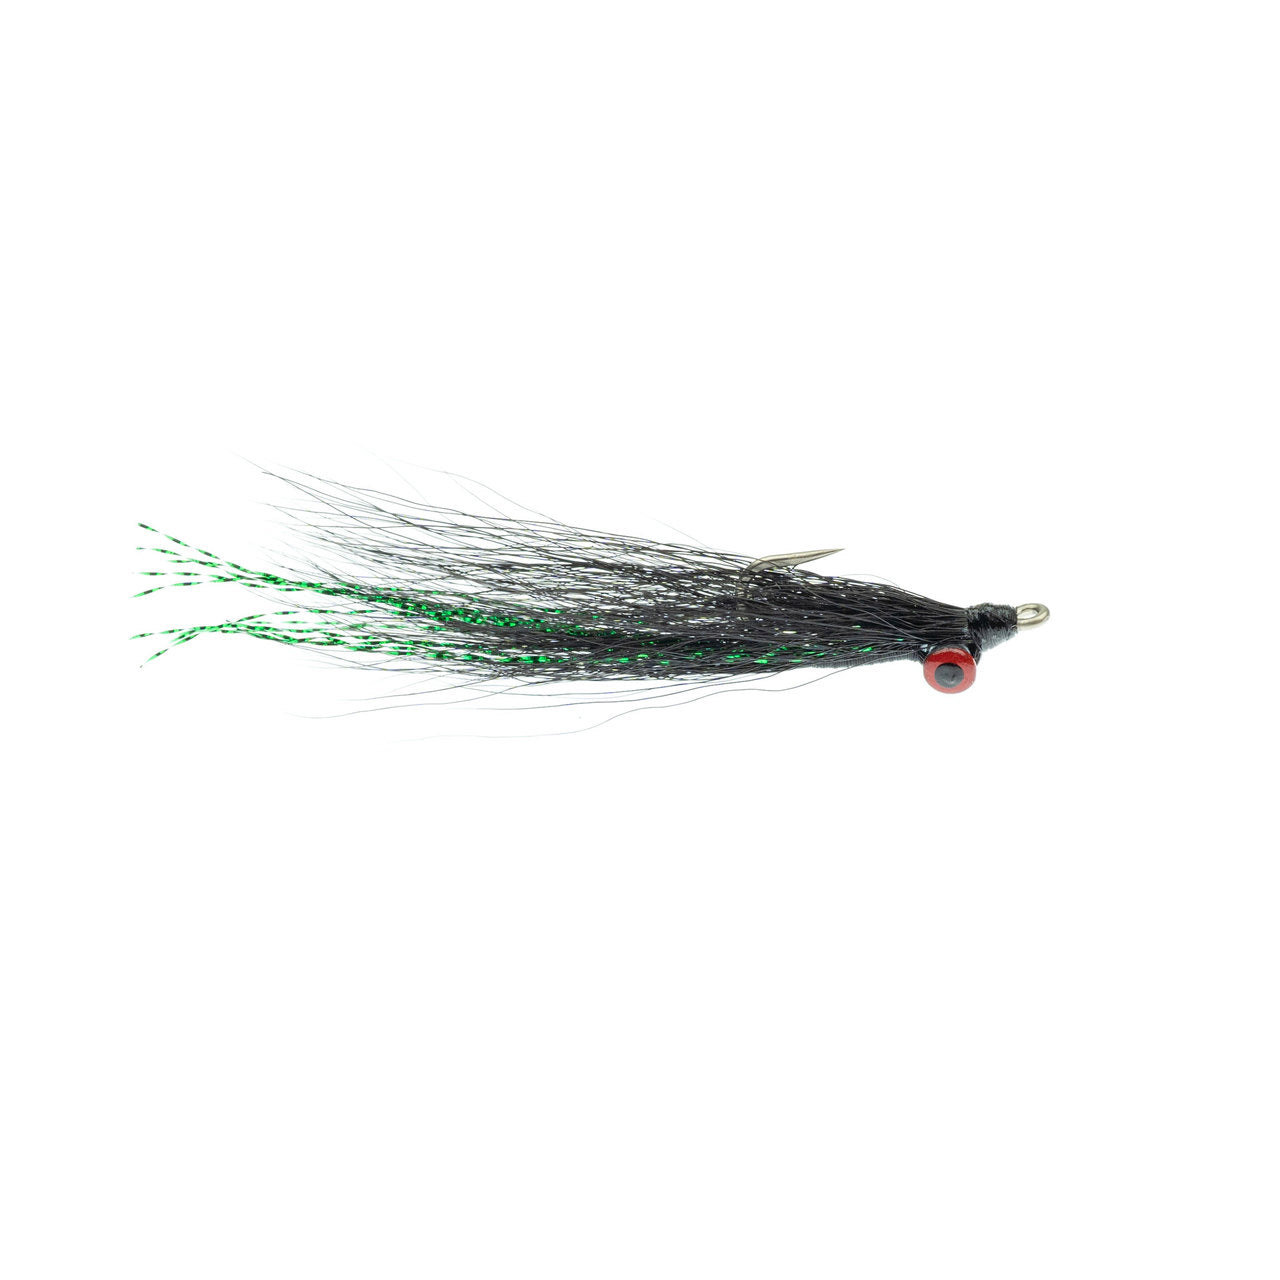
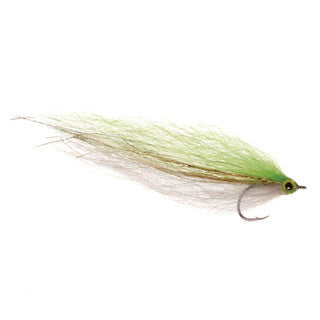
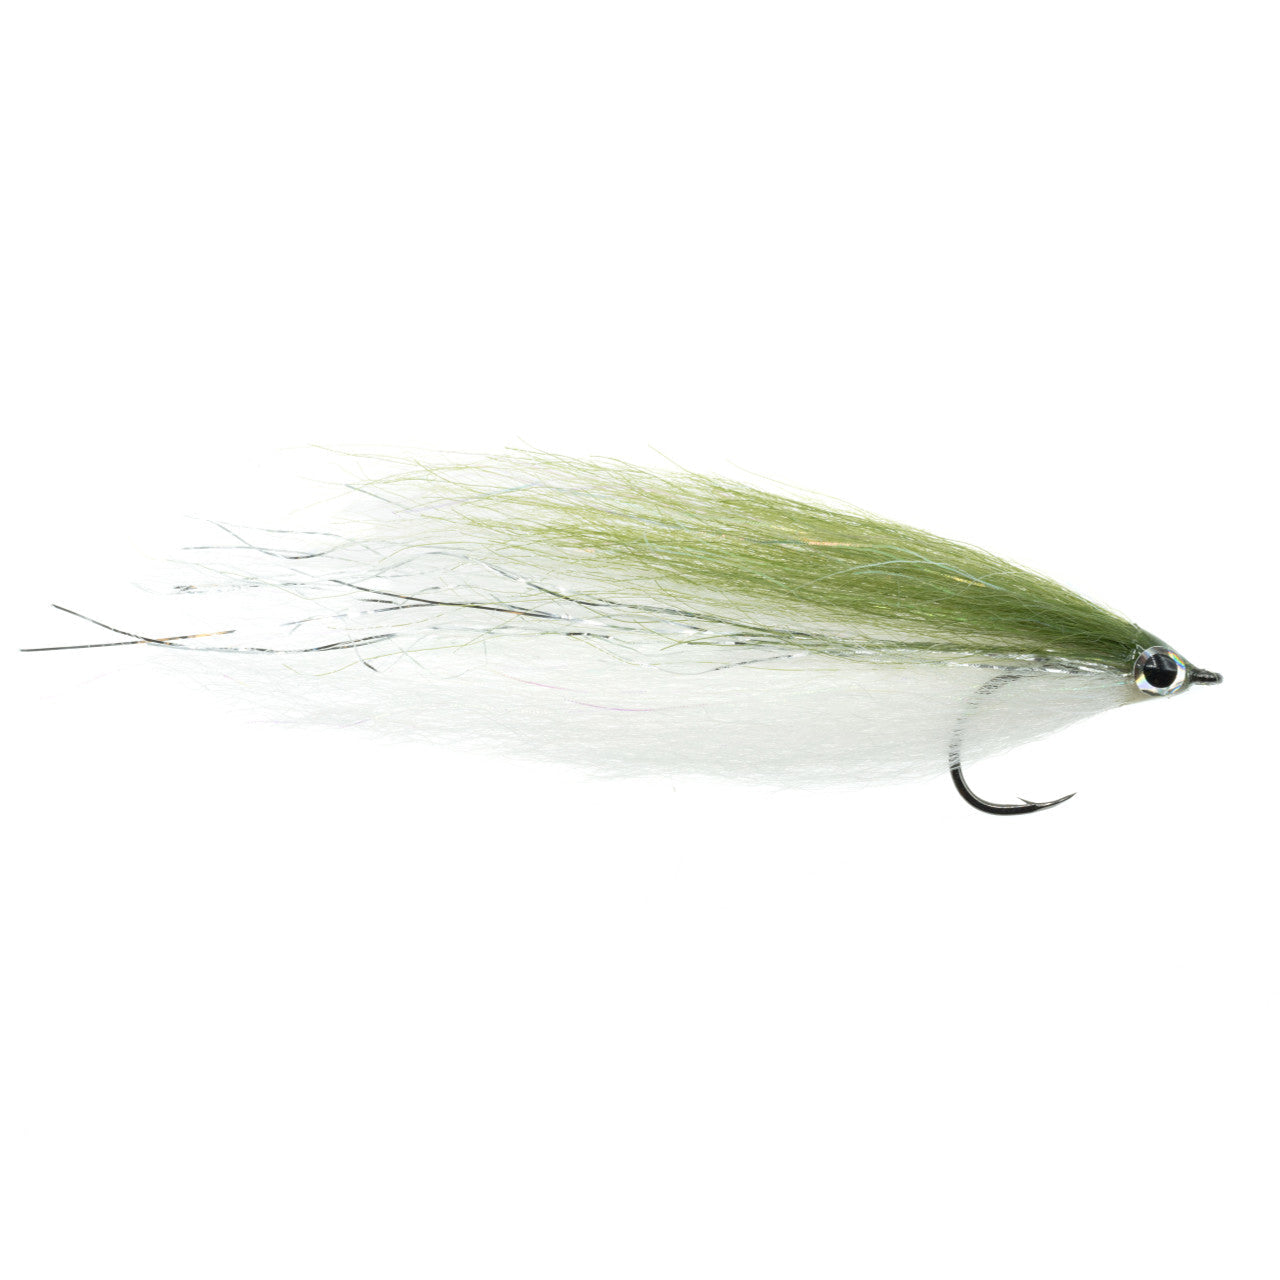
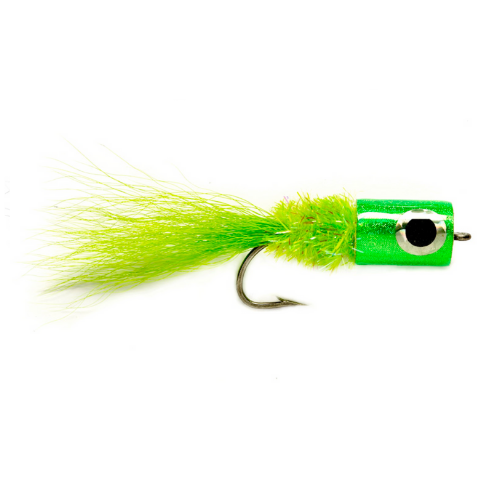
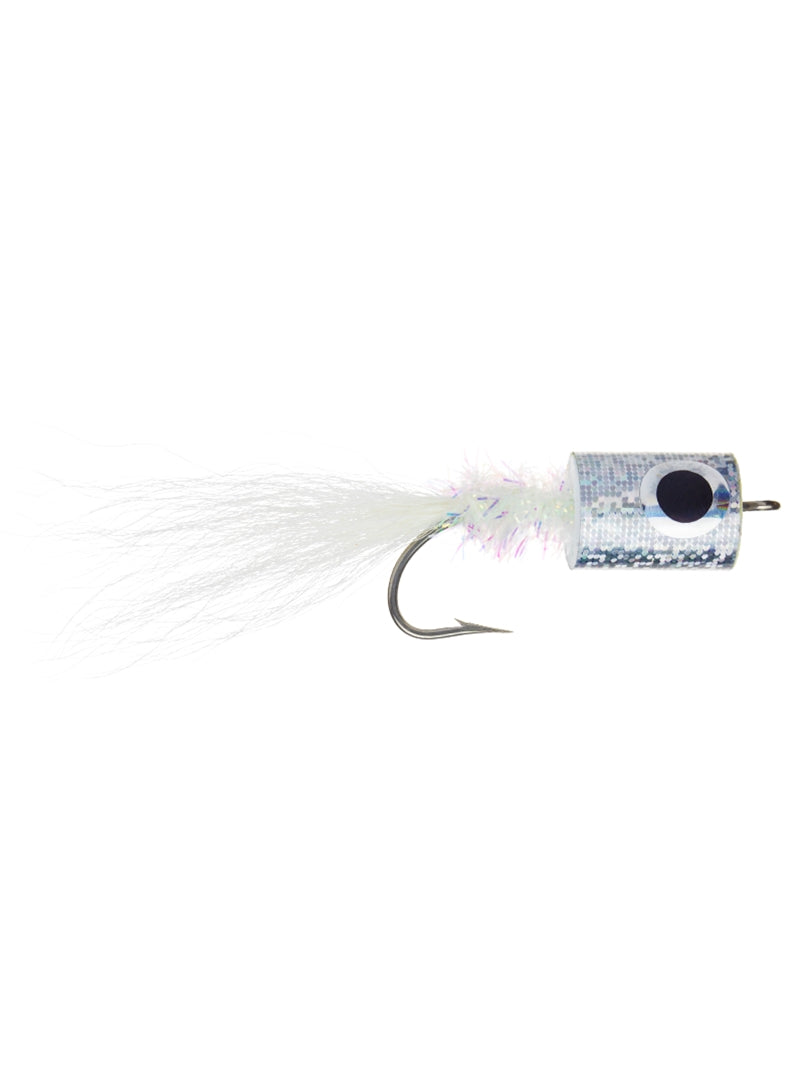
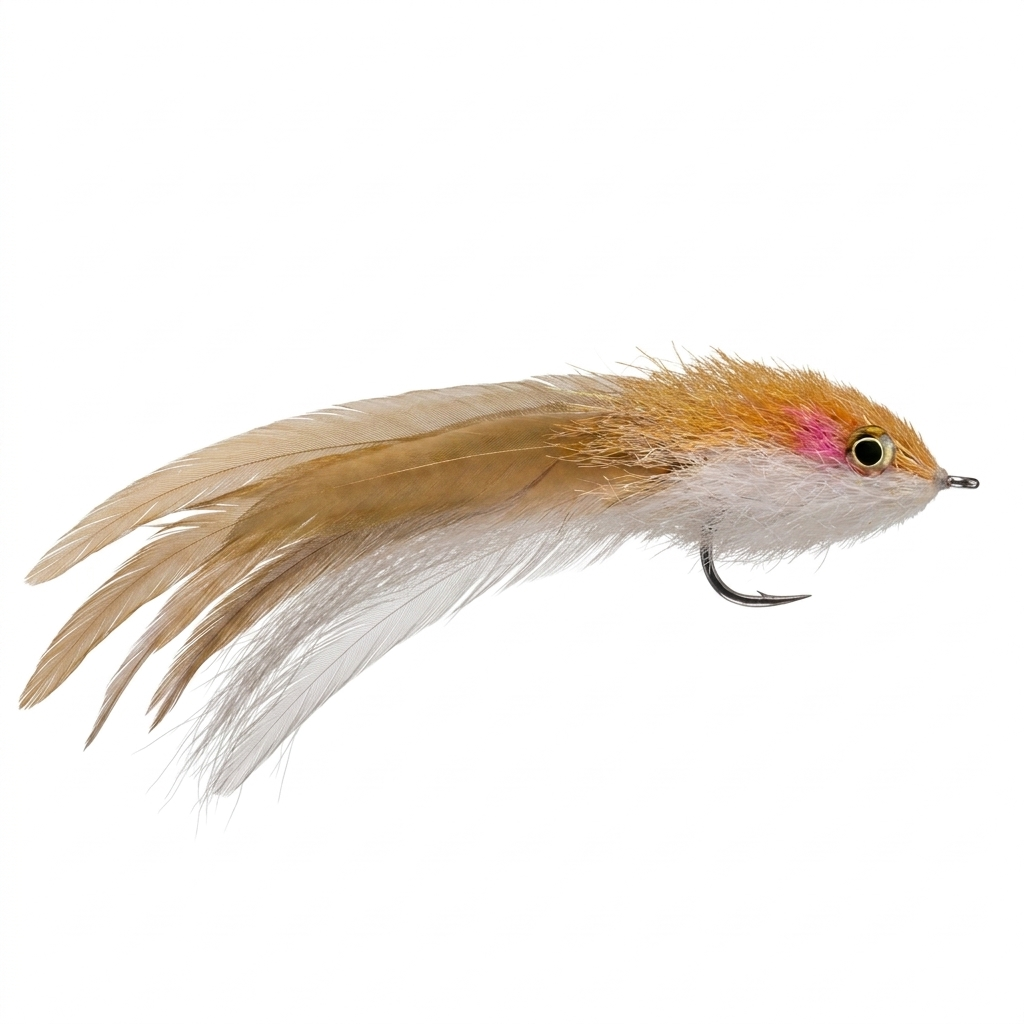
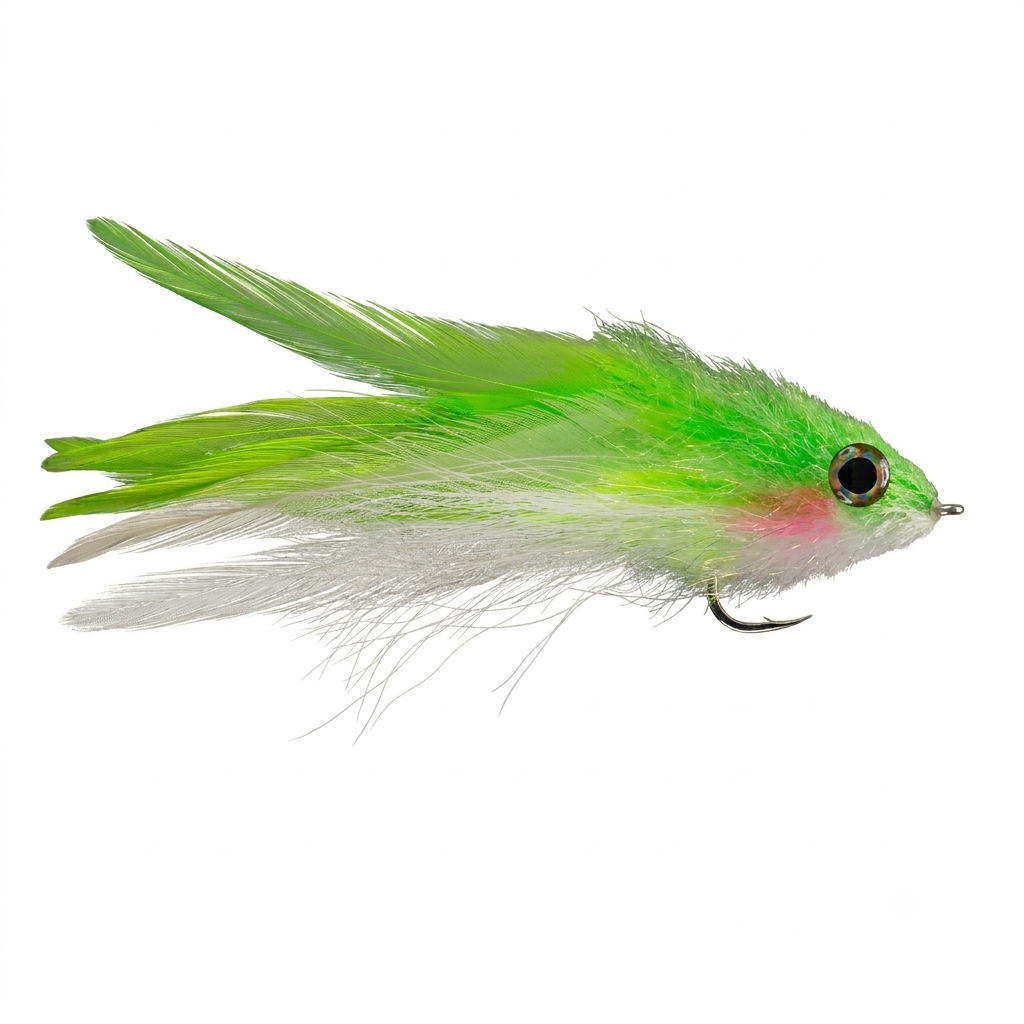
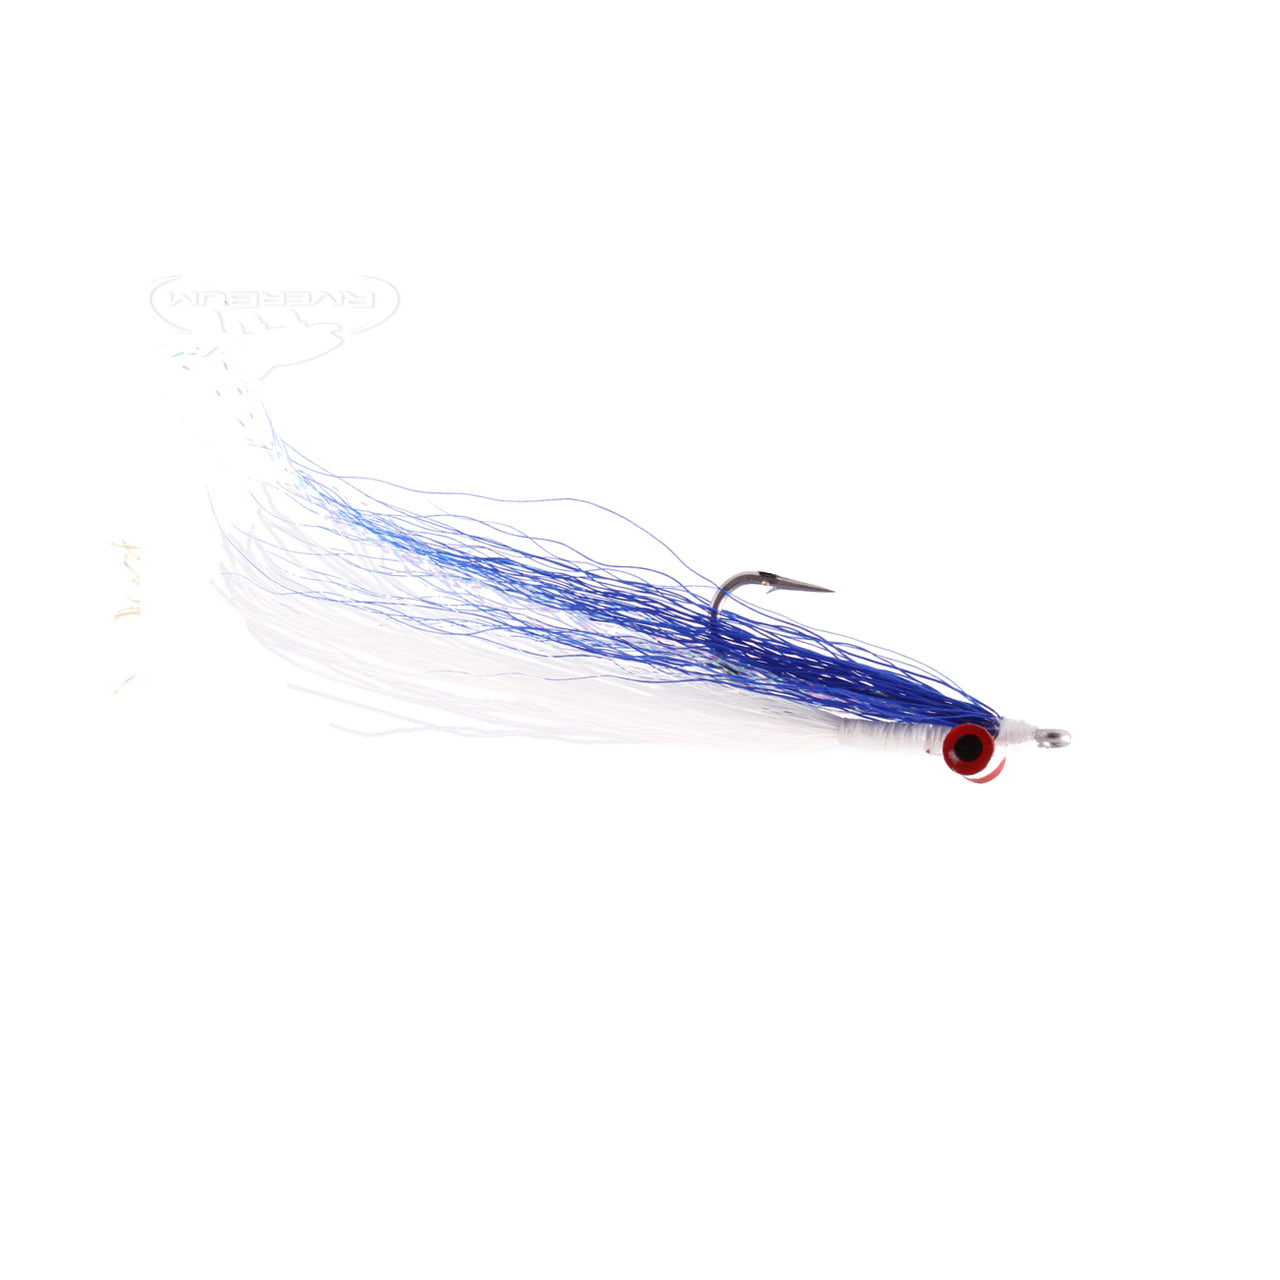
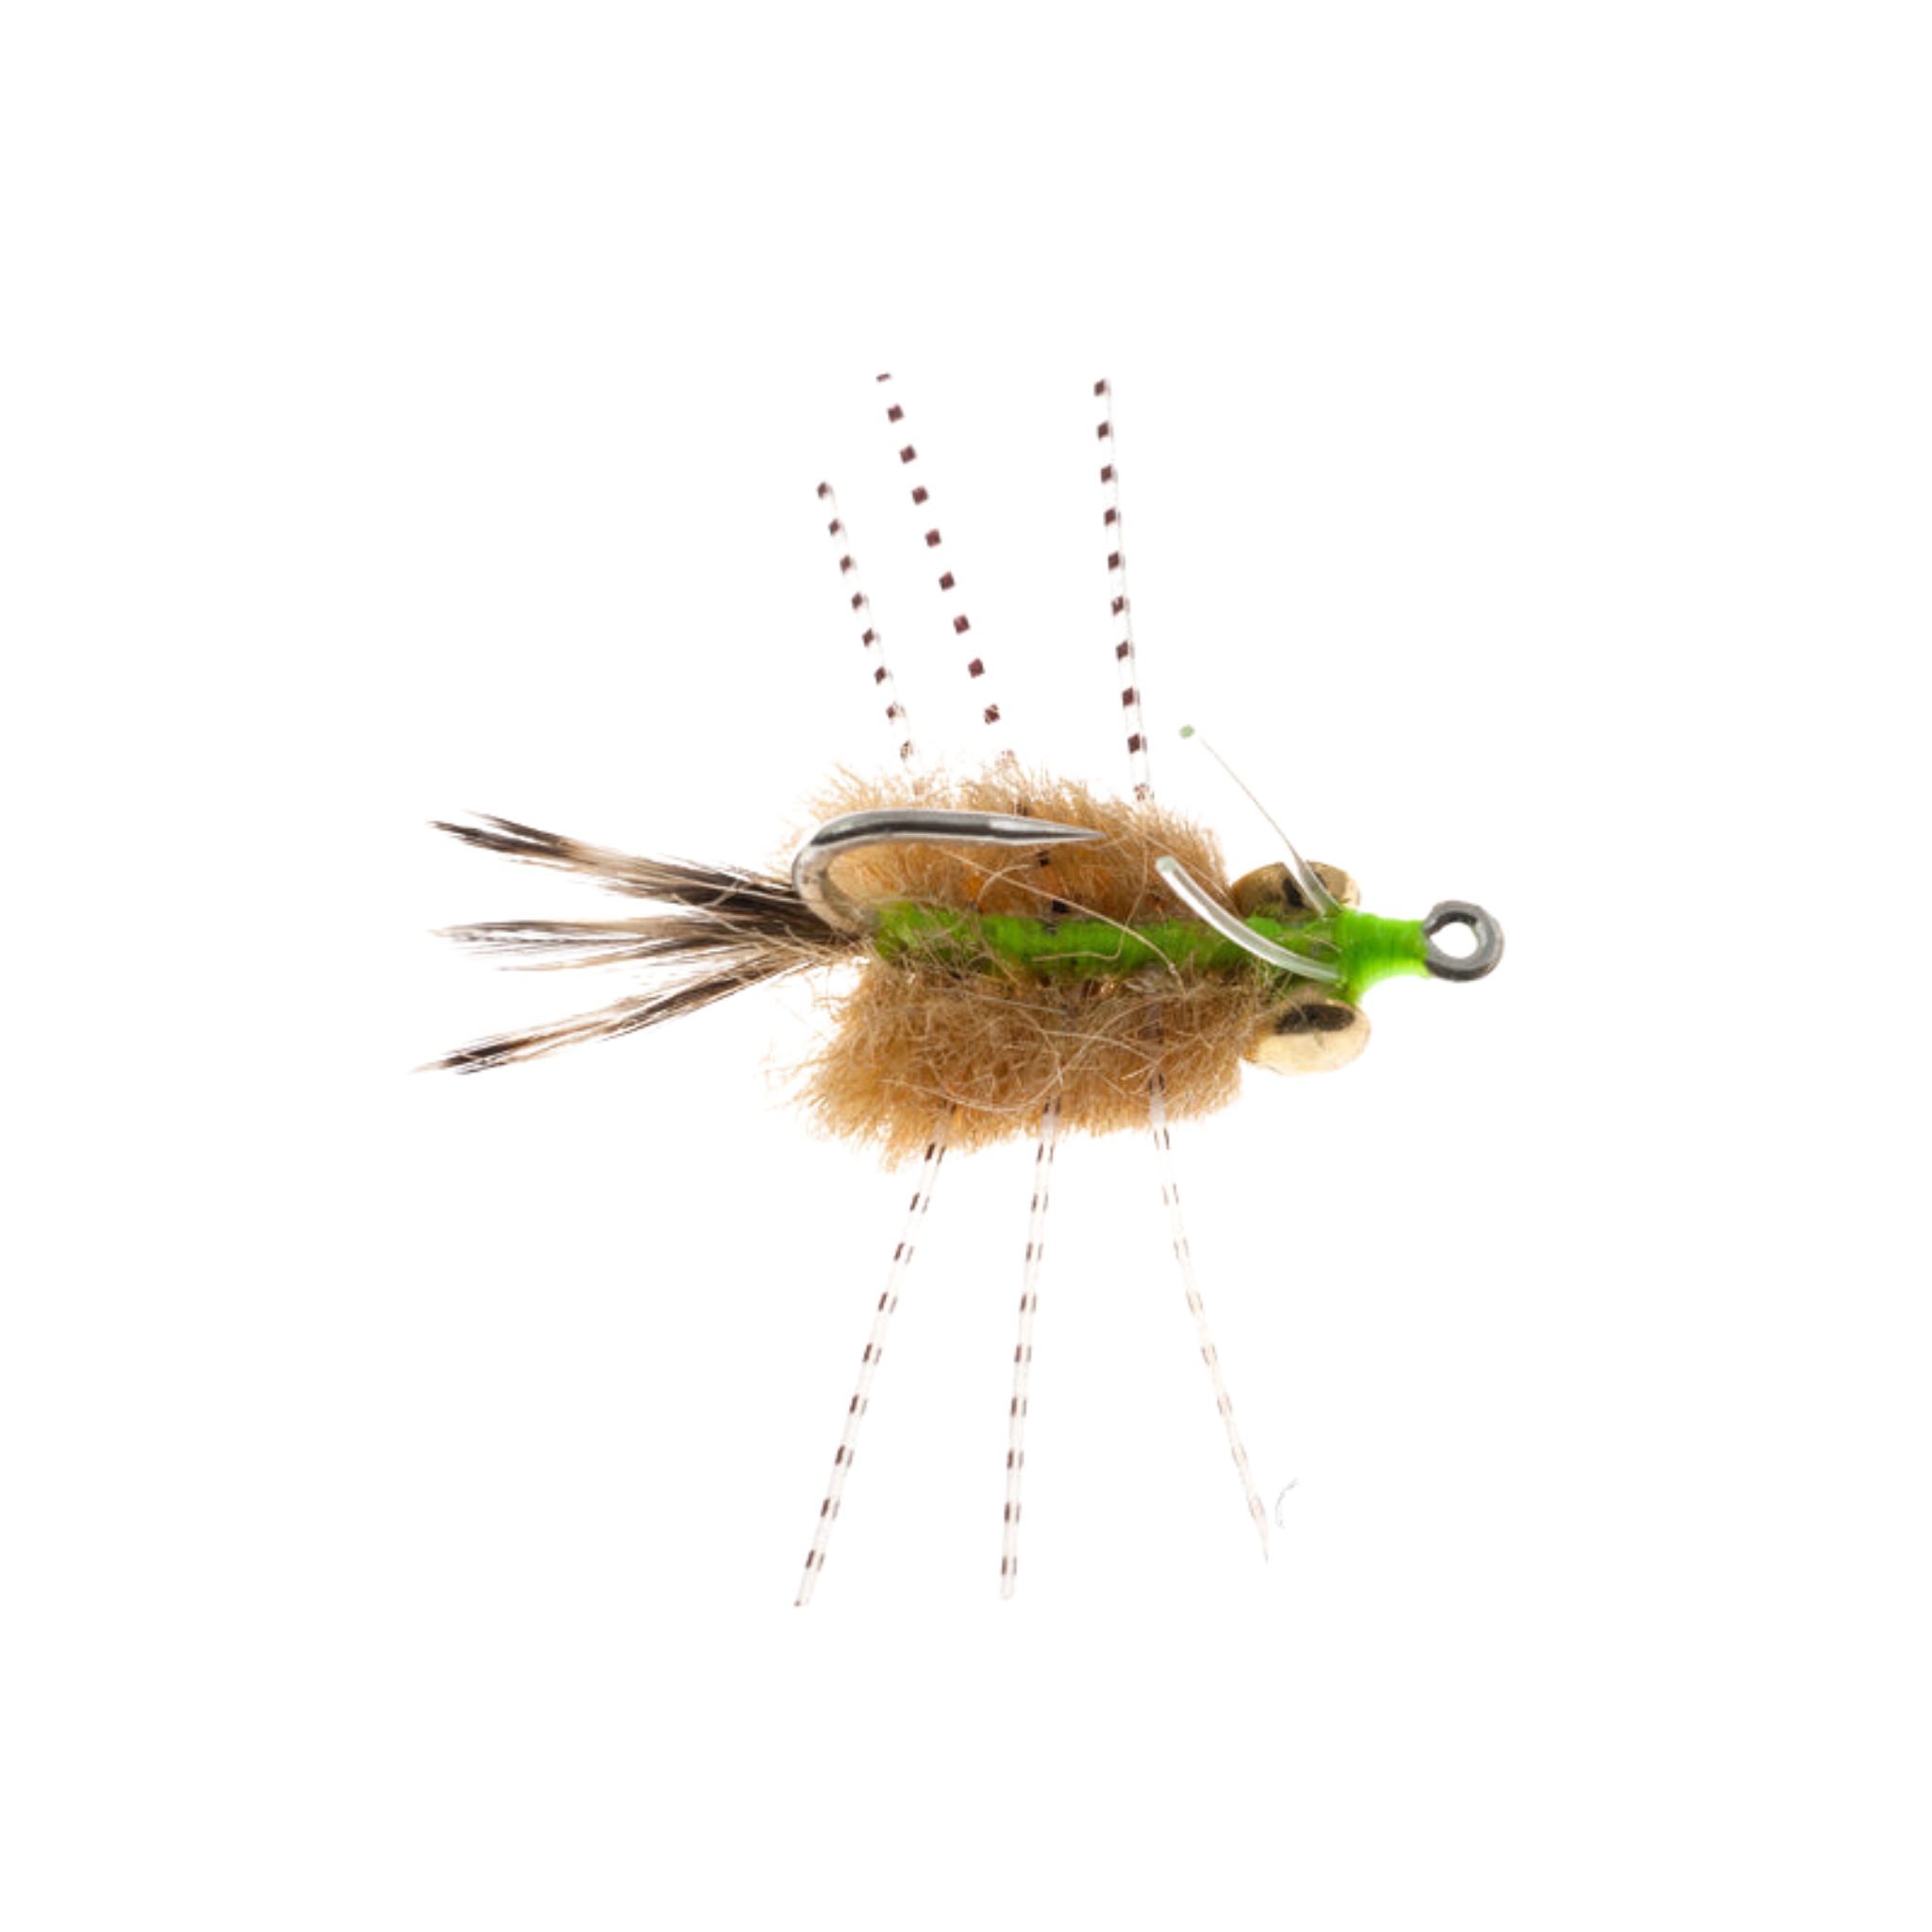
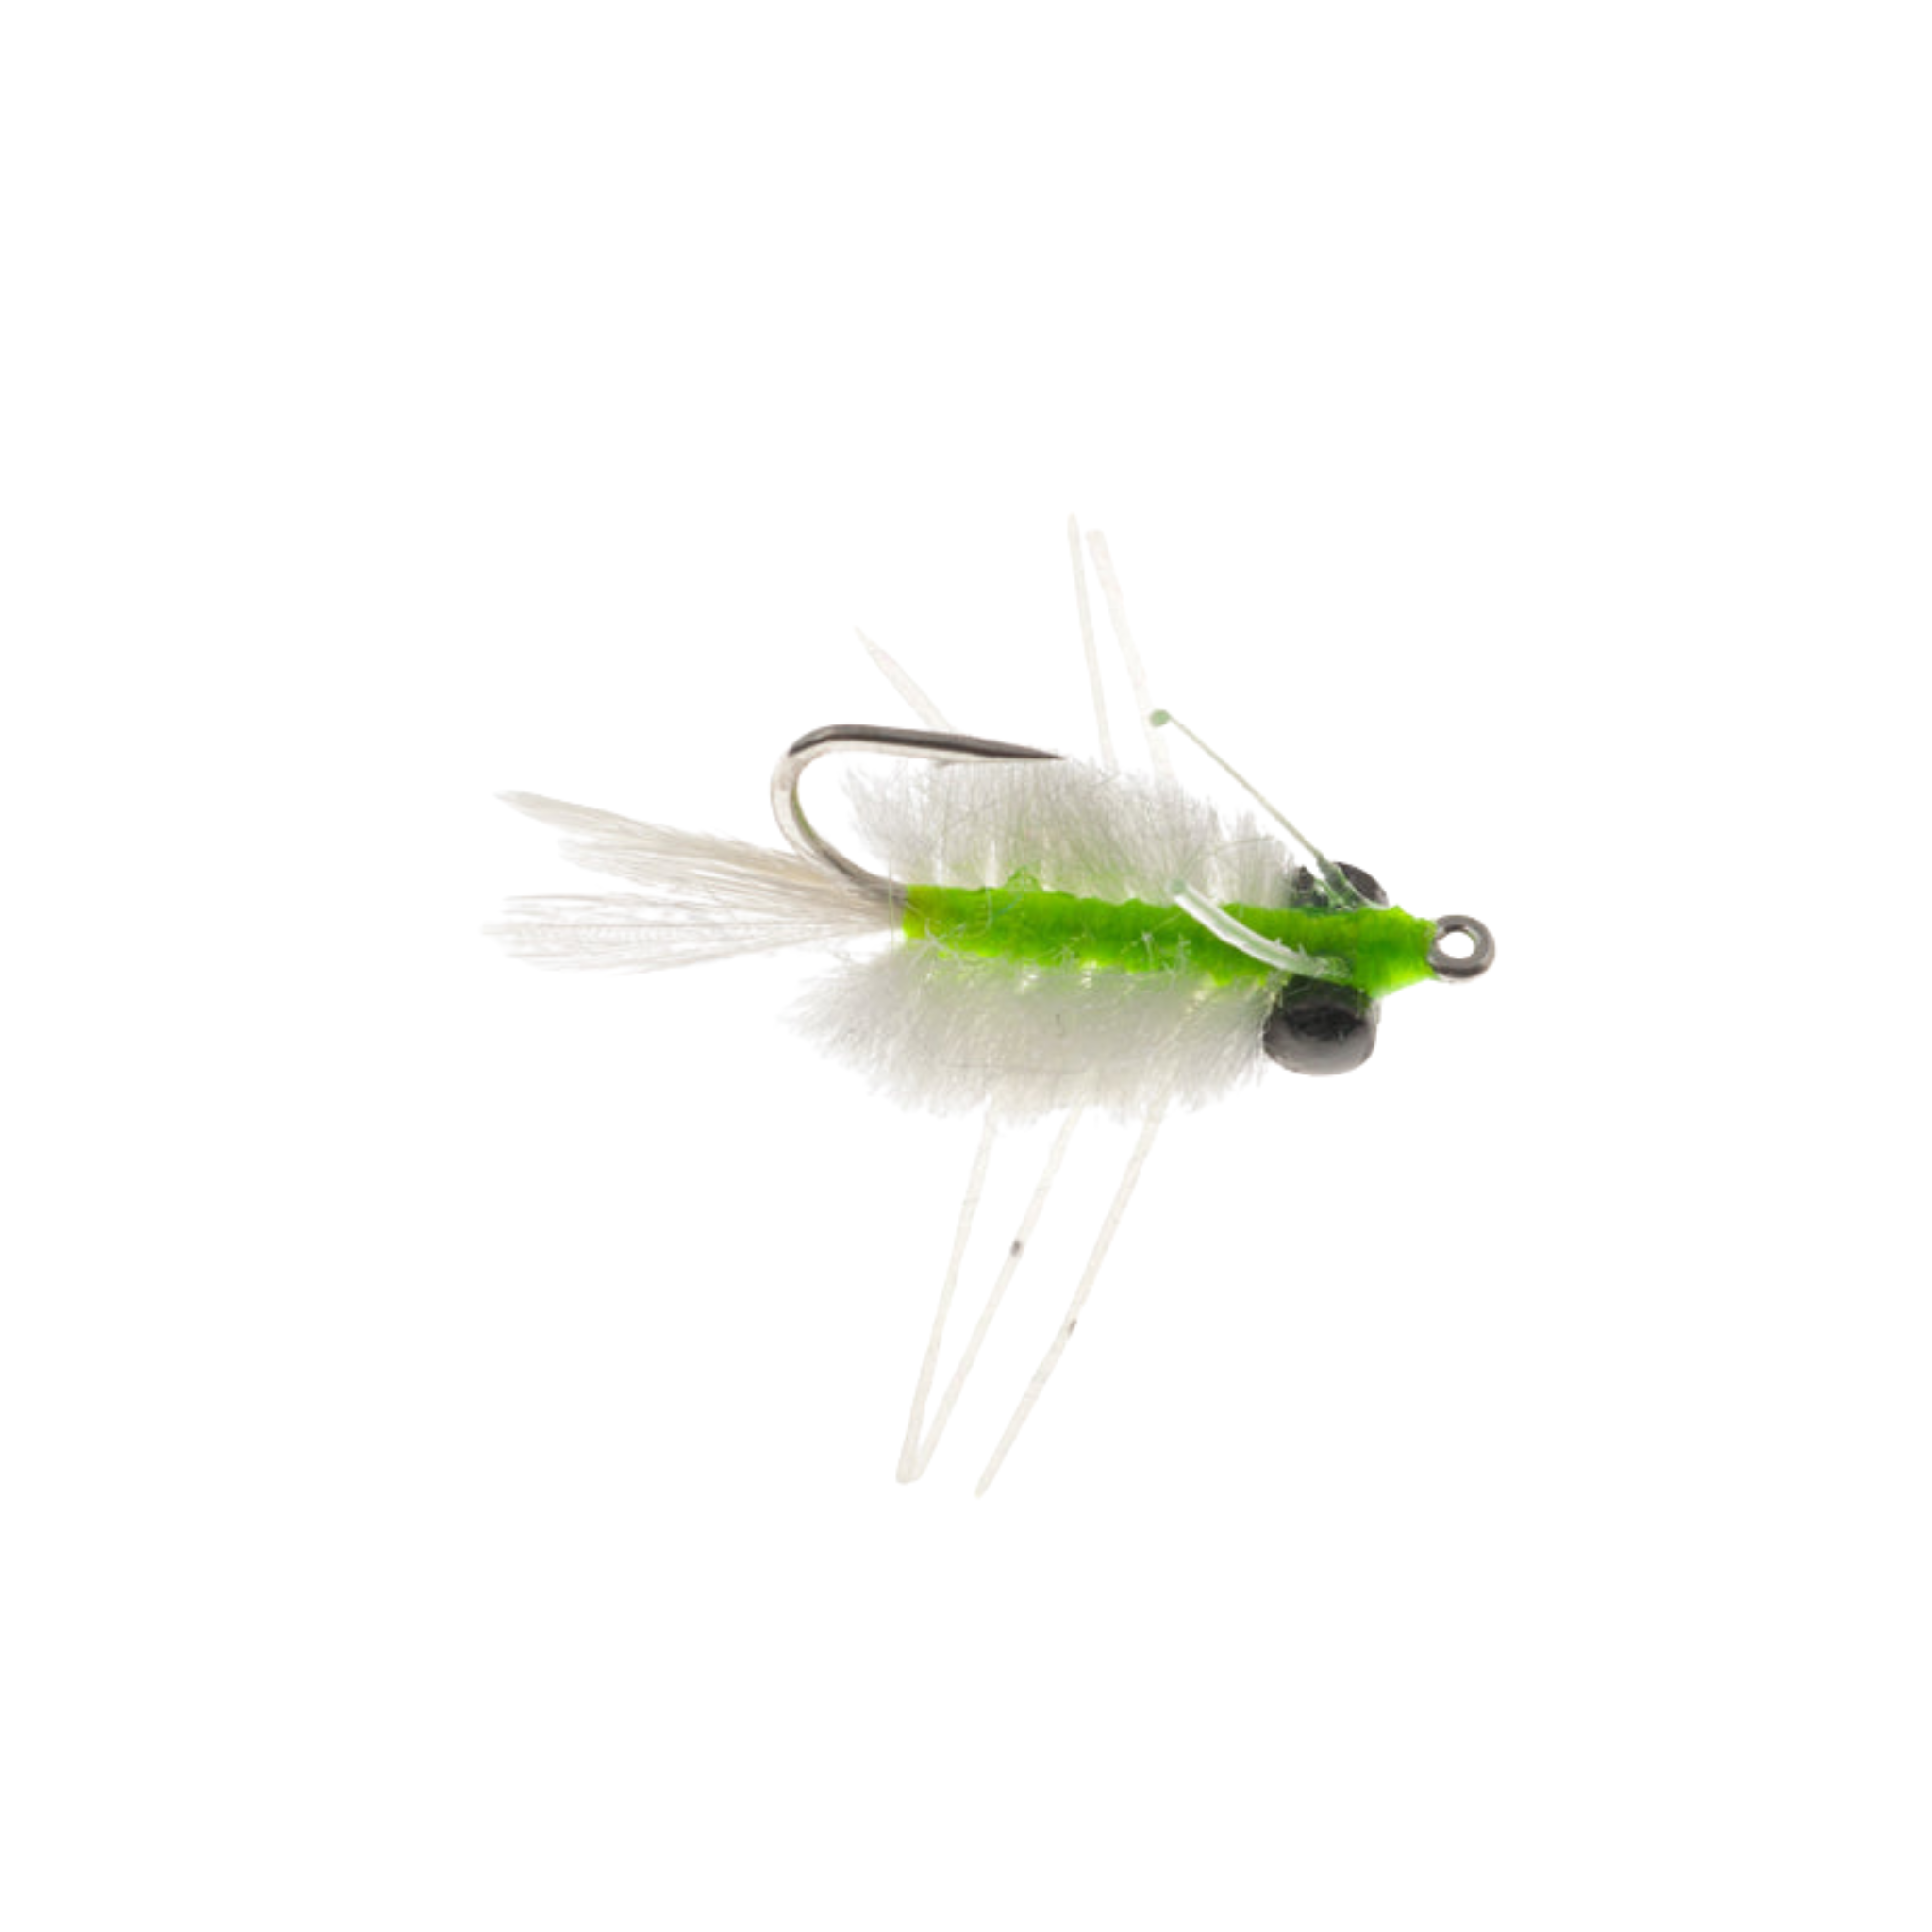
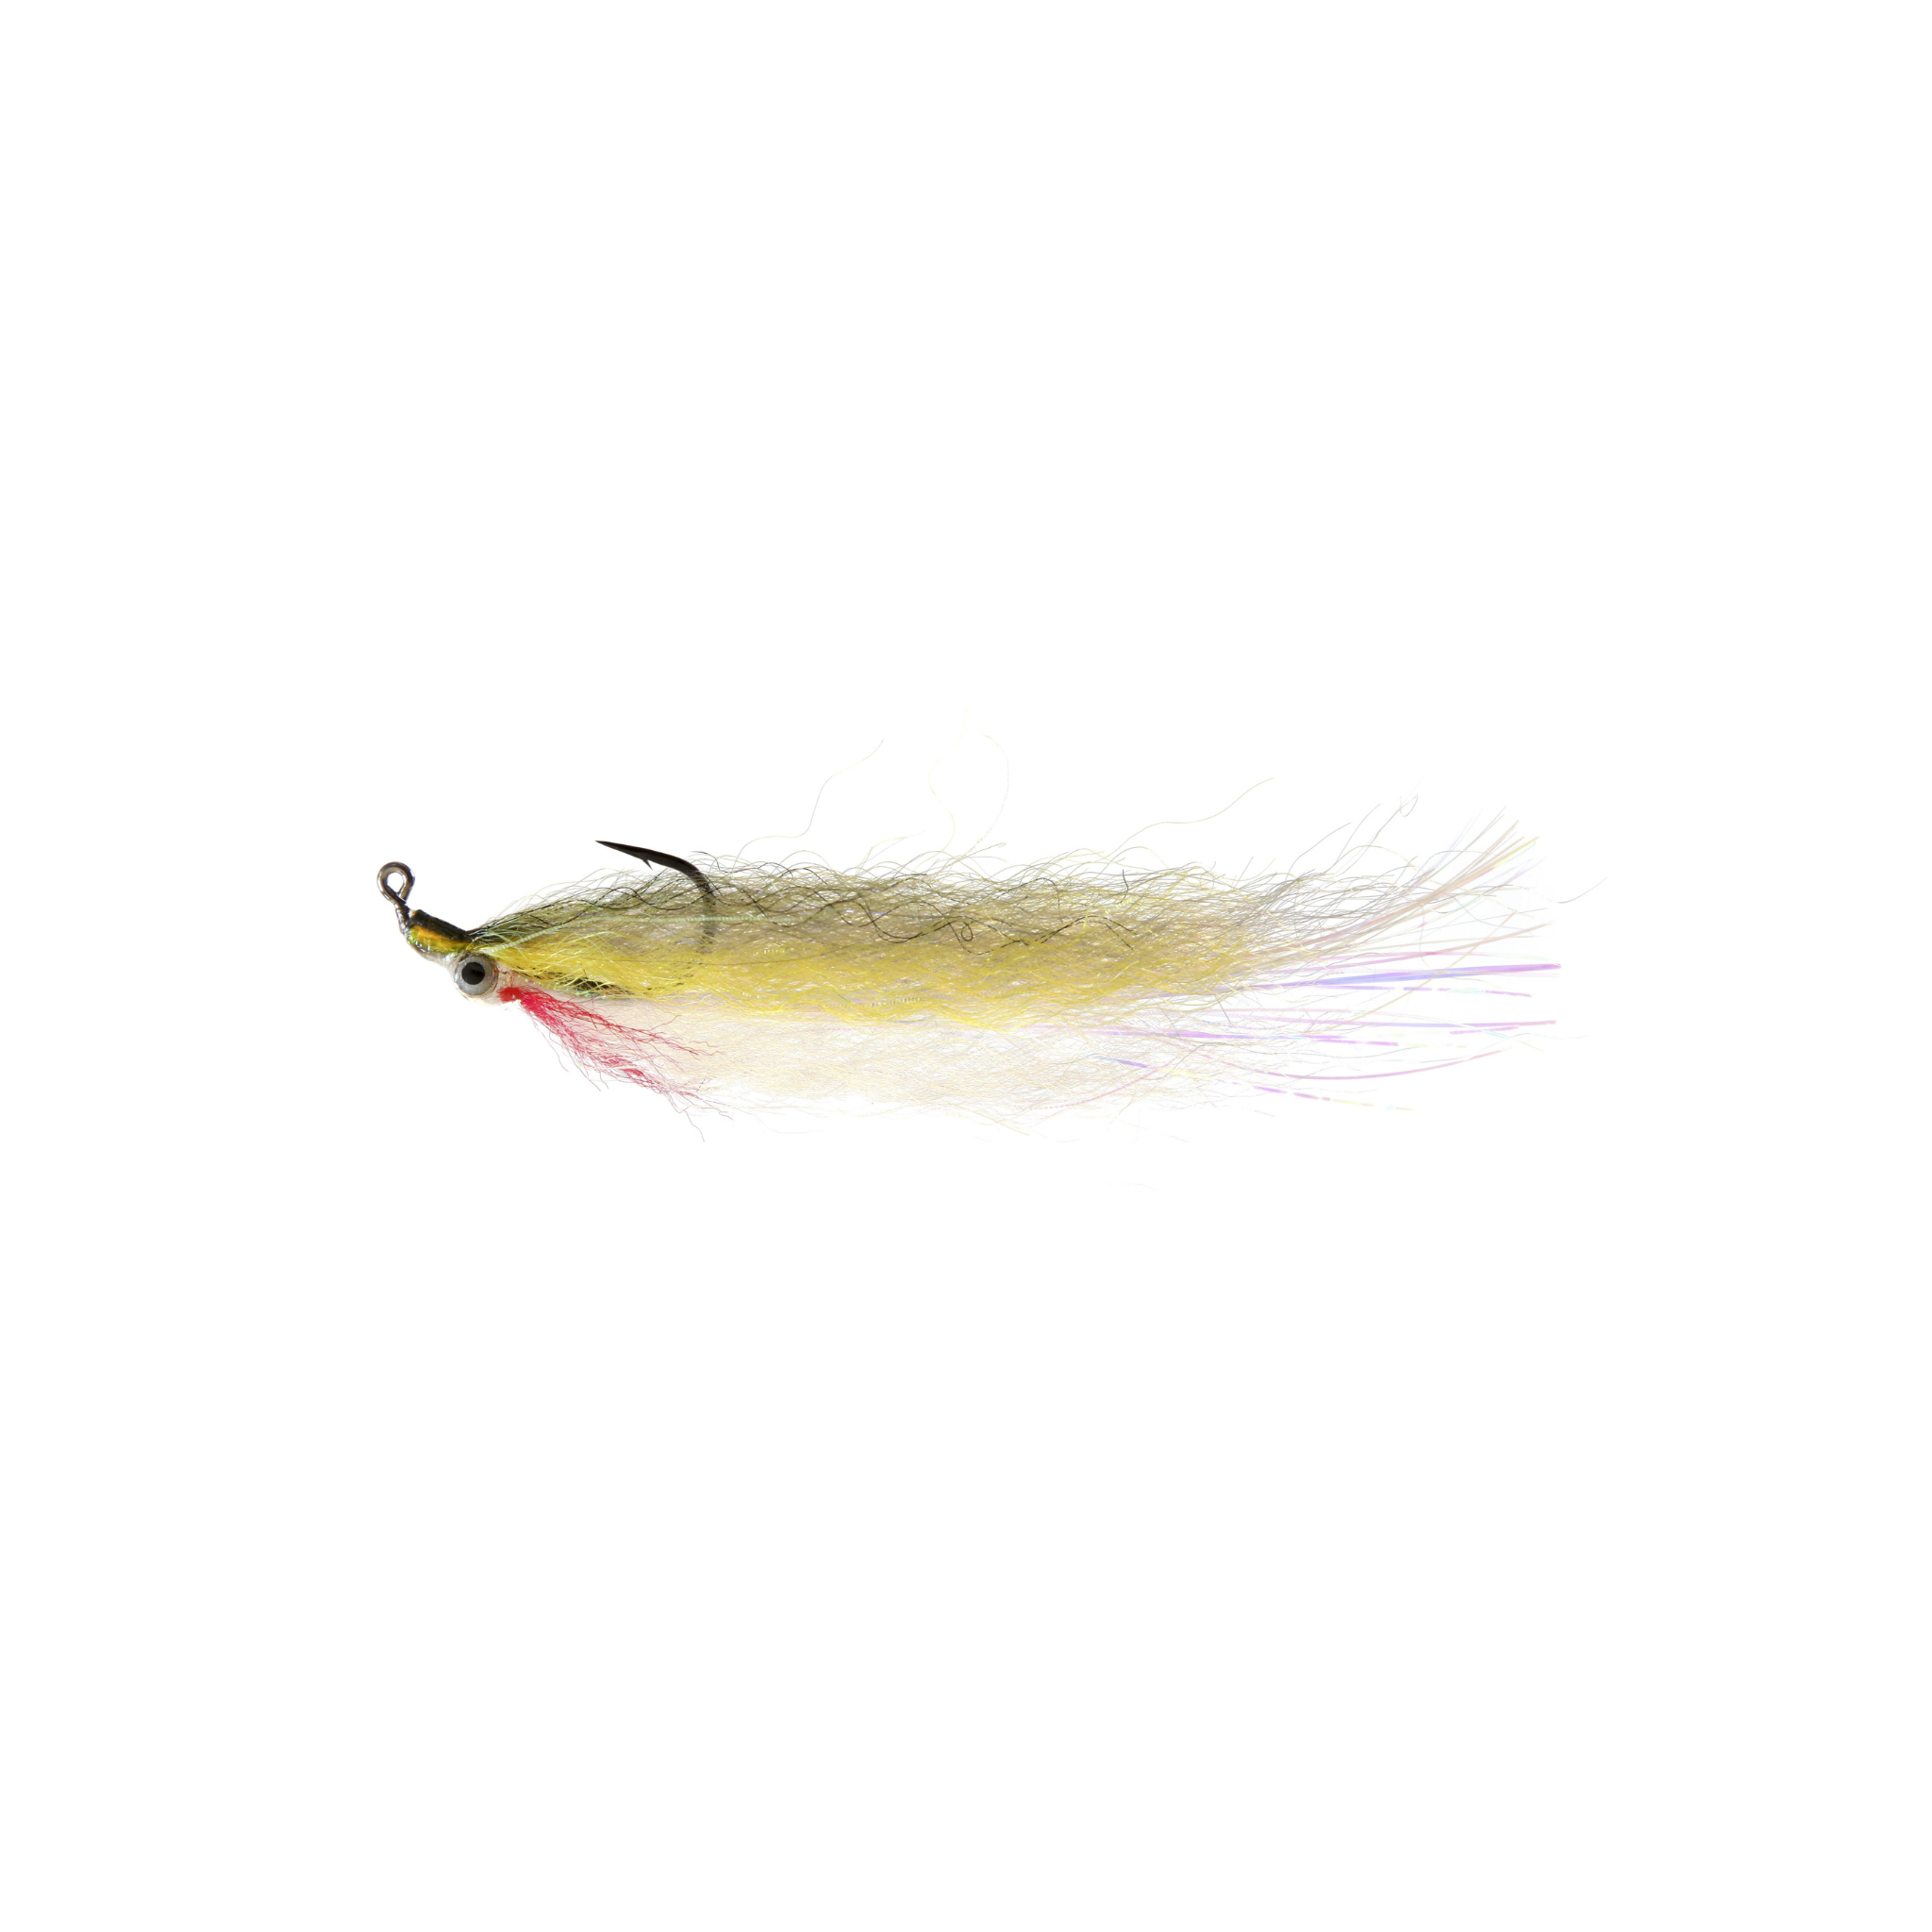
We love fly fishing California's beaches, bays, and coastline. Below is a selection of our favorite flies. Not only do we offer a wide range of universal patterns for the salt, but flies custom tied for our local fisheries.


Video

Take a Class with Us
One of the biggest challenges of getting into fly fishing or a new aspect of fly fishing is getting the right info. We pride ourselves in our ability to mentor anglers through any phase of their fly fishing life.
